Cinematic Camera Settings: A Checklist for Filmmakers

Most filmmakers waste hours fixing footage in post because they got one cinematic camera setting wrong before they hit record.
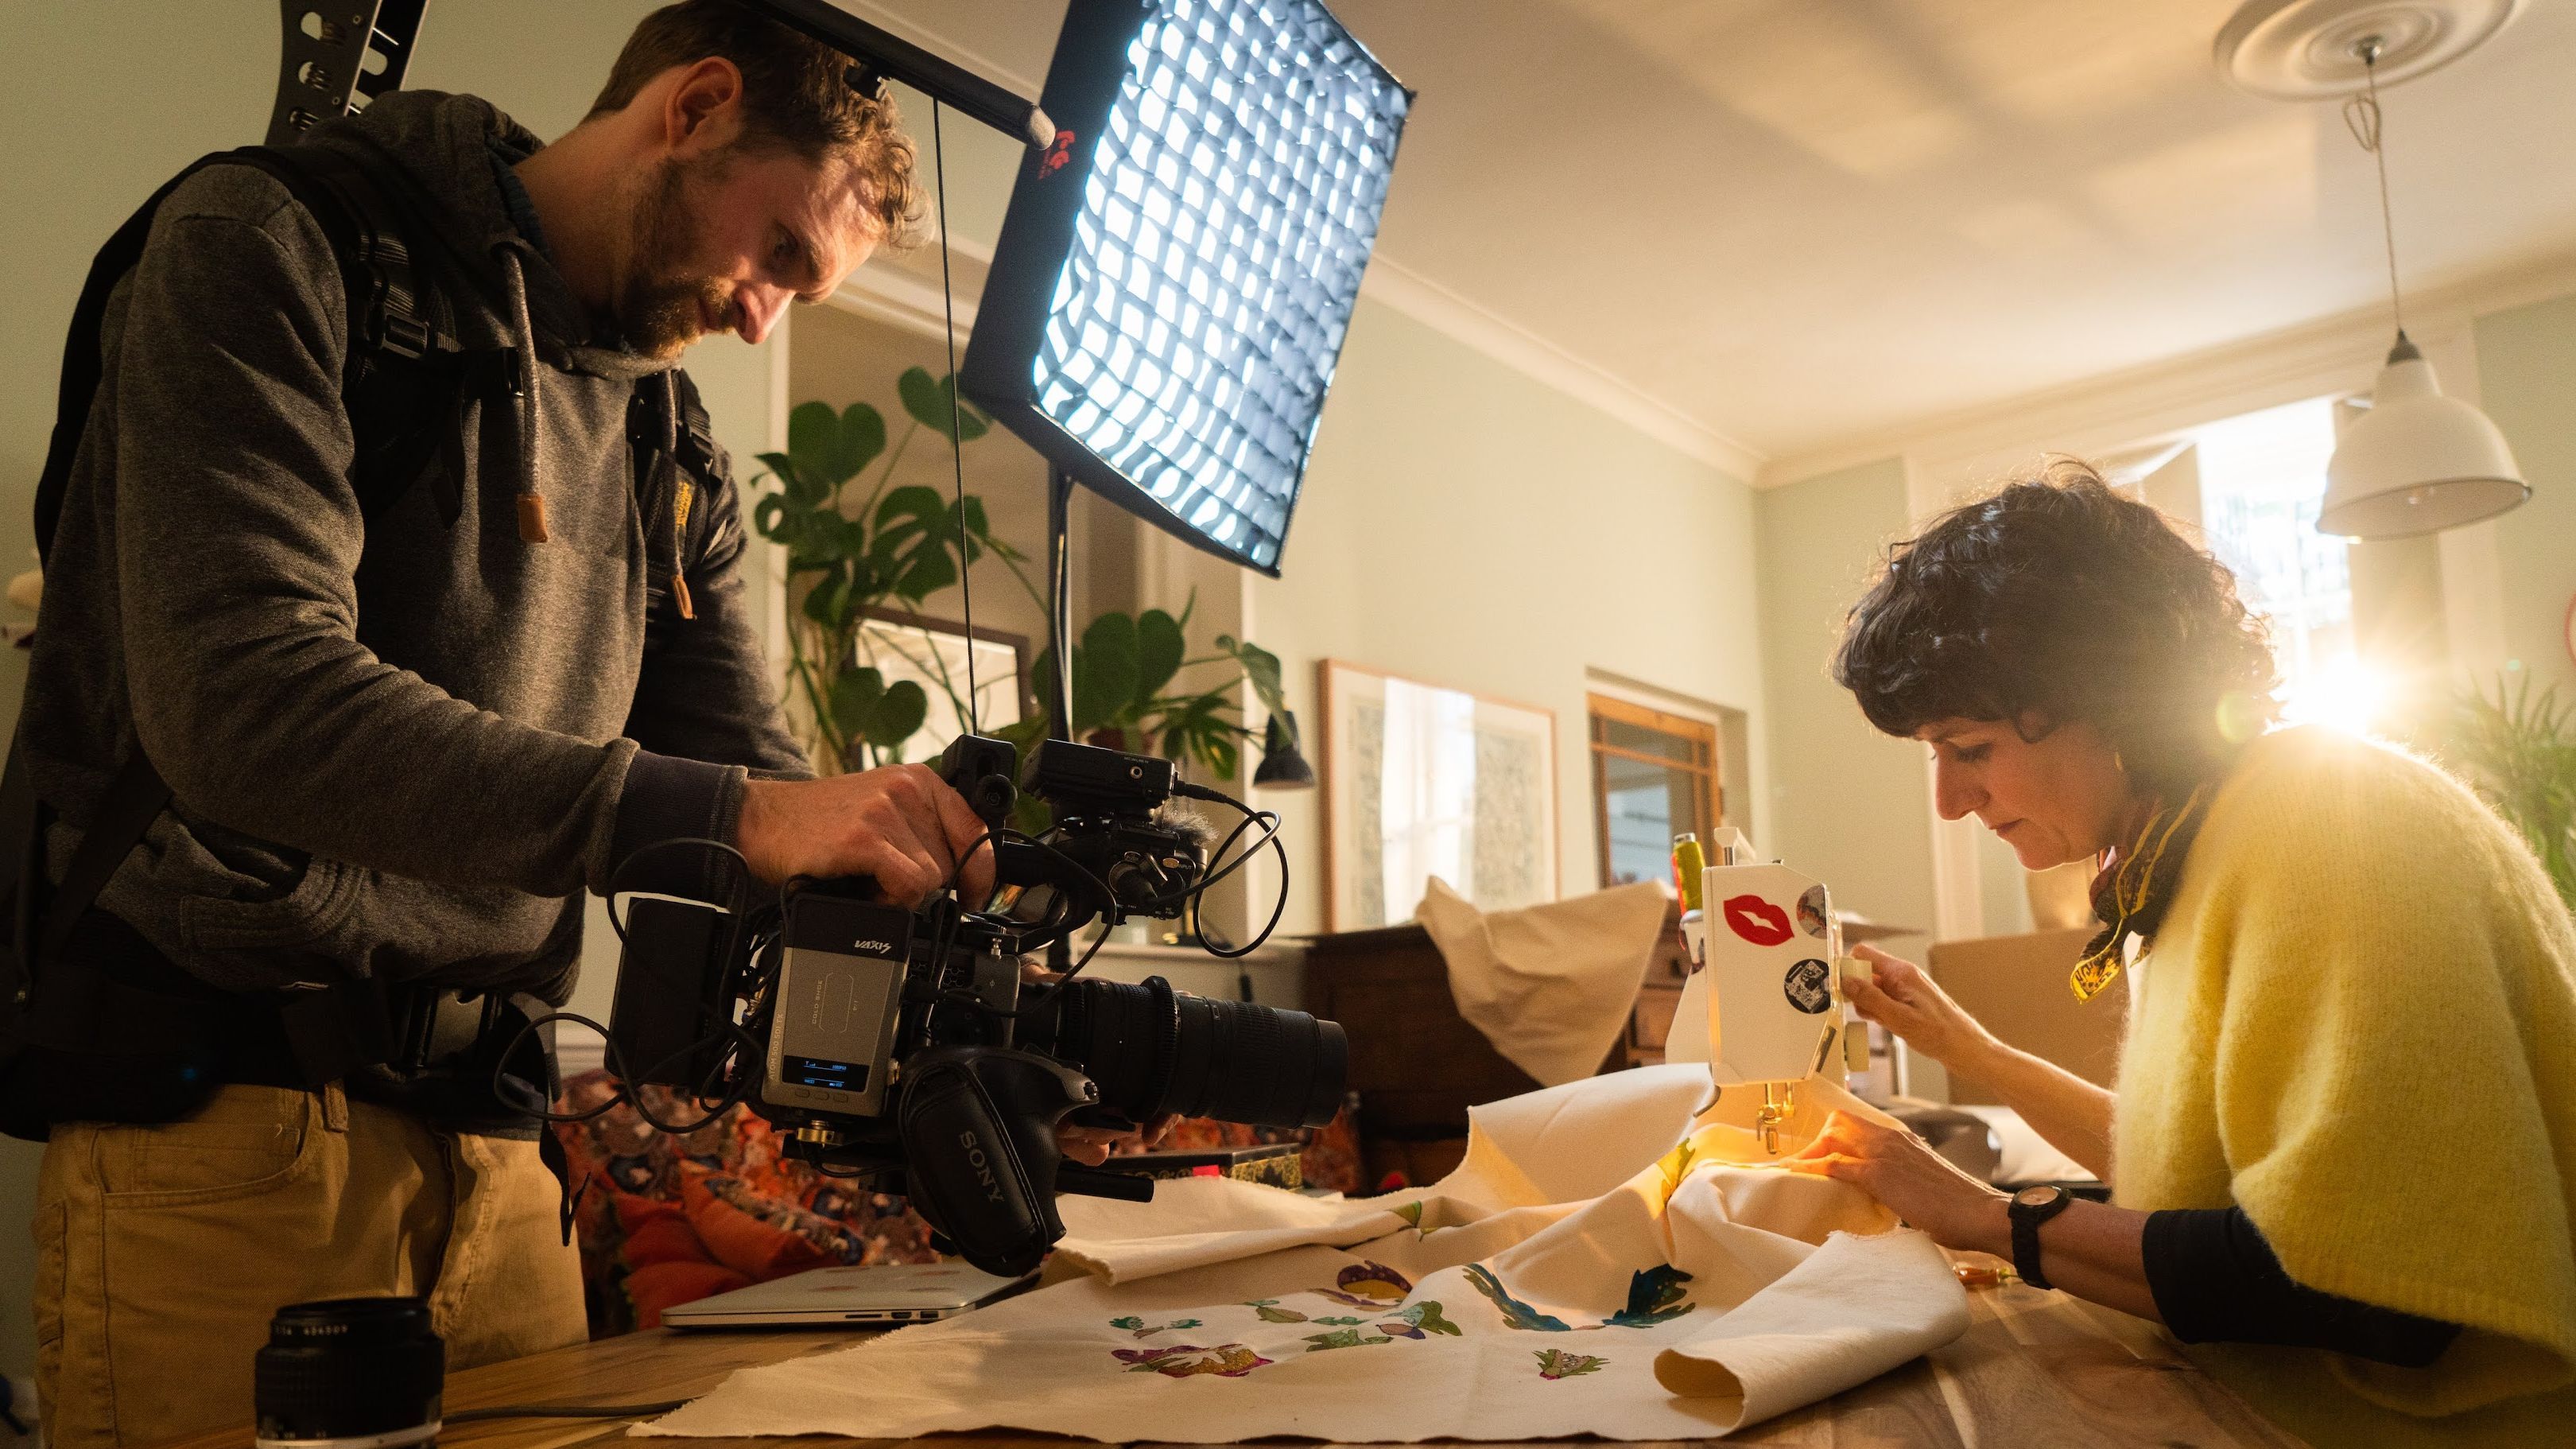
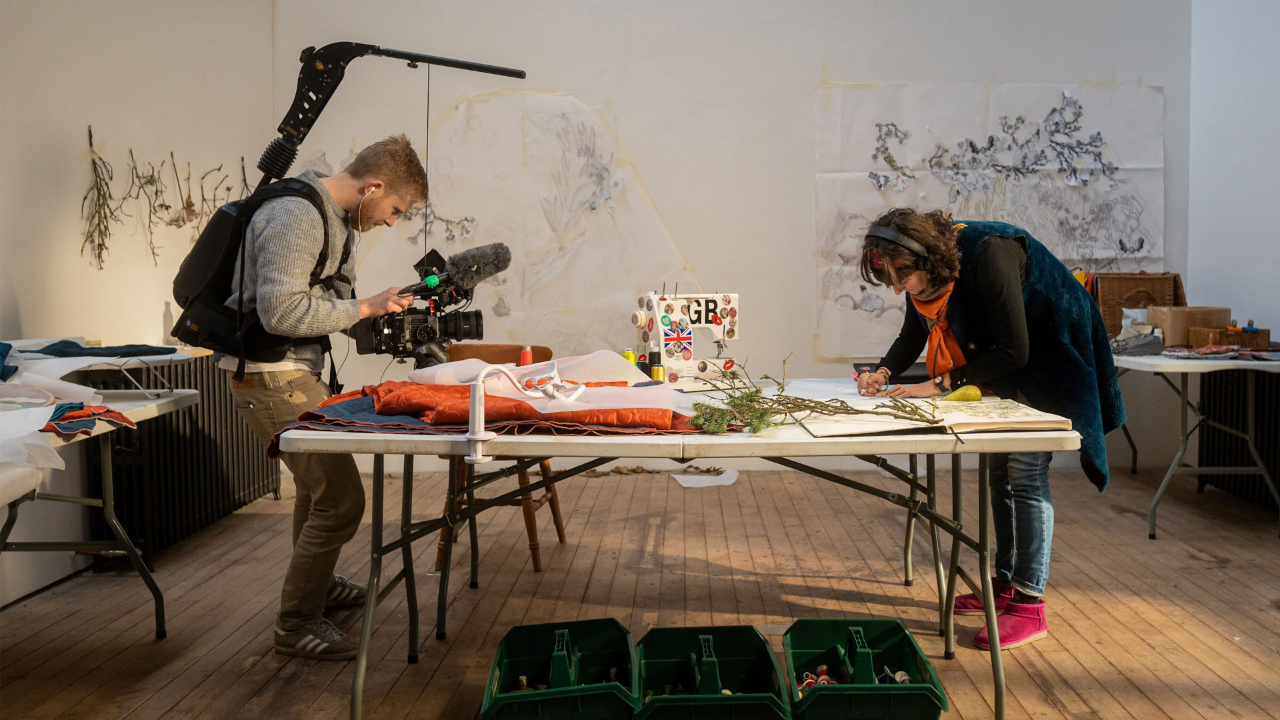
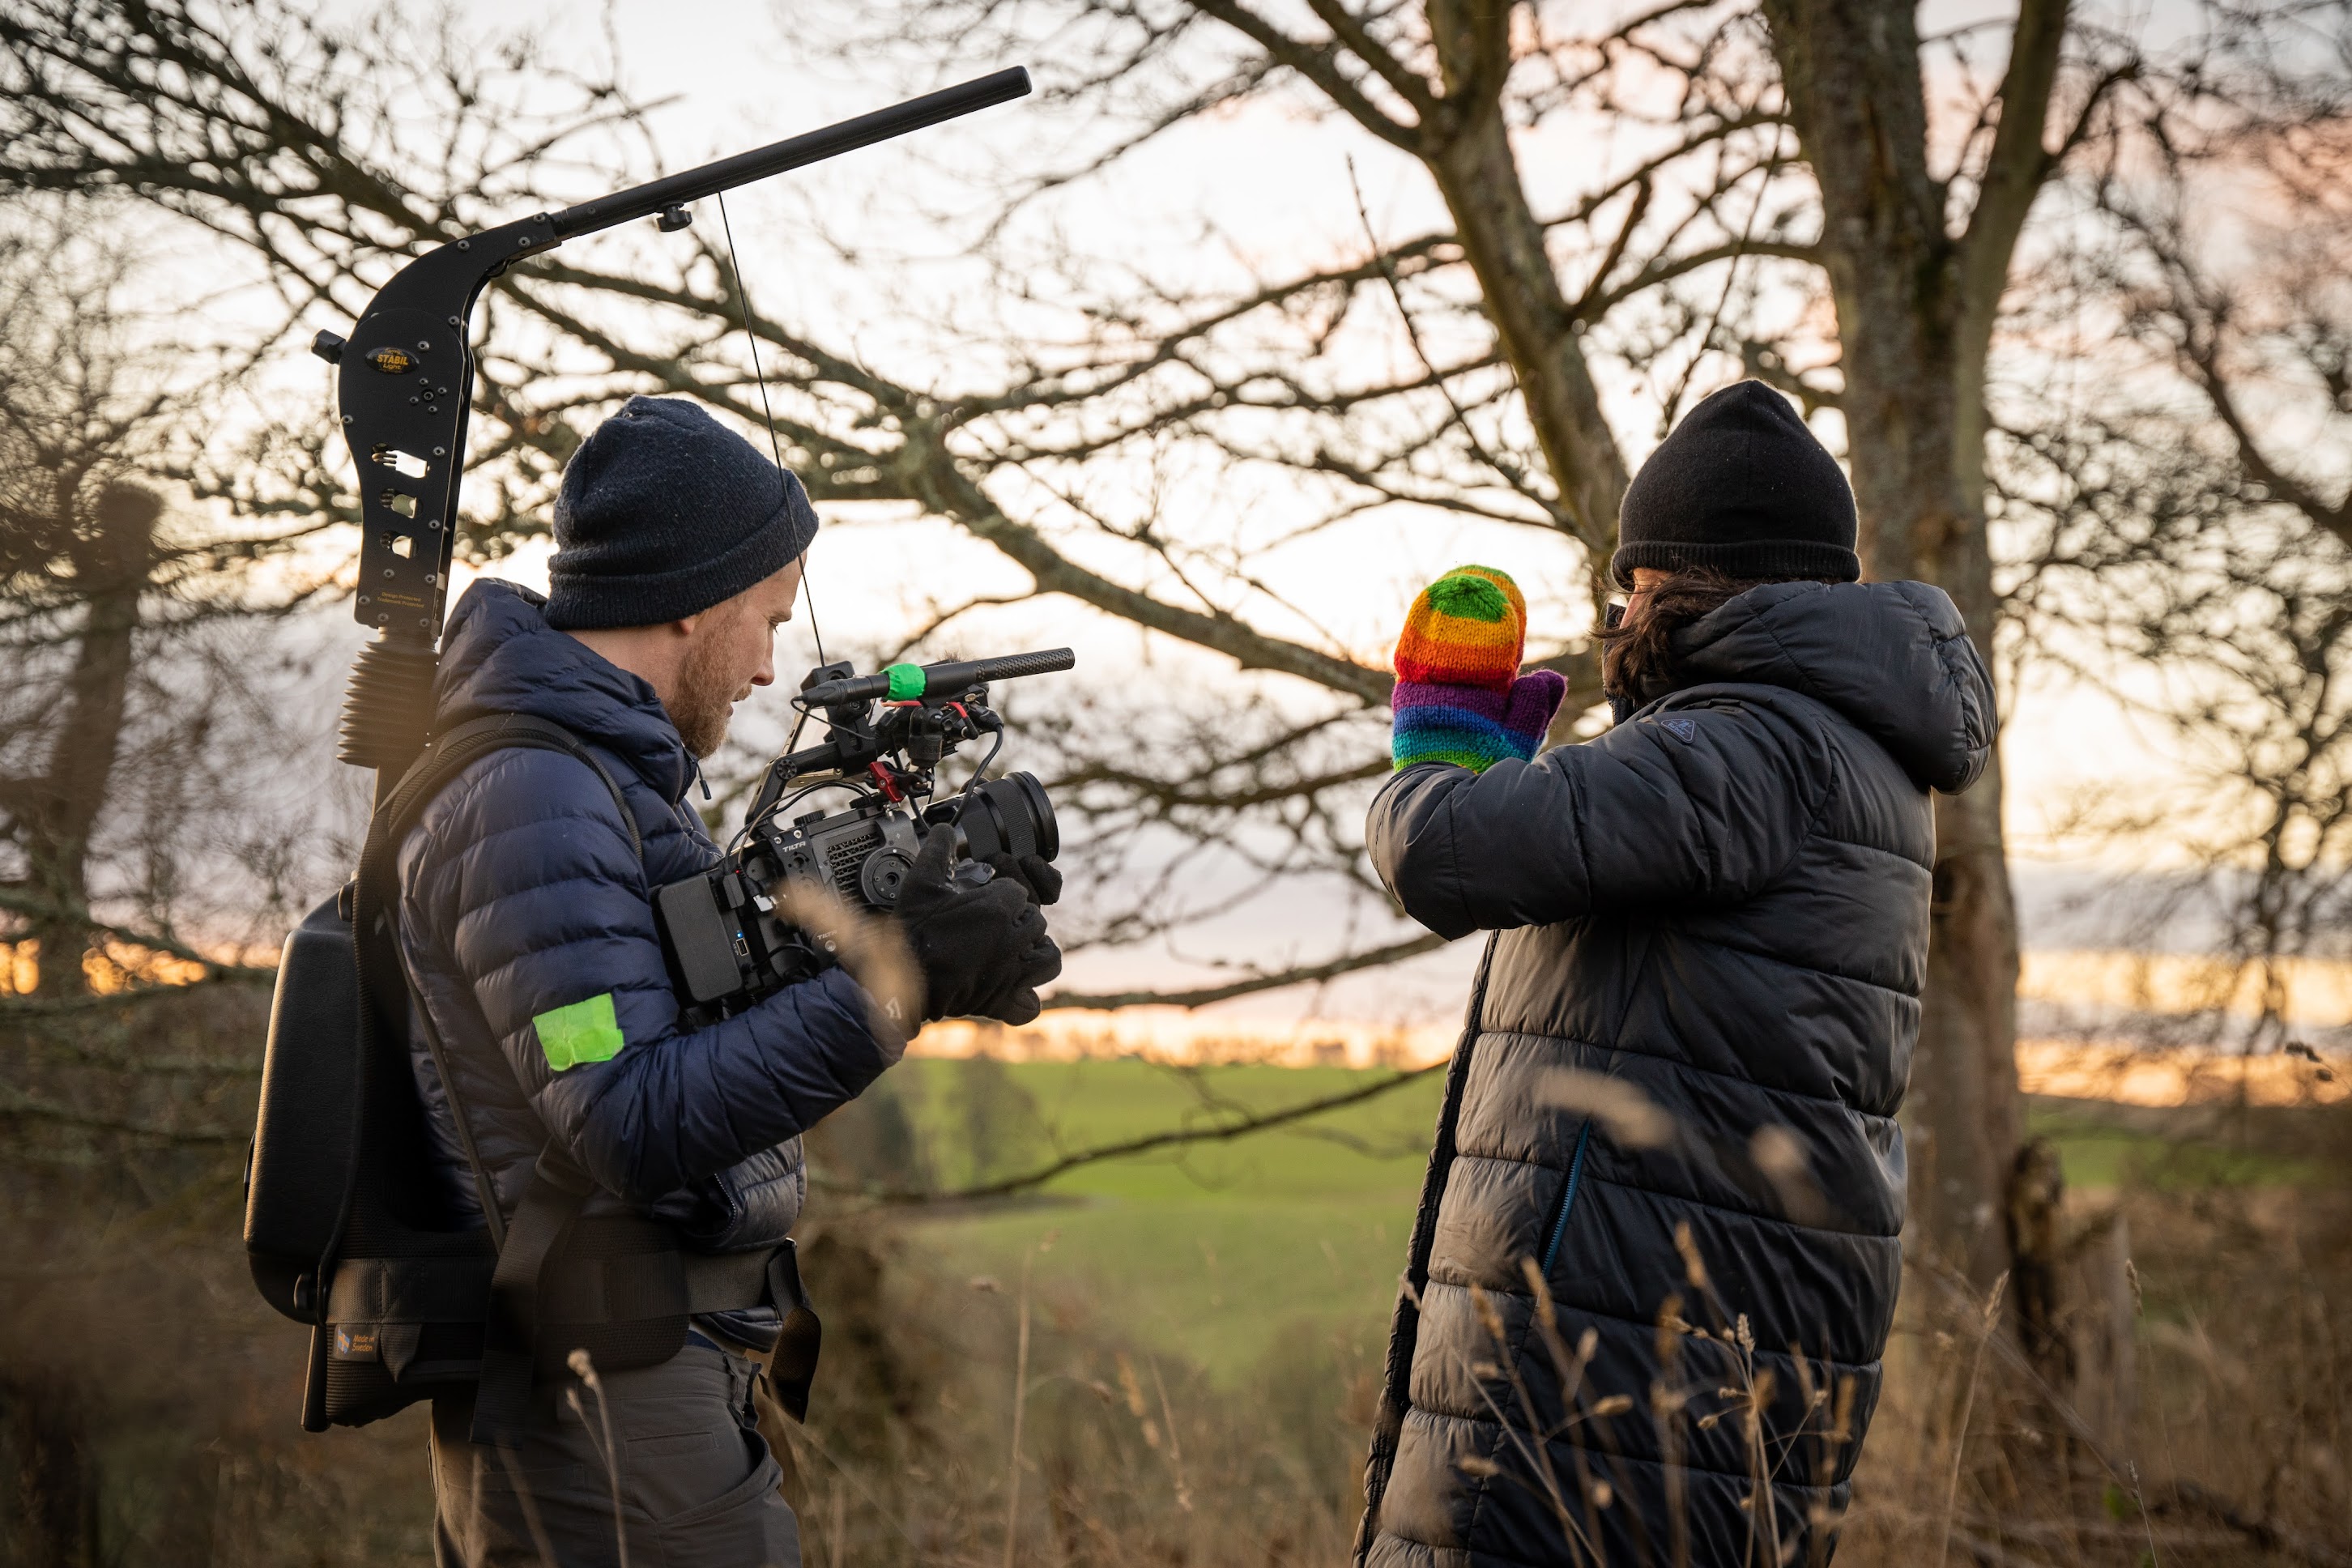
I have been shooting documentaries for over 15 years, and my cinematic camera settings are the first thing I lock in on every project. The difference between footage that looks amateur and footage that looks film-quality almost always comes down to six settings you check before you start rolling. This checklist is the exact process I run through on every shoot.
What you will find in this post:
Why Camera Settings Matter in Cinematic Filmmaking
Using the right camera settings is not about being fancy. It is about:
-
Avoiding preventable mistakes (like running out of battery mid-shoot)
-
Saving hours in post-production
-
Getting that rich, cinematic video look straight out of camera
Here is a breakdown of what to check before you hit record.
Cinematic Camera Settings Checklist
1. Batteries and SD Cards
Simple, but often forgotten.
-
Fully charge all batteries
-
Format your SD cards
-
Pack spares of both
No settings will help you if your gear will not power on.

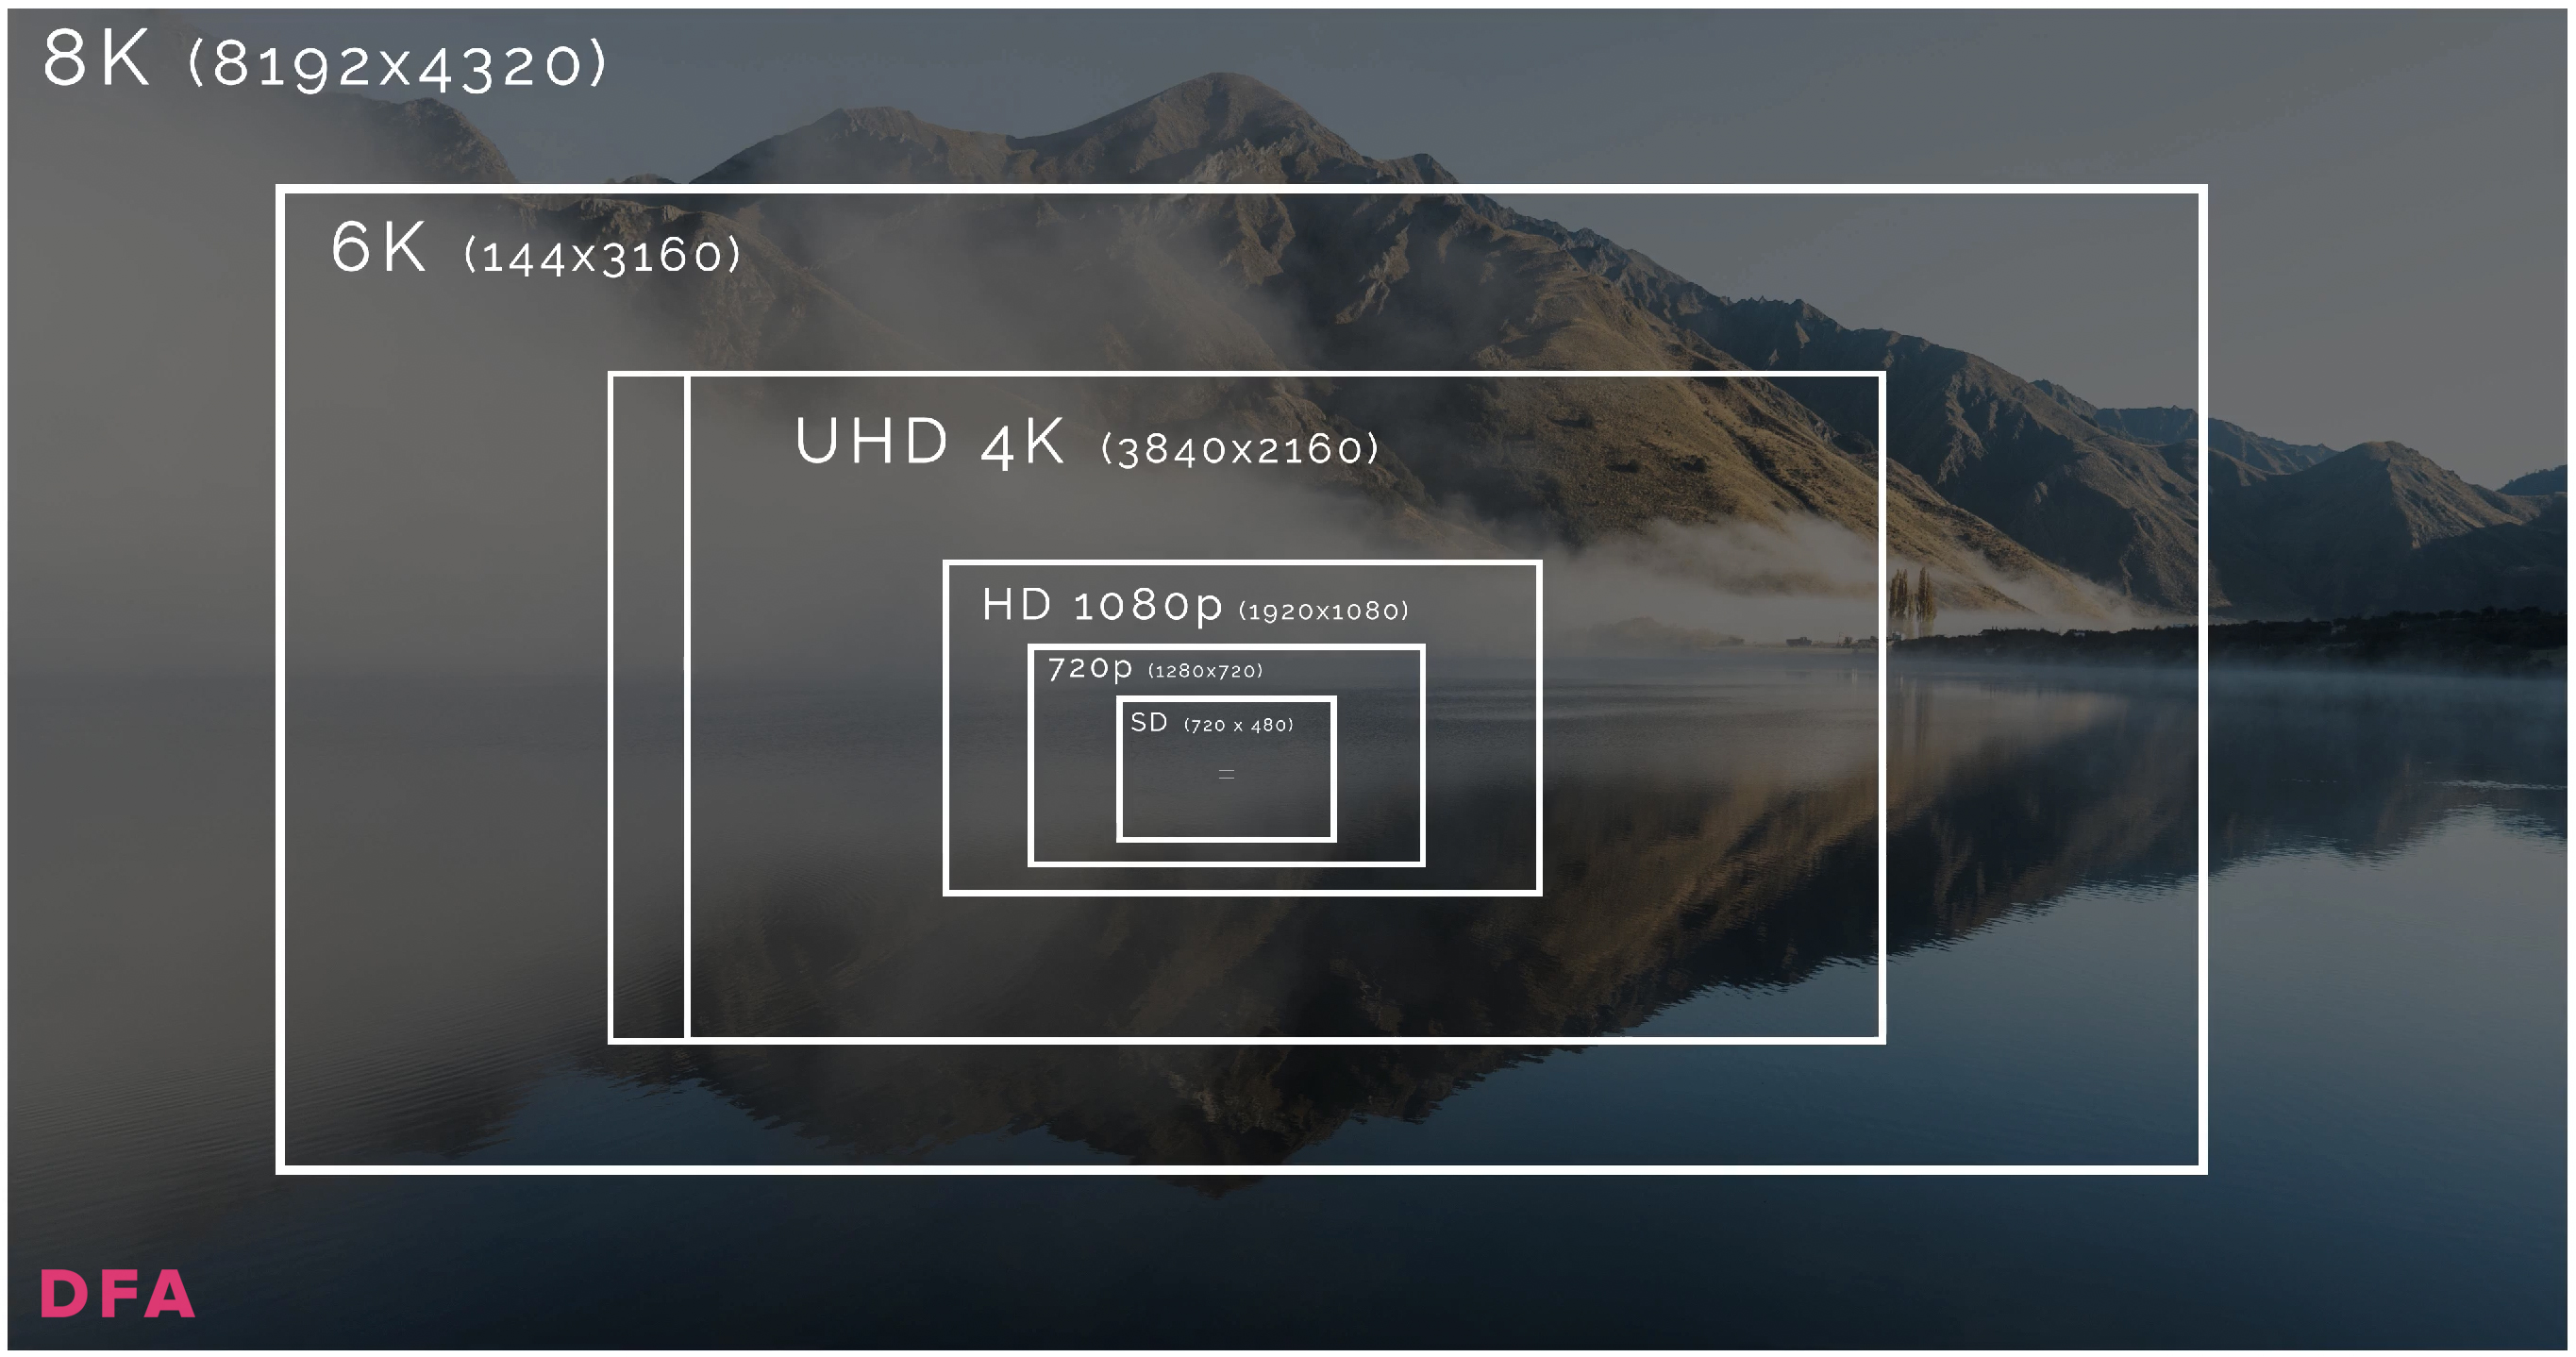
2. Resolution
Choose the highest quality your camera (and editing system) can handle.
-
HD (1080p): Fine for social media, fast workflows
-
4K: Better detail, more flexibility in post
-
8K: Ideal for reframing or cropping, but heavy on storage
If you can, shoot in 4K. It is a good balance of quality and usability.
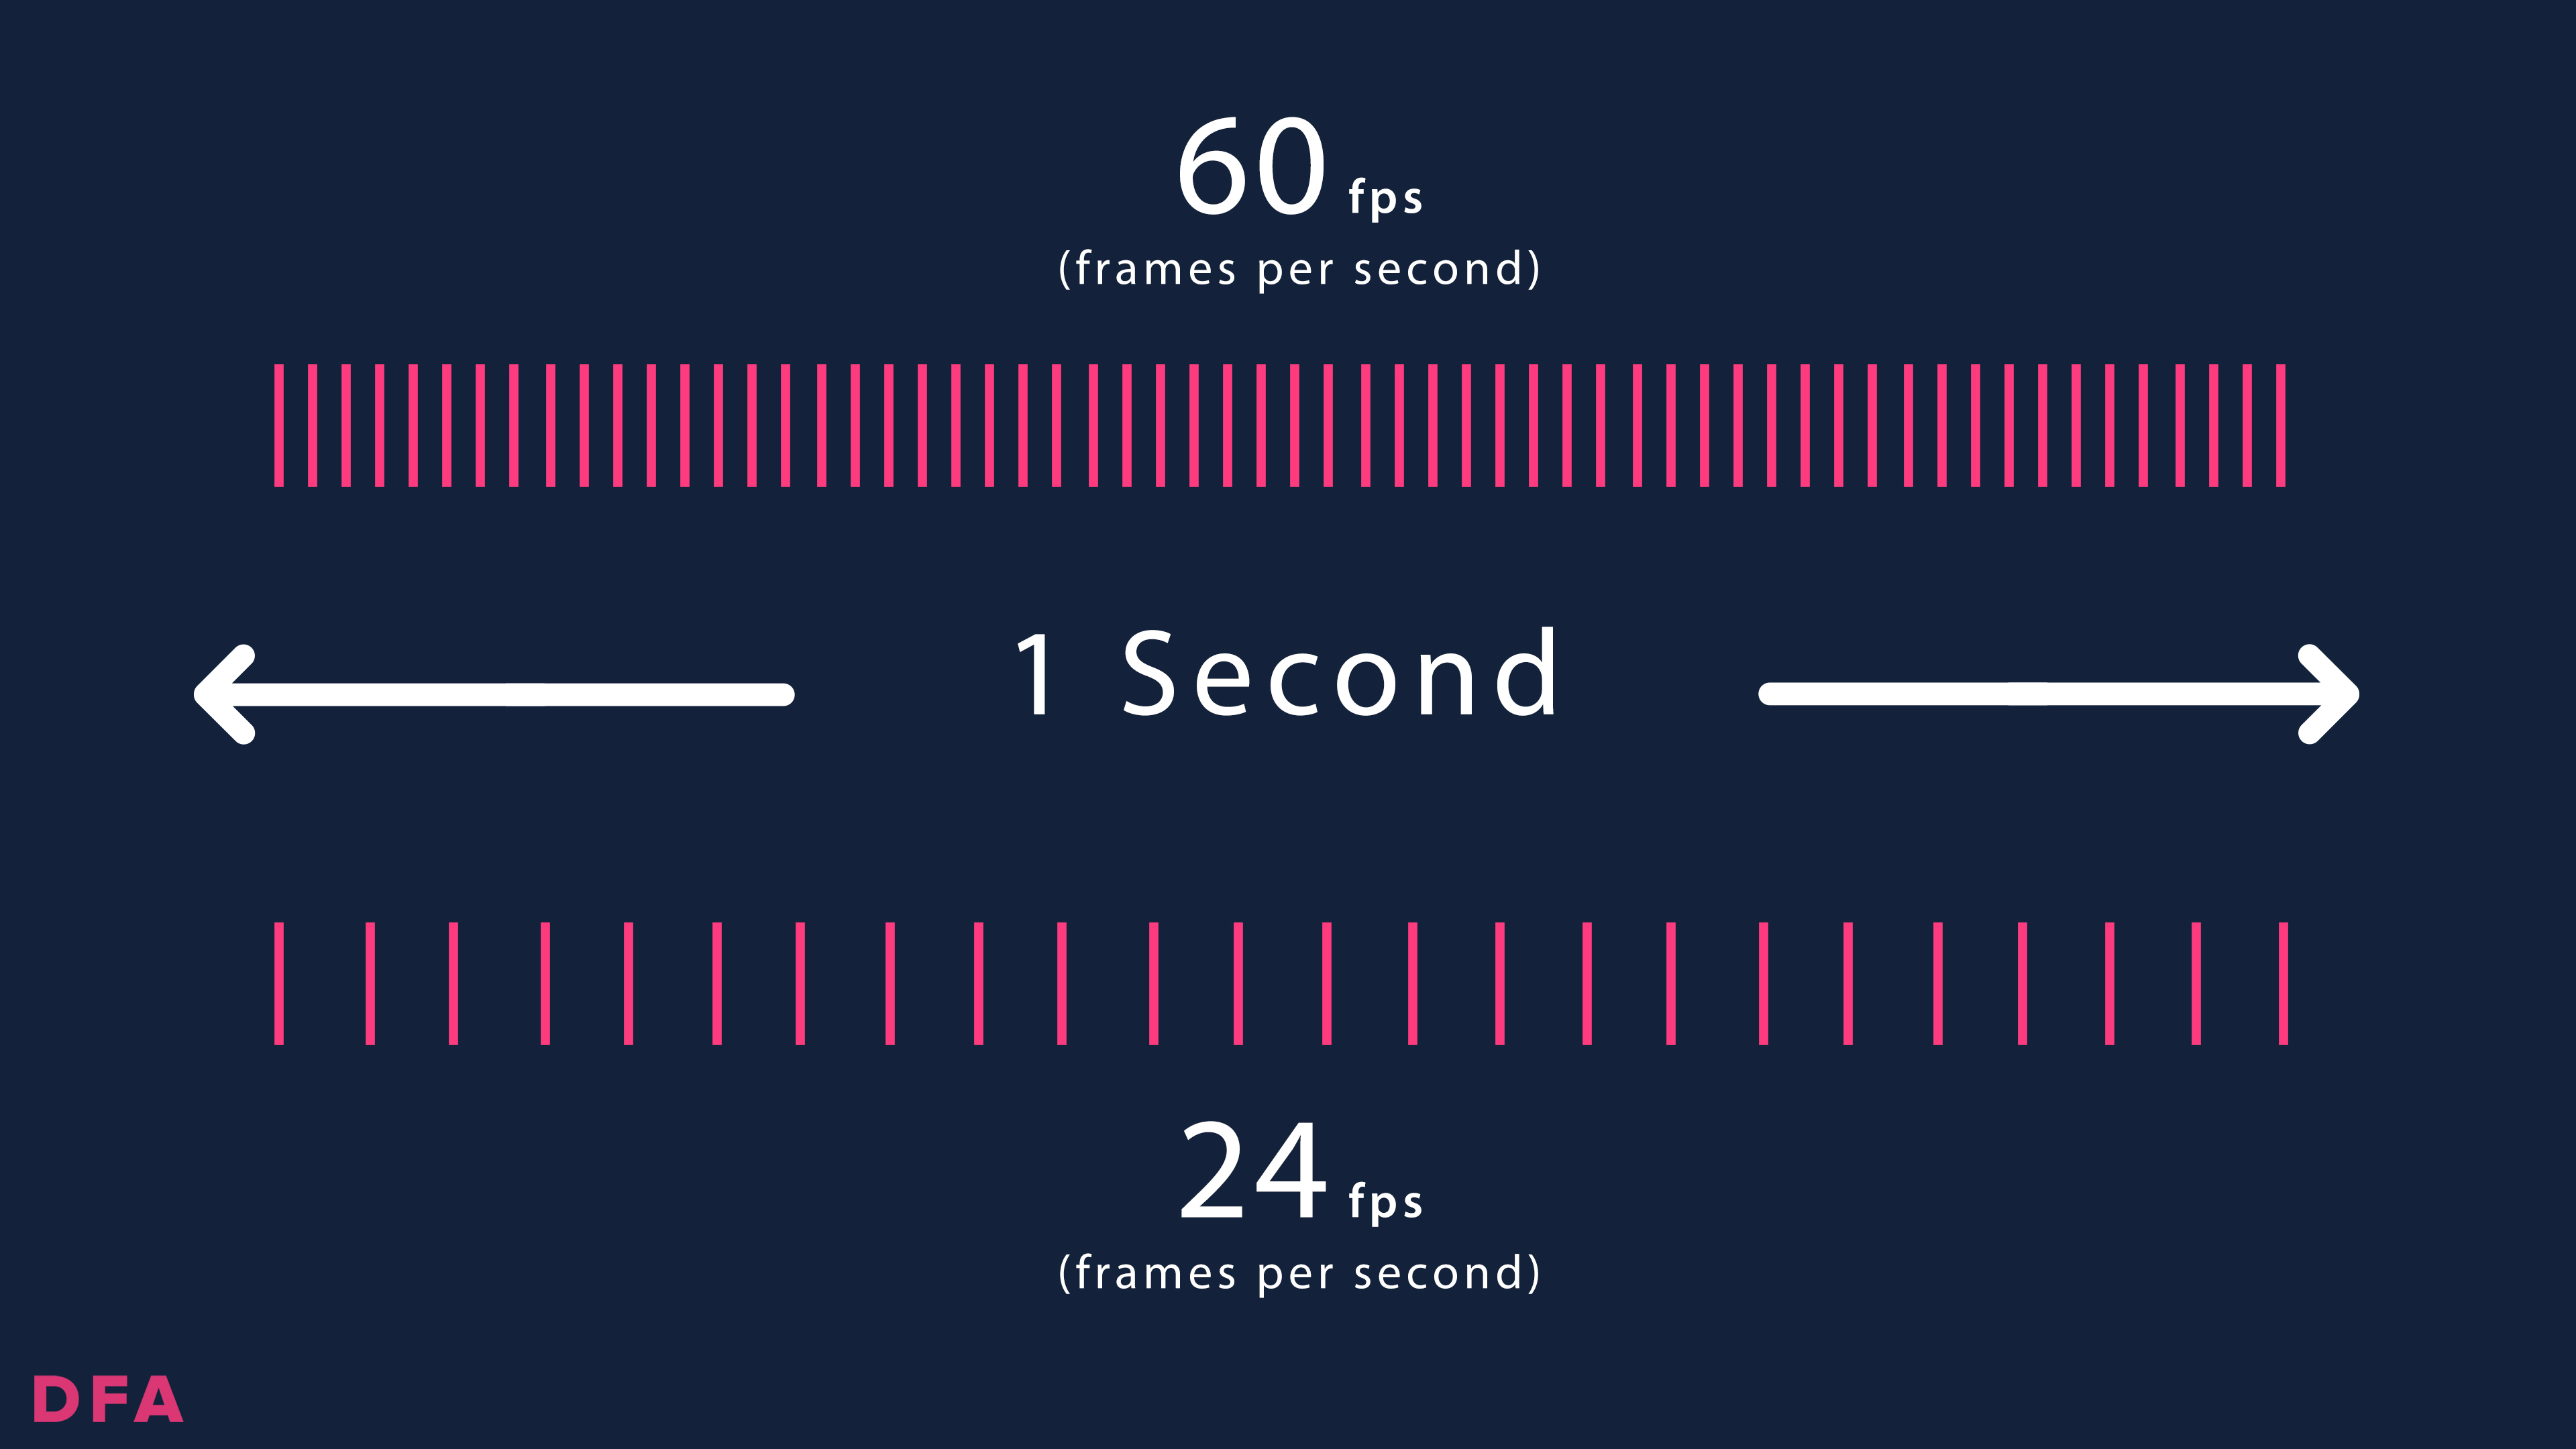
3. Frame Rate (fps)
This affects the motion and feel of your footage.
-
24 or 25fps: For a cinematic look (the standard for film and TV)
-
30fps: Sharper motion, often used in online content
-
60/120fps: For smooth slow-motion
-
1fps or below: For time-lapse
Pick your frame rate before you shoot. Mixing frame rates in post can get messy. For a deeper breakdown, read Frame Rates for Filmmakers: A Beginner's Guide to FPS.
4. Aspect Ratio
Aspect ratio is the shape of your image. Set it based on where the video will be shown.
-
16:9: Standard for YouTube and most platforms
-
1.85:1: Wider, cinematic feel
-
9:16 or 1:1: For Instagram, TikTok, etc.
Choosing this early avoids re-editing later. I also include editing templates for common ratios in the Documentary Film Academy course.

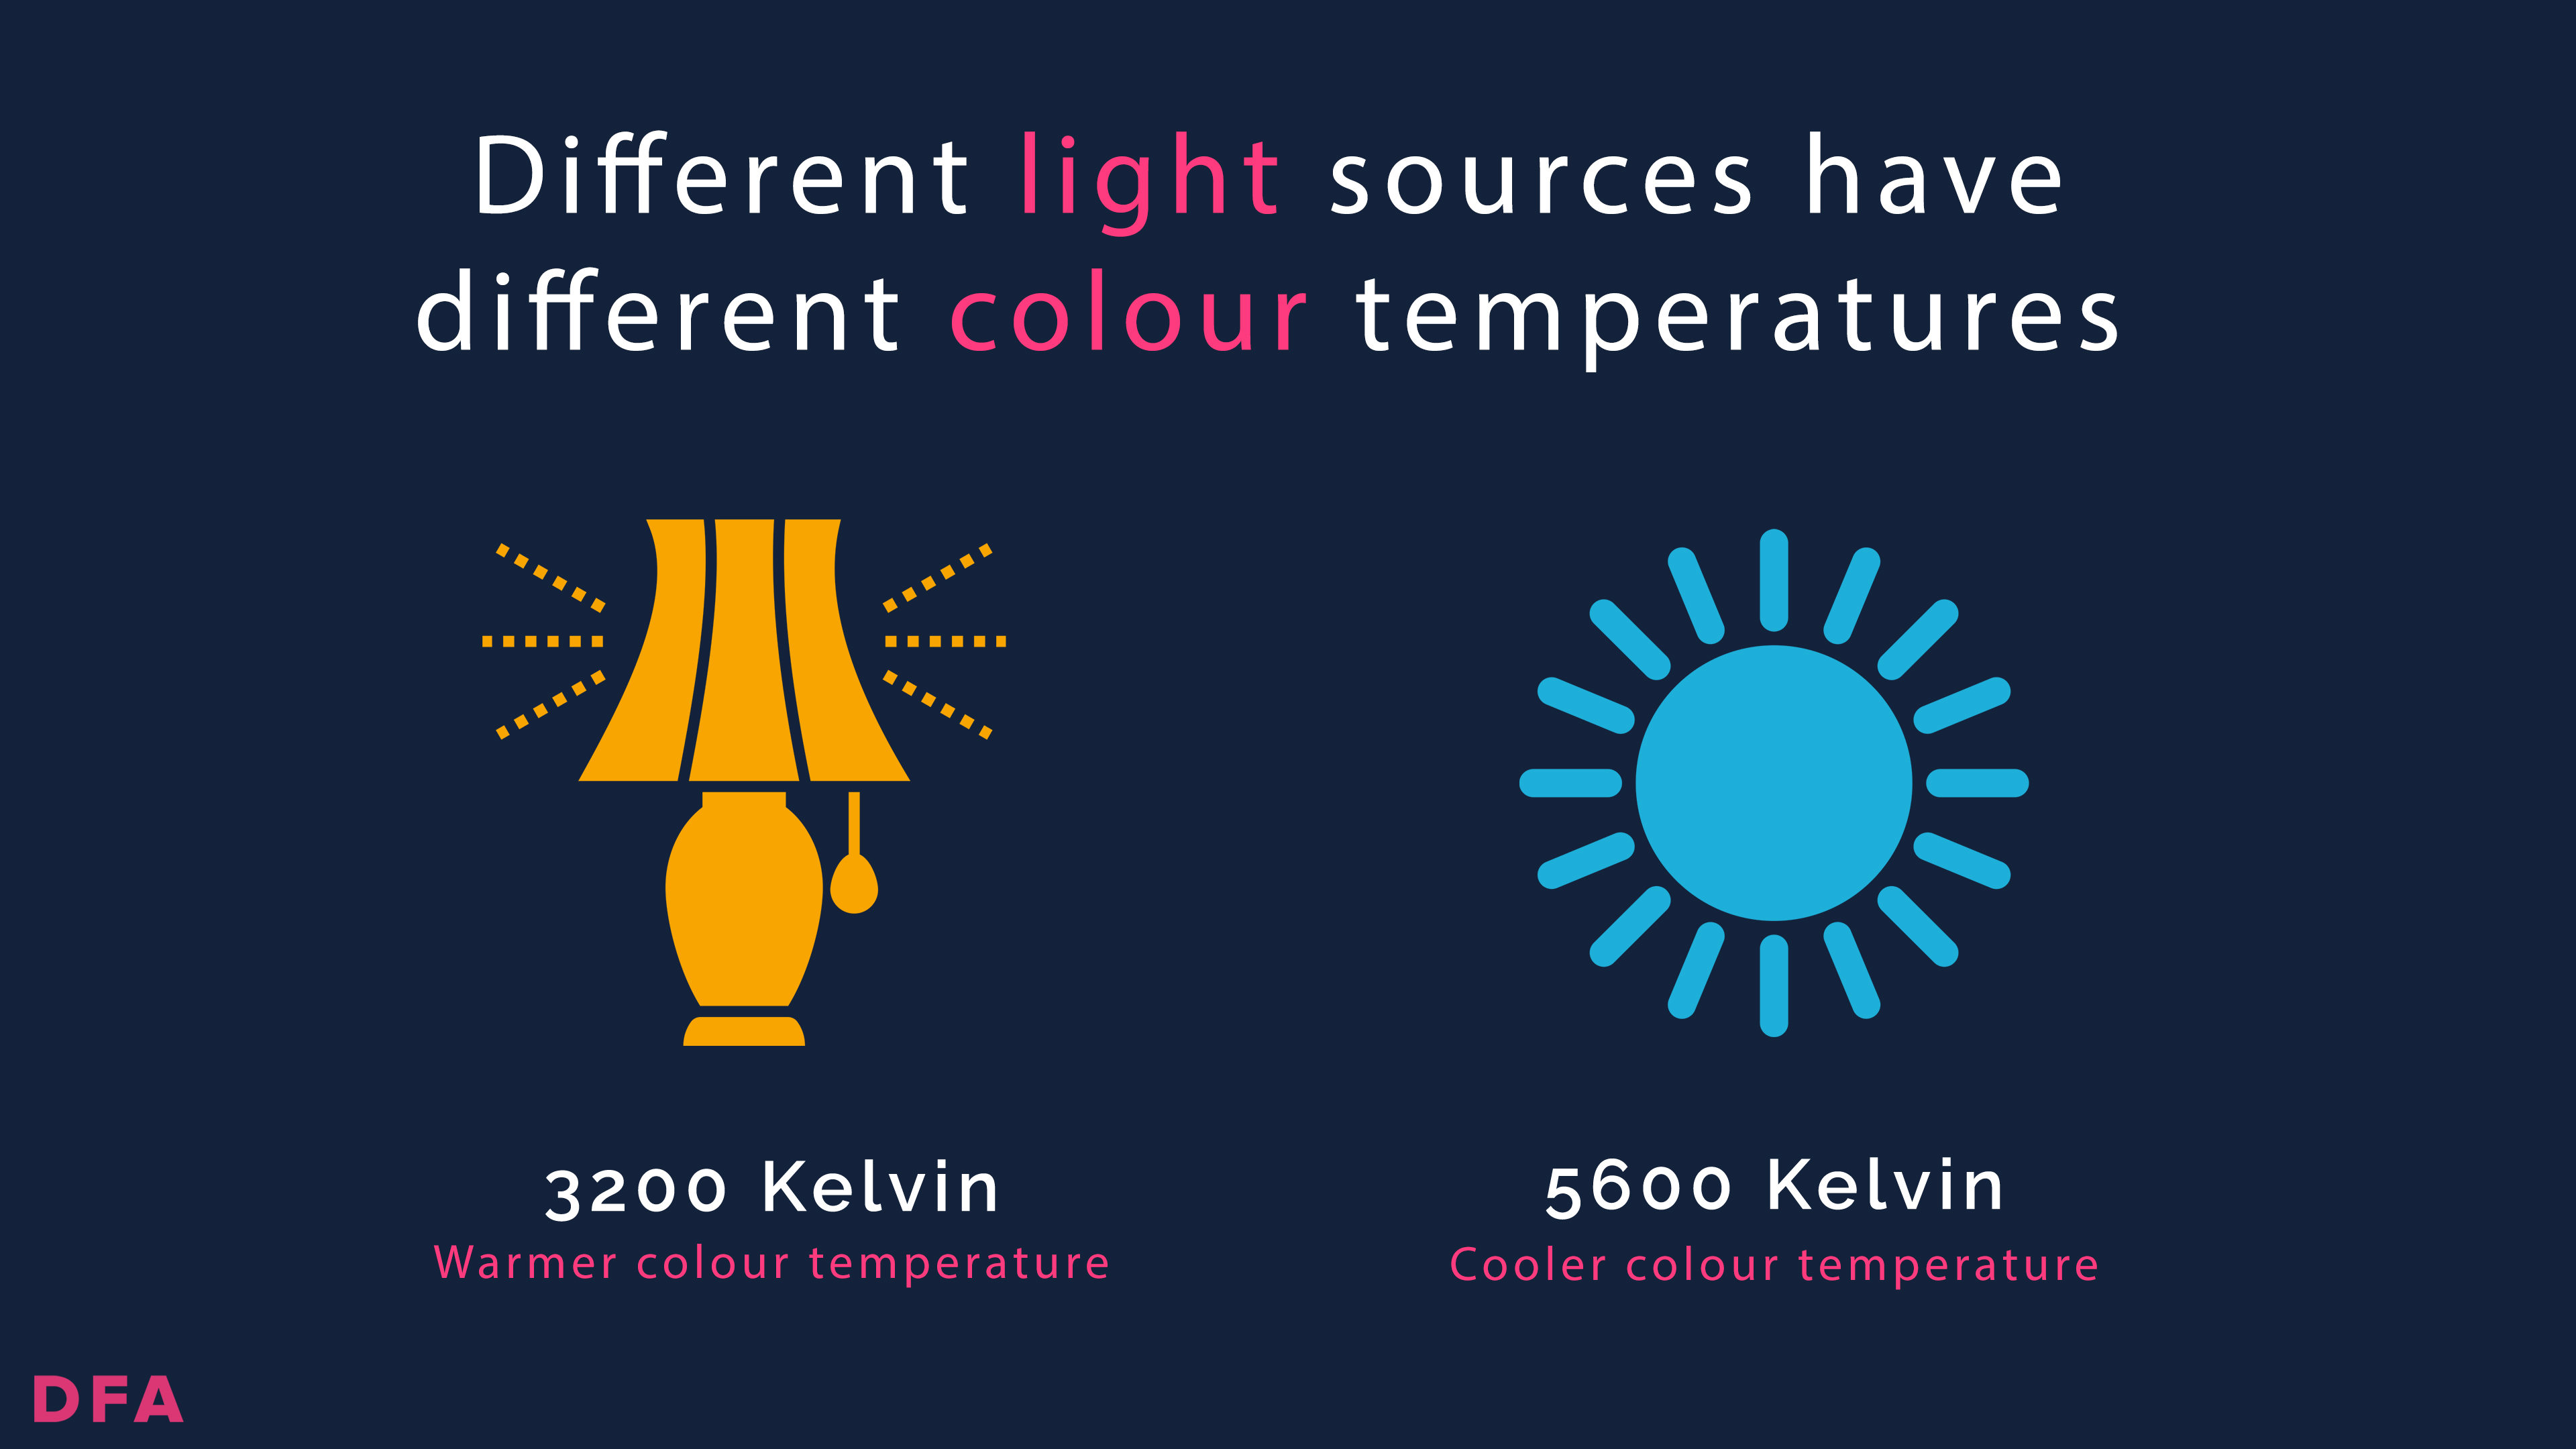
5. White Balance
Lighting changes throughout the day. Your camera will not always know what "white" is.
Set white balance manually or use presets:
-
Daylight (around 5600K)
-
Tungsten (around 3200K)
-
Cloudy
Manual settings give better results. It keeps your colours accurate and gives you flexibility in post.
6. Exposure Settings
Exposure is the balance of light in your shot. There are four ways to control it:
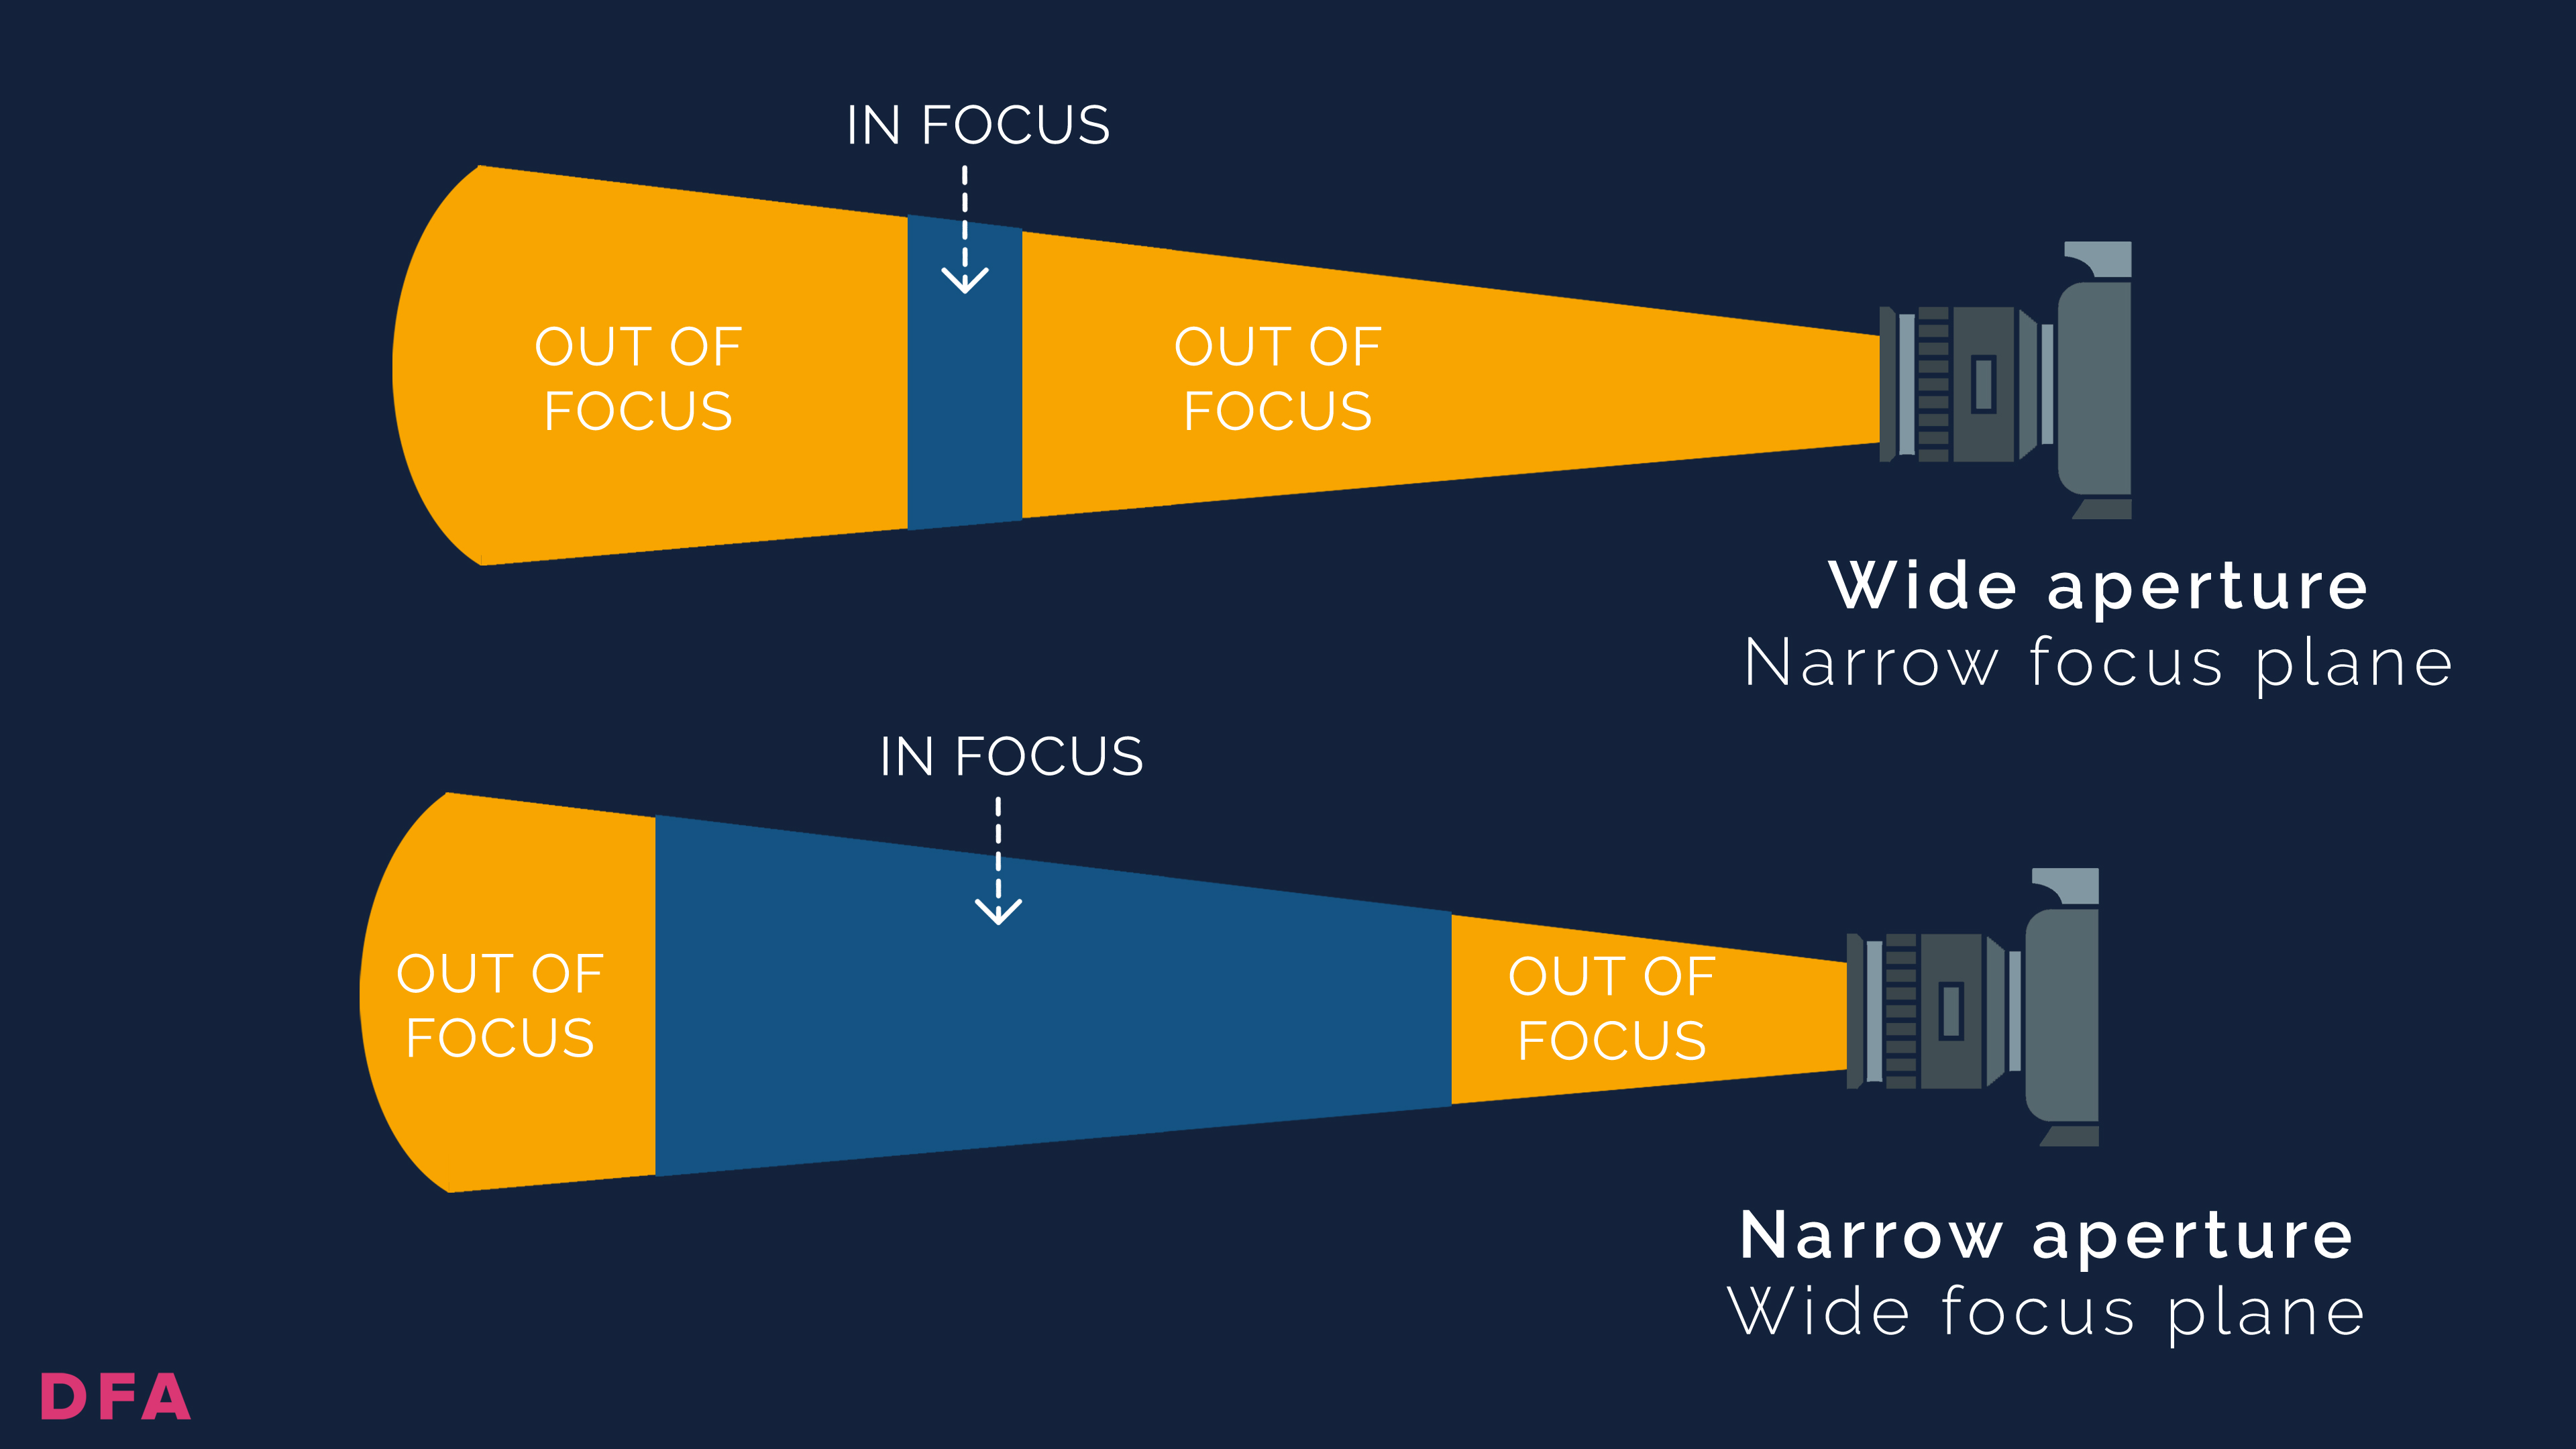
Aperture (f-stop)
Controls brightness and depth of field.
Lower f-stops (like f/2.8) blur the background, great for portraits and interviews.
Higher f-stops (like f/8) keep more of the image sharp, better for landscapes and wide shots.
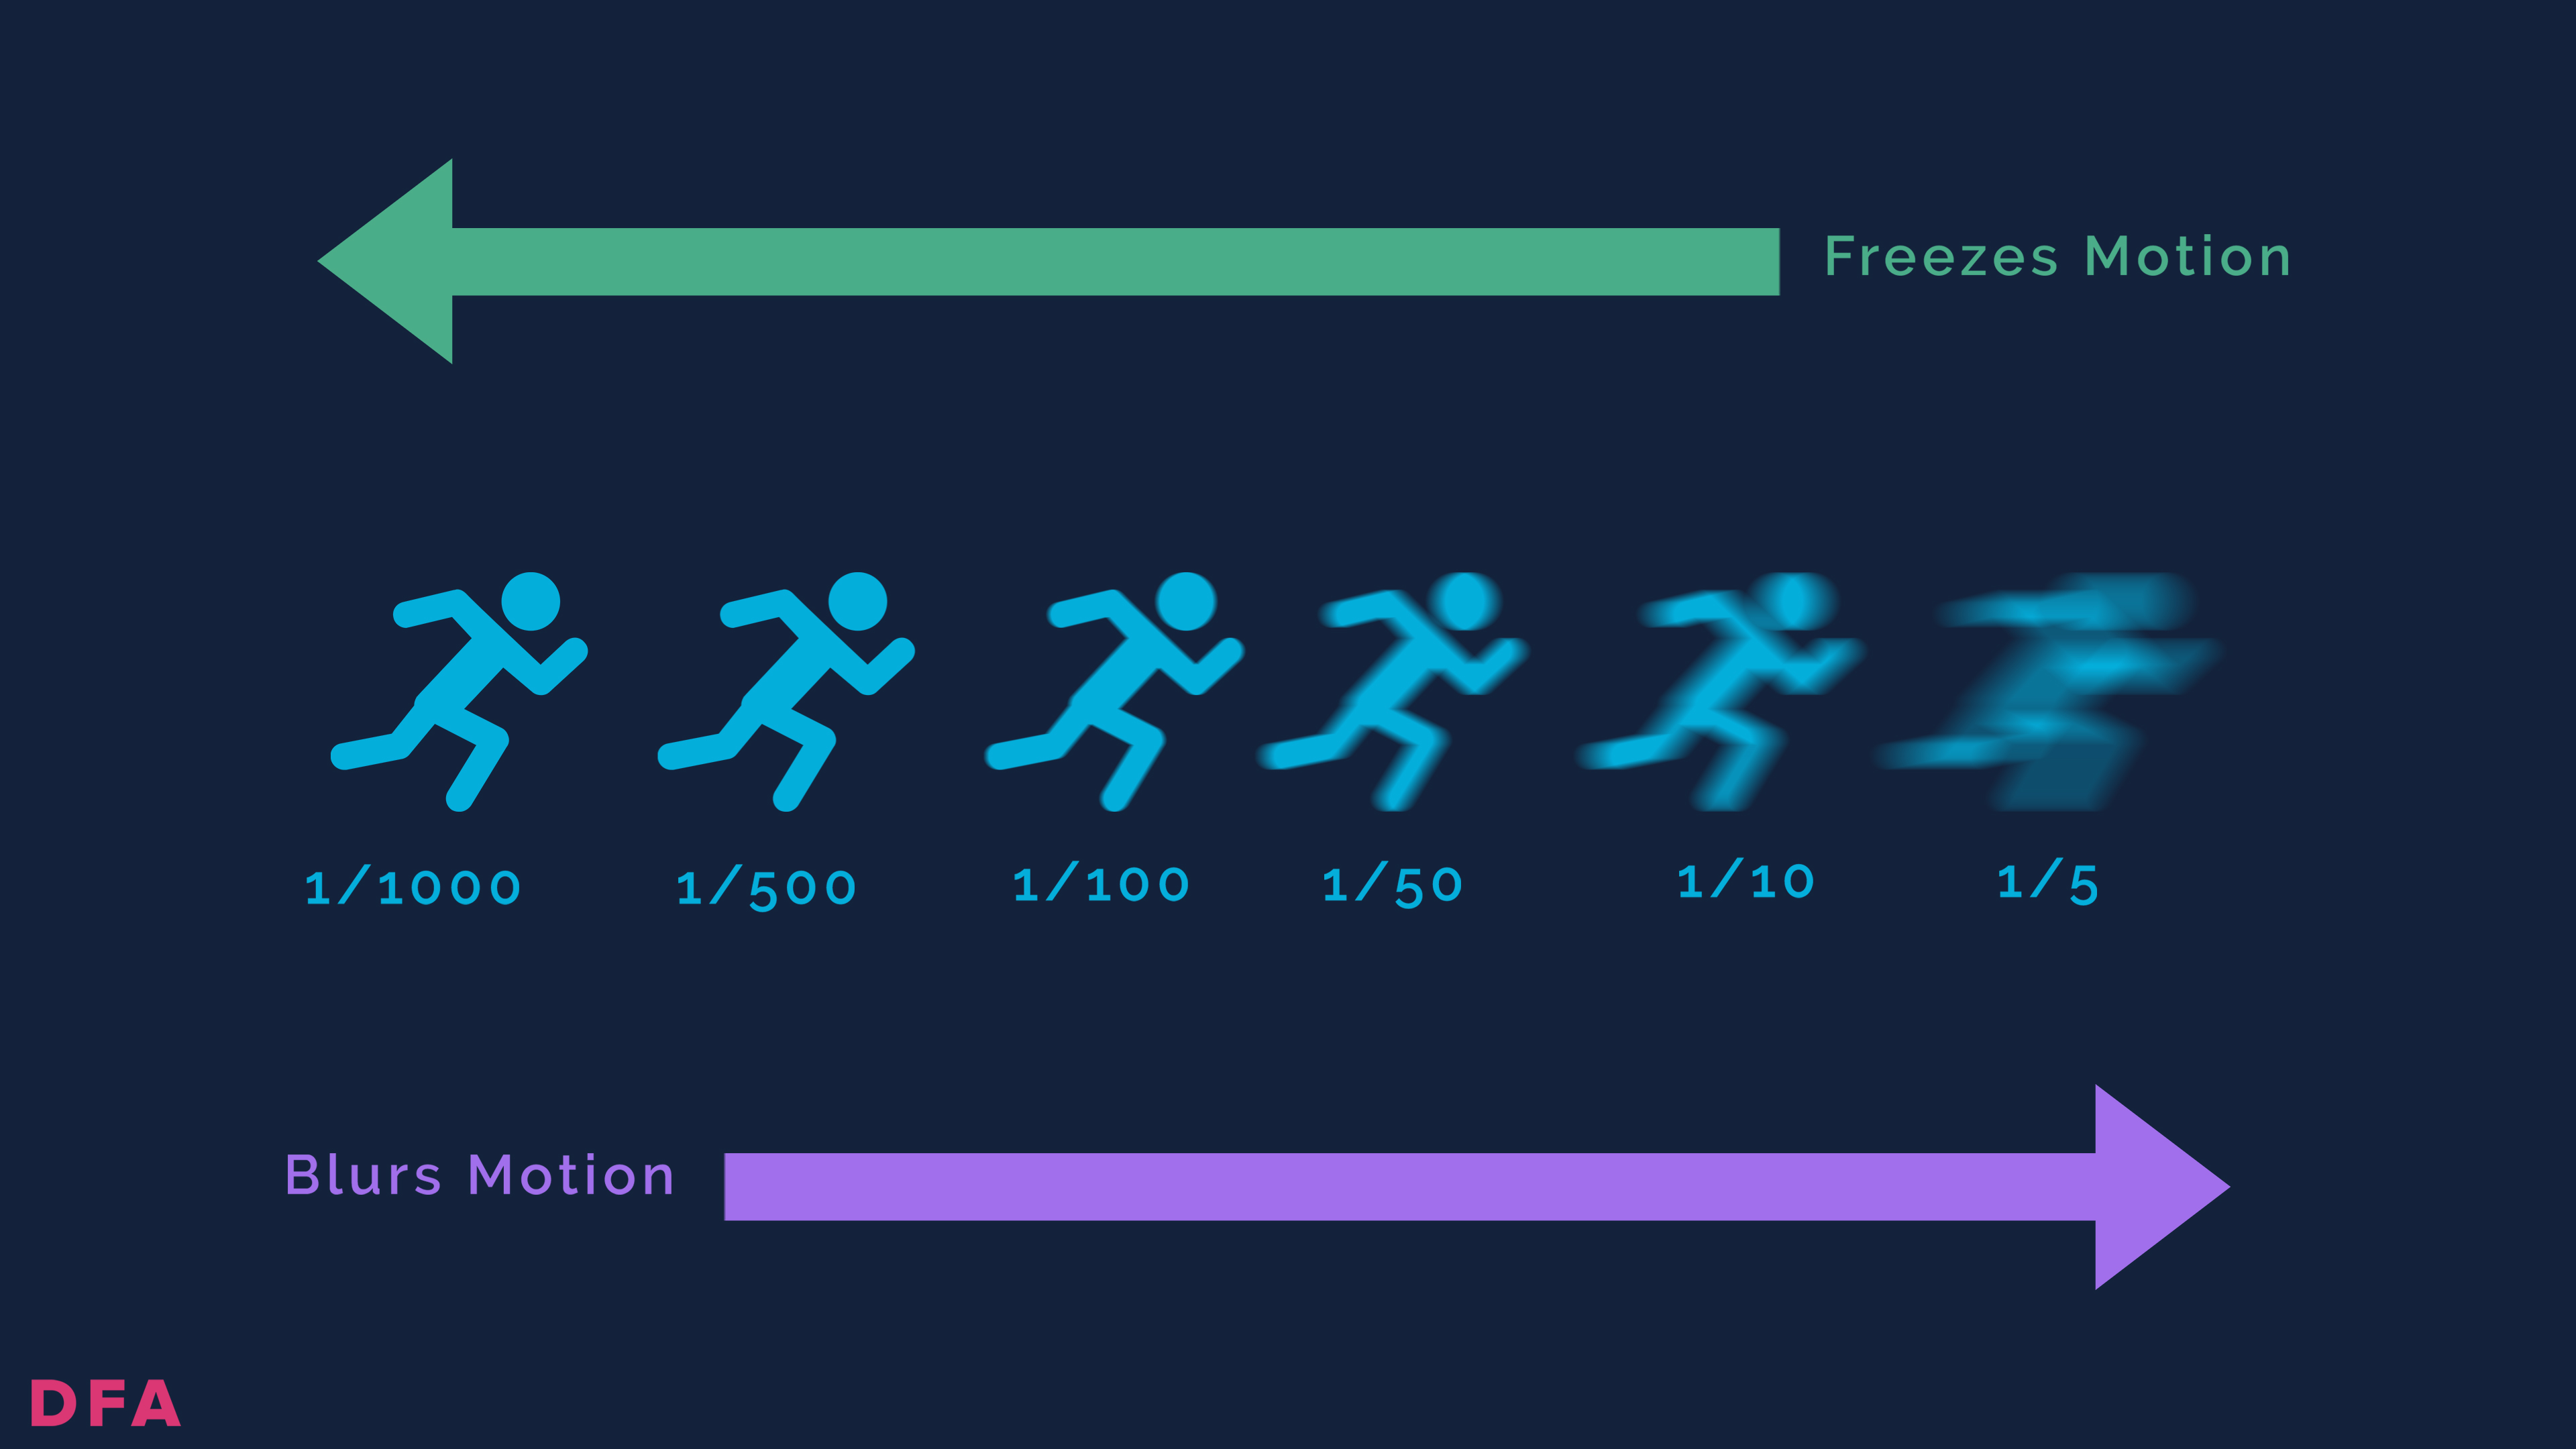
Shutter Speed
Affects motion blur.
Use the 180-degree shutter rule: set shutter speed to double your frame rate (e.g. 1/50s for 25fps). This creates natural-looking motion blur that our eyes expect from cinema. If you break this rule, footage can look either too choppy or too smooth.
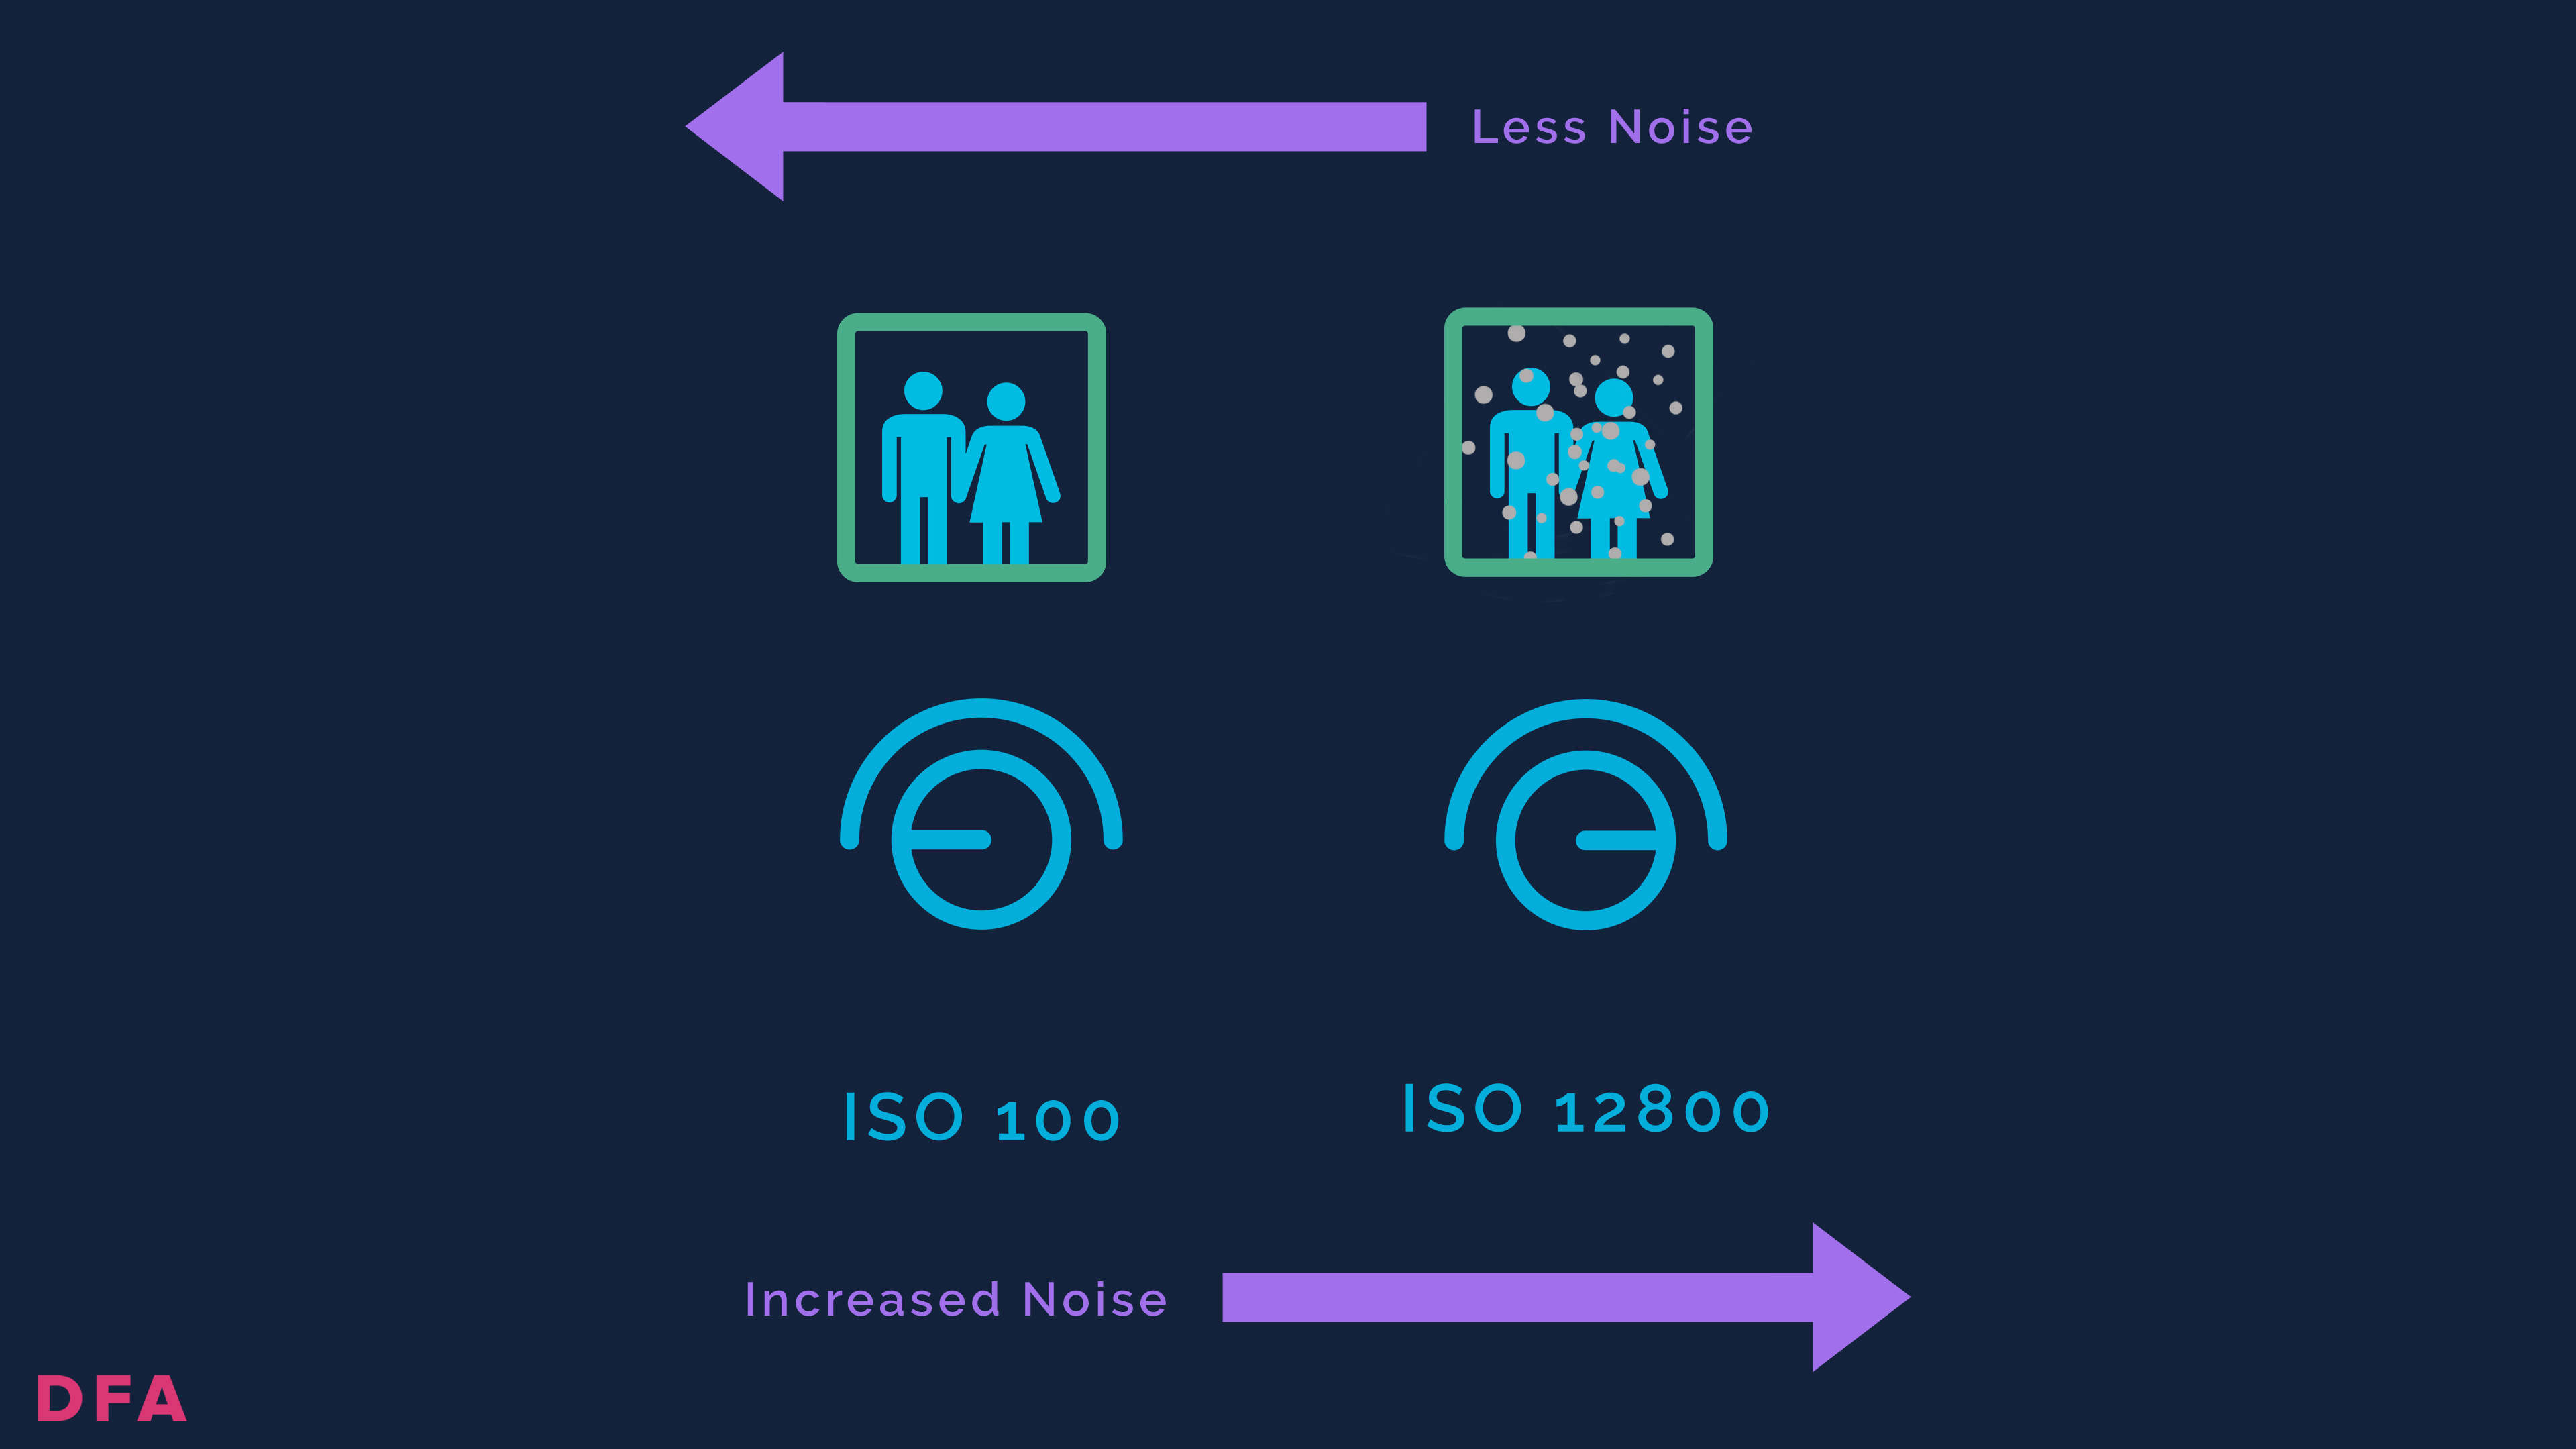
ISO
Controls light sensitivity.
Lower ISO = cleaner image.
Higher ISO = brighter image, but more grain (noise).
Every camera has a "native ISO" where it performs best. For many popular mirrorless cameras like the Sony a7 series, this is around ISO 640. Check your camera's manual to find yours.
ND Filters
Use these to cut light without changing your exposure settings. Essential in bright outdoor scenes. A variable ND filter is one of the most useful accessories you can own as a filmmaker.

7. Picture Profile (Shooting in Log)
If your camera supports a Log picture profile (like S-Log on Sony, C-Log on Canon, or V-Log on Panasonic), consider using it. Log profiles capture a wider dynamic range, which means more detail in shadows and highlights. This gives you much more flexibility when colour grading in post.
The trade-off: Log footage looks flat and desaturated straight out of camera. You need to colour grade it for it to look right. If you are short on editing time or new to grading, standard picture profiles like "Natural" or "Cine" are a safer choice.
Practice Before Your Shoot
The best way to learn these settings is to test them. Go outside with your camera. Shoot the same scene at different times of day. Adjust your settings and review the results. The more you do this, the more confident you will get.
Free Checklist Download
Want this checklist as a PDF?
Download the Cinematic Camera Settings Checklist
Keep it with you in your kit bag or camera notes.

Bonus Tips to Make Your Footage Look More Cinematic
Camera settings are only part of the story. Here are five more things that help:
Composition
Use the rule of thirds. Place your subject off-centre. Use leading lines and foreground elements to add depth.
5 Rules of Composition (For Filmmakers)

Lighting
Soft light is more cinematic than harsh light. Use natural light, diffusers, or bounce boards where you can.
Cinematic Lighting for Beginner Filmmakers
Colour Grading
In post, colour grading sets the tone. Warm tones feel nostalgic. Cool tones feel moody. Use LUTs or grade manually.
Depth of Field
Use a wide aperture (low f-stop) to blur backgrounds and isolate your subject.
How to Keep Your Subject in Focus When Filming Solo
Camera Movement
Use sliders, gimbals, or slow handheld moves. Keep it intentional. Even subtle movement adds energy.
5 Essential Techniques to Make Your Film Cinematic
Cinematic Camera Settings FAQ
How do I make my camera look cinematic?
Set your frame rate to 24 or 25fps, use the 180-degree shutter rule (shutter speed double your frame rate), shoot with a wide aperture for a shallow depth of field, and keep your ISO as low as possible. Pair these settings with good composition and soft lighting, and your footage will look far more cinematic.
What are the best camera settings for cinematic video?
The core settings are: 4K resolution, 24fps frame rate, 1/50 shutter speed, a wide aperture (f/2.8 to f/5.6), the lowest clean ISO your camera allows, and manual white balance. If your camera supports it, shoot in a Log picture profile for more colour grading options in post.
What is the 180-degree shutter rule?
The 180-degree shutter rule means setting your shutter speed to double your frame rate. If you shoot at 24fps, set your shutter to 1/48 (or 1/50 on most cameras). At 25fps, use 1/50. This creates the natural motion blur audiences expect from cinematic footage.
What frame rate is best for a cinematic look?
24fps is the traditional cinema standard. If you are in a PAL region, 25fps works the same way. Both give footage that "film" look because they match the frame rate movies have been shot at for over a century.
Should I shoot in Log or standard picture profile?
Shoot Log if you plan to colour grade and want maximum dynamic range. Shoot standard (like "Natural" or "Cine") if you need footage that looks good straight out of camera or you do not have time for grading. On tight turnarounds, standard profiles save a lot of editing time.
Final Thoughts
There is no perfect setting. Every project, location, and story is different.
But if you follow this checklist, you will reduce mistakes, save time in post, and shoot more confidently, especially under pressure.
If you want step-by-step guidance and templates to help with gear, editing, or filming, check our Documentary Fundamentals course.
Related posts: