How to Film a Documentary Interview: 7-Step Guide
Filming documentary interviews isn't just about setting up a great looking shot, it's about building trust with your subject so they feel safe and comfortable enough to be truly vulnerable on camera.
If you're making an interview-led film, your sit-down conversations are the engine of your story. But getting that cinematic look while keeping your subject relaxed is harder than it looks. I'm breaking down my 7-step documentary interview process, from finding the right location to the camera settings and lighting techniques that make your subject look and sound professional.
In this post:
- What Is a Documentary Interview?
- Watch: How to Film a Cinematic Documentary Interview
- How to Film a Documentary Interview: Step-by-Step
- Are Interviews Essential for Documentaries?
- Final Thoughts on Interview Technique
- Frequently Asked Questions
What Is a Documentary Interview?
A documentary interview is a structured, on-camera conversation used to tell a real story. Unlike casual chats or news bites, documentary interviews are carefully framed and emotionally grounded. They draw out personal stories or expert insights that shape the heart of the film.
Watch: How to Film a Cinematic Documentary Interview
Want to see the full process in action? Watch the video below where I walk through how I approach interview setup, lighting, framing, and making your subject feel relaxed on camera.
How to Film a Documentary Interview: Step-by-Step
Step 1: Choose the Right Interview Location
The first thing to do is find a space that fits the tone of your film and allows you to record clean audio. Avoid places with loud background noise, traffic, appliances, or reverb-heavy rooms.
If you're filming indoors, do a quick clap test. If you hear the sound bouncing off walls, floor, and ceiling, try another room or soften the echo with blankets or soft furnishings. Prioritise audio over visuals if you have to choose. You can always make a plain space look better, but bad sound is hard to fix.
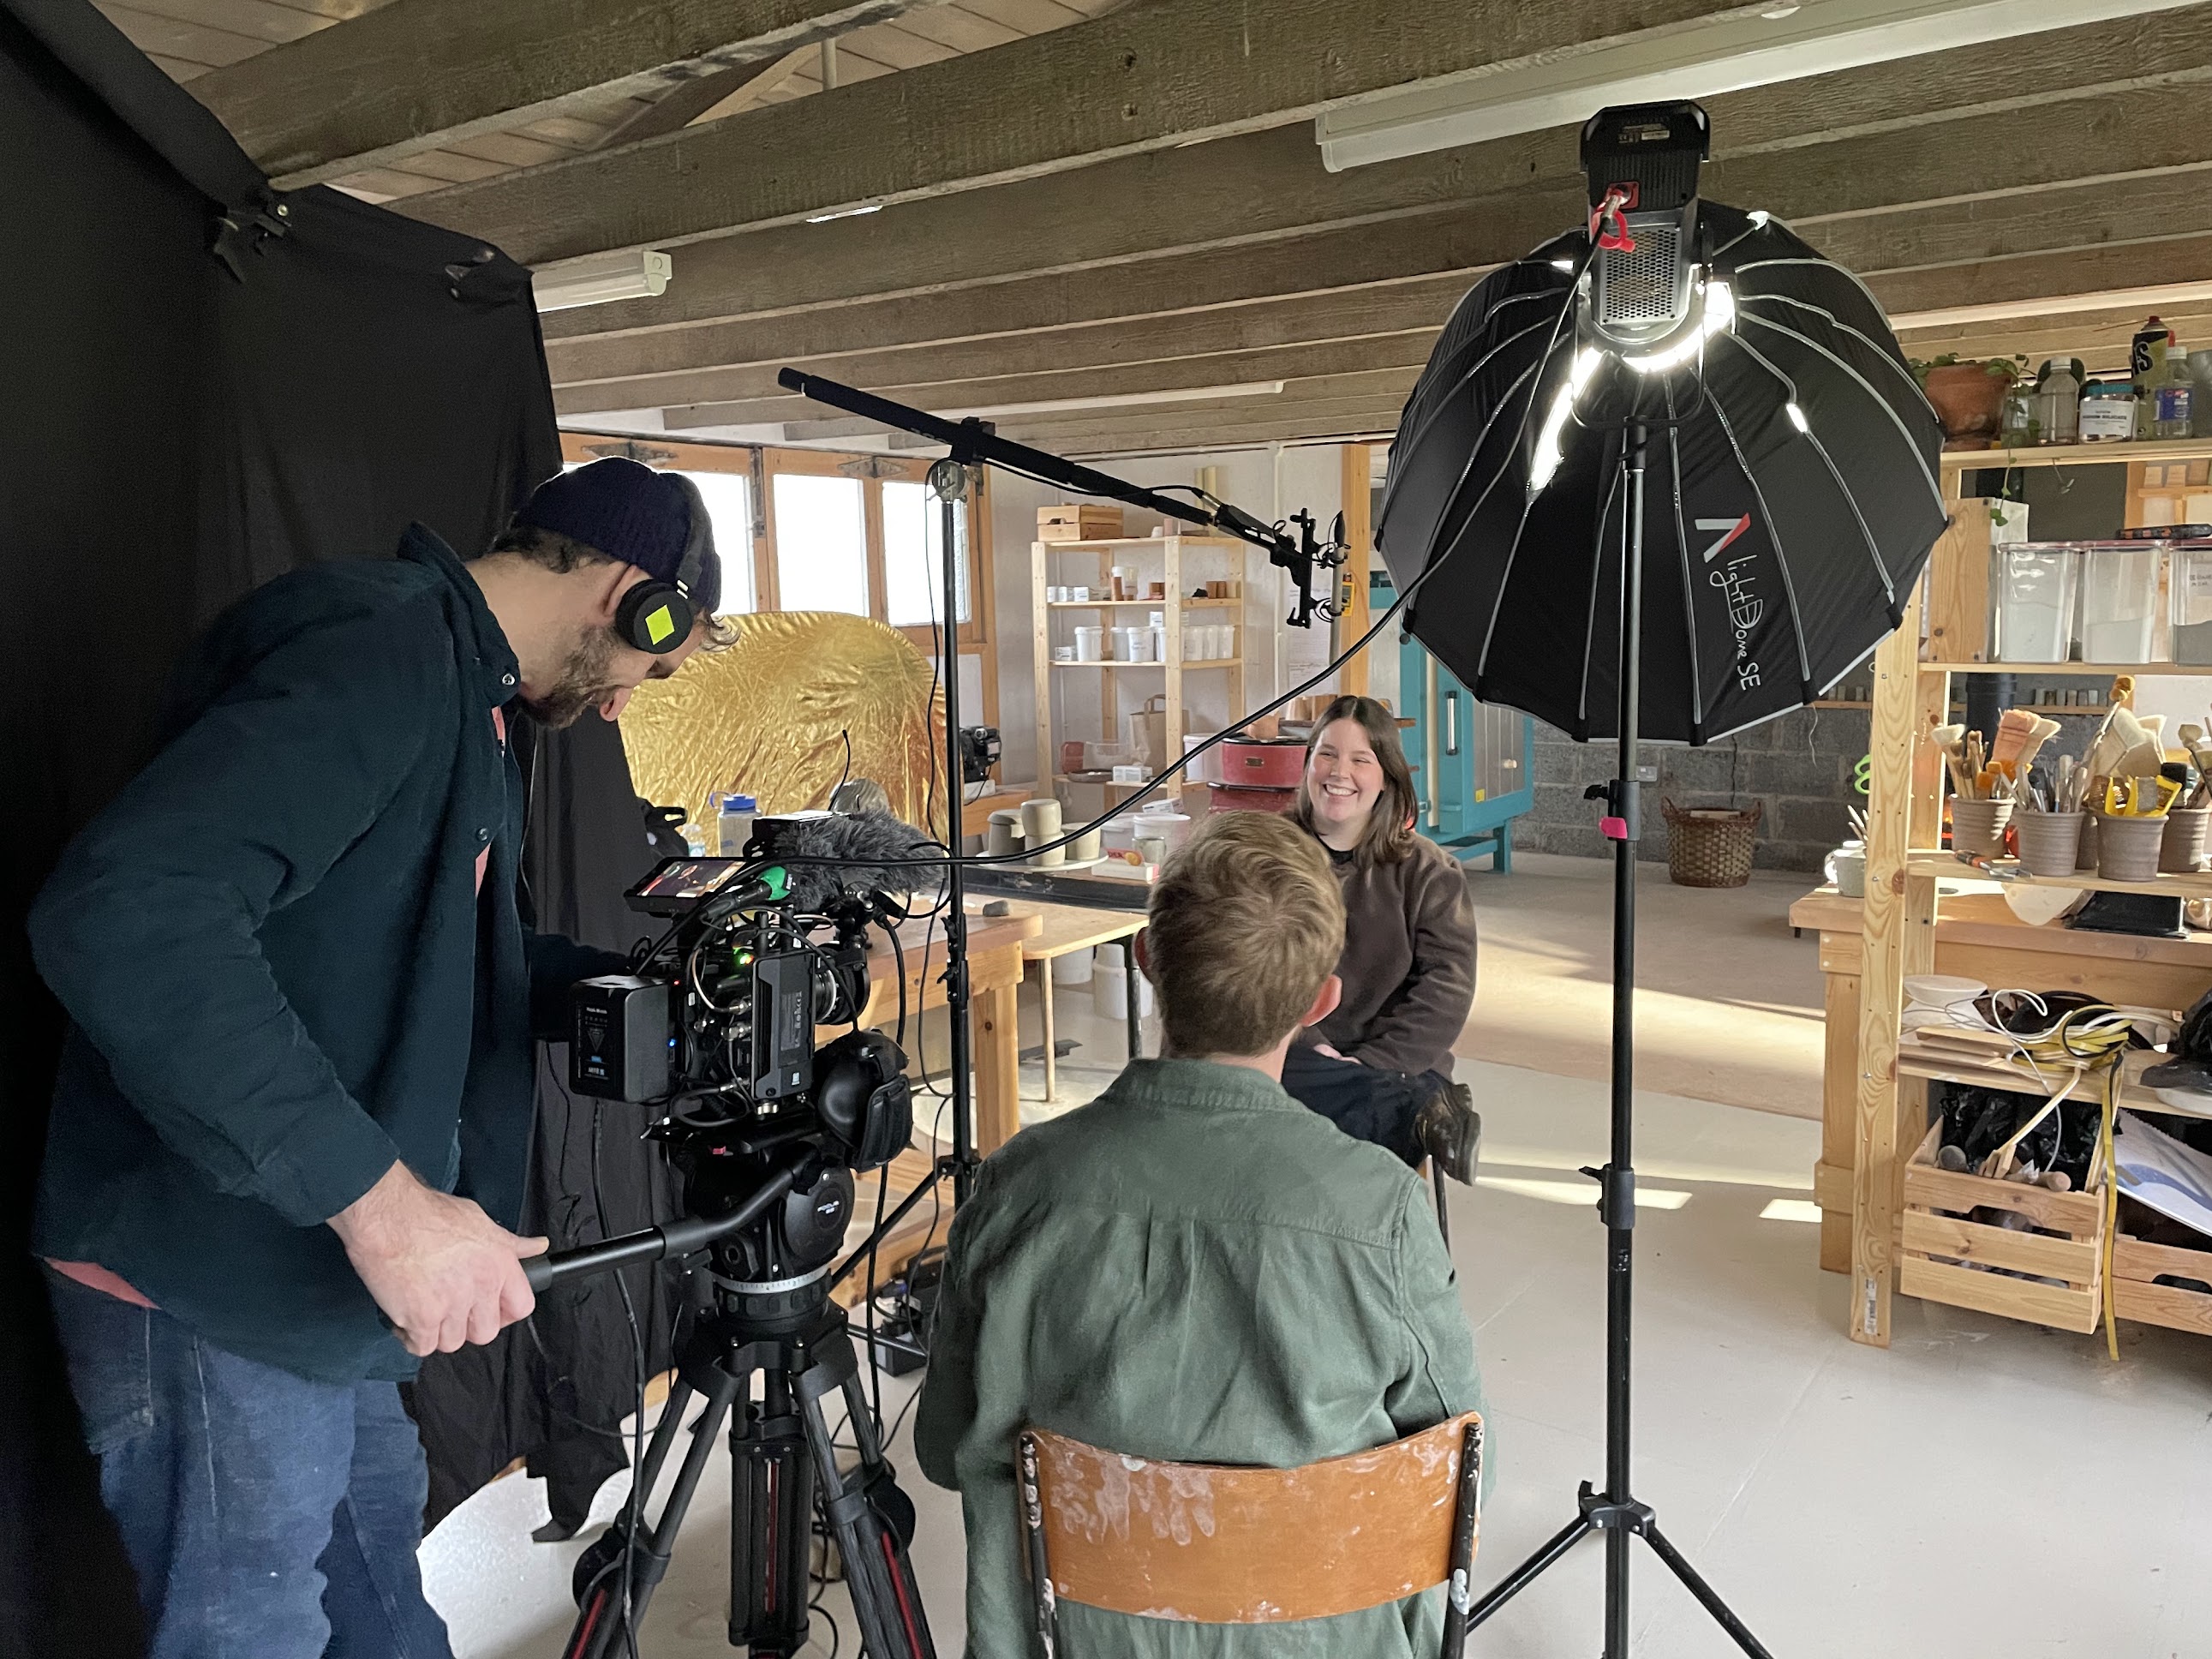
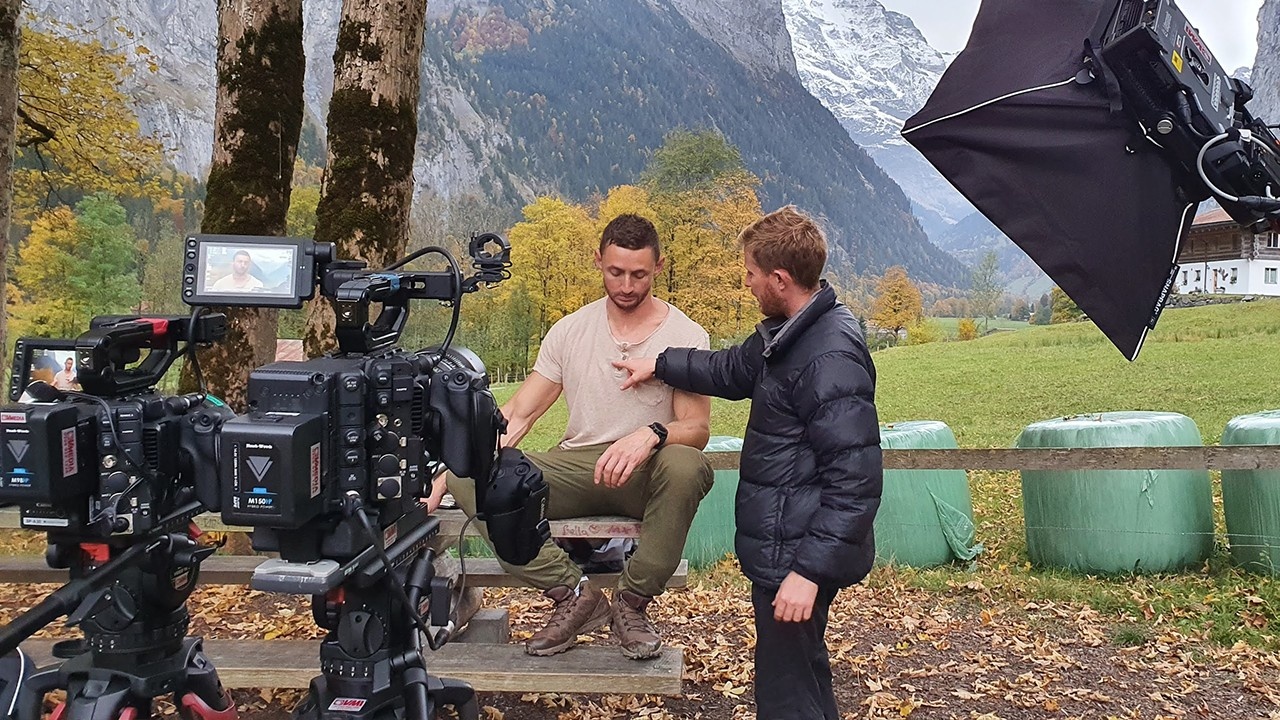
Step 2: Frame Your Subject and Choose the Background
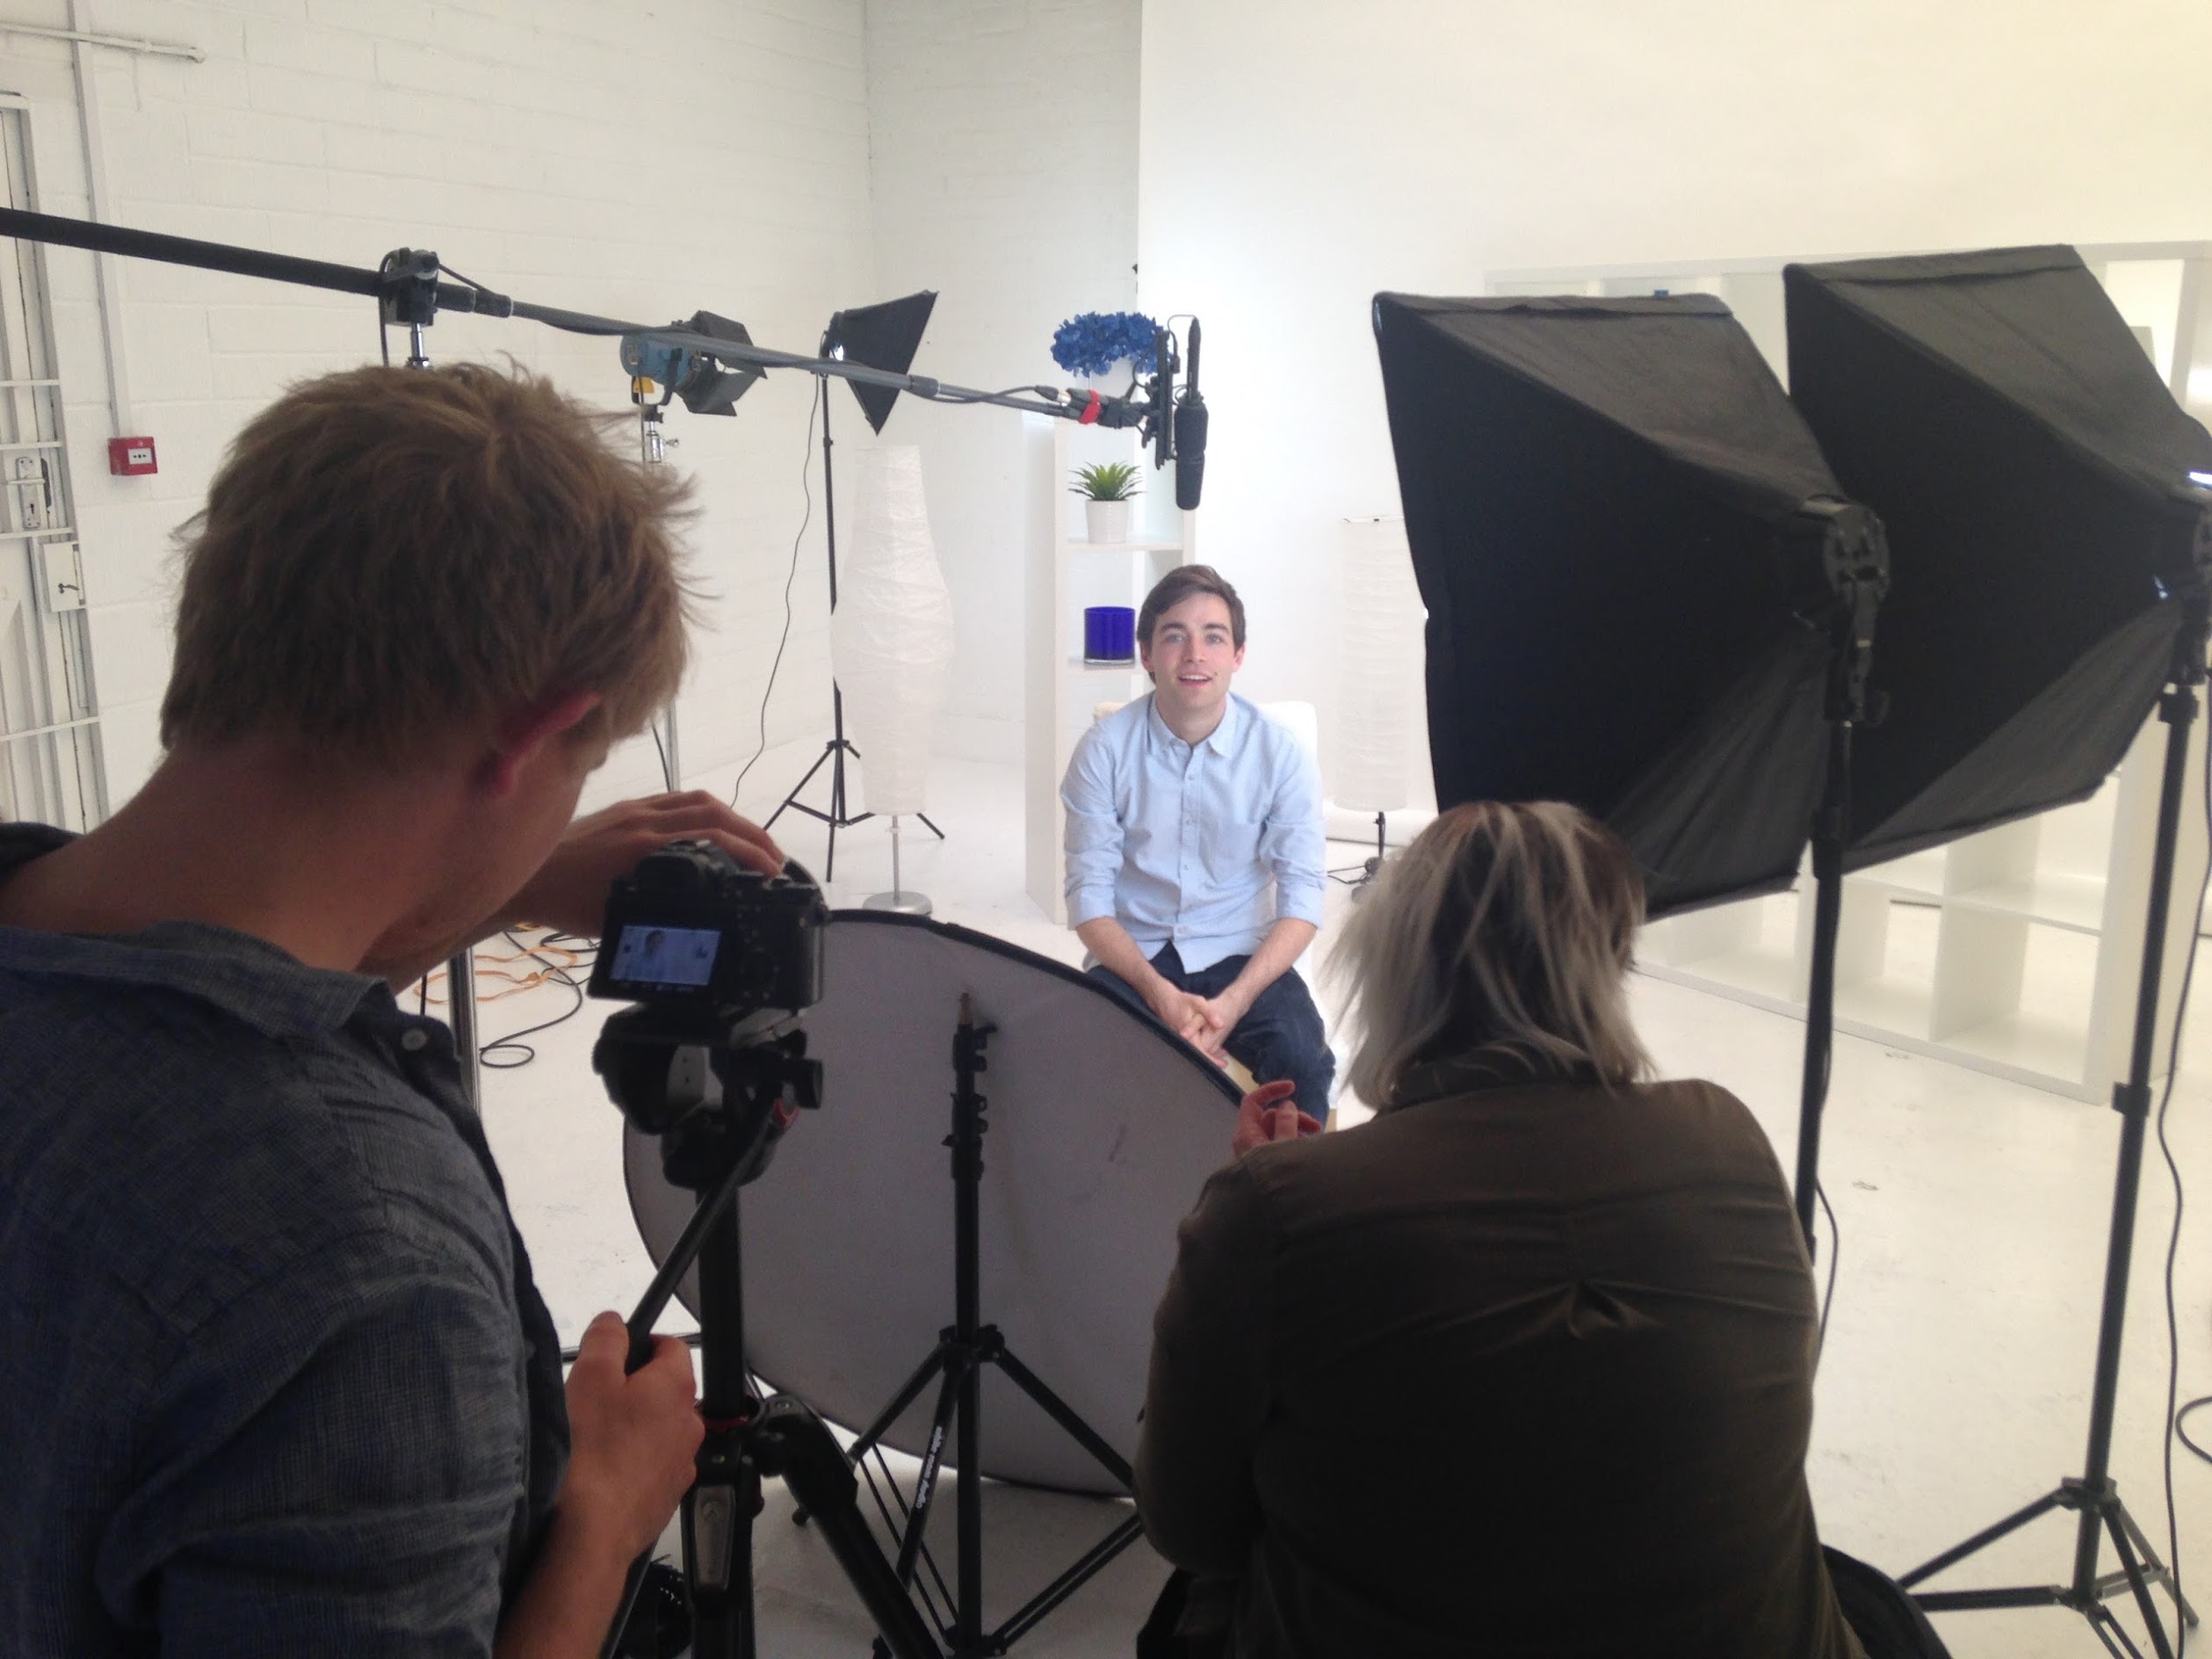
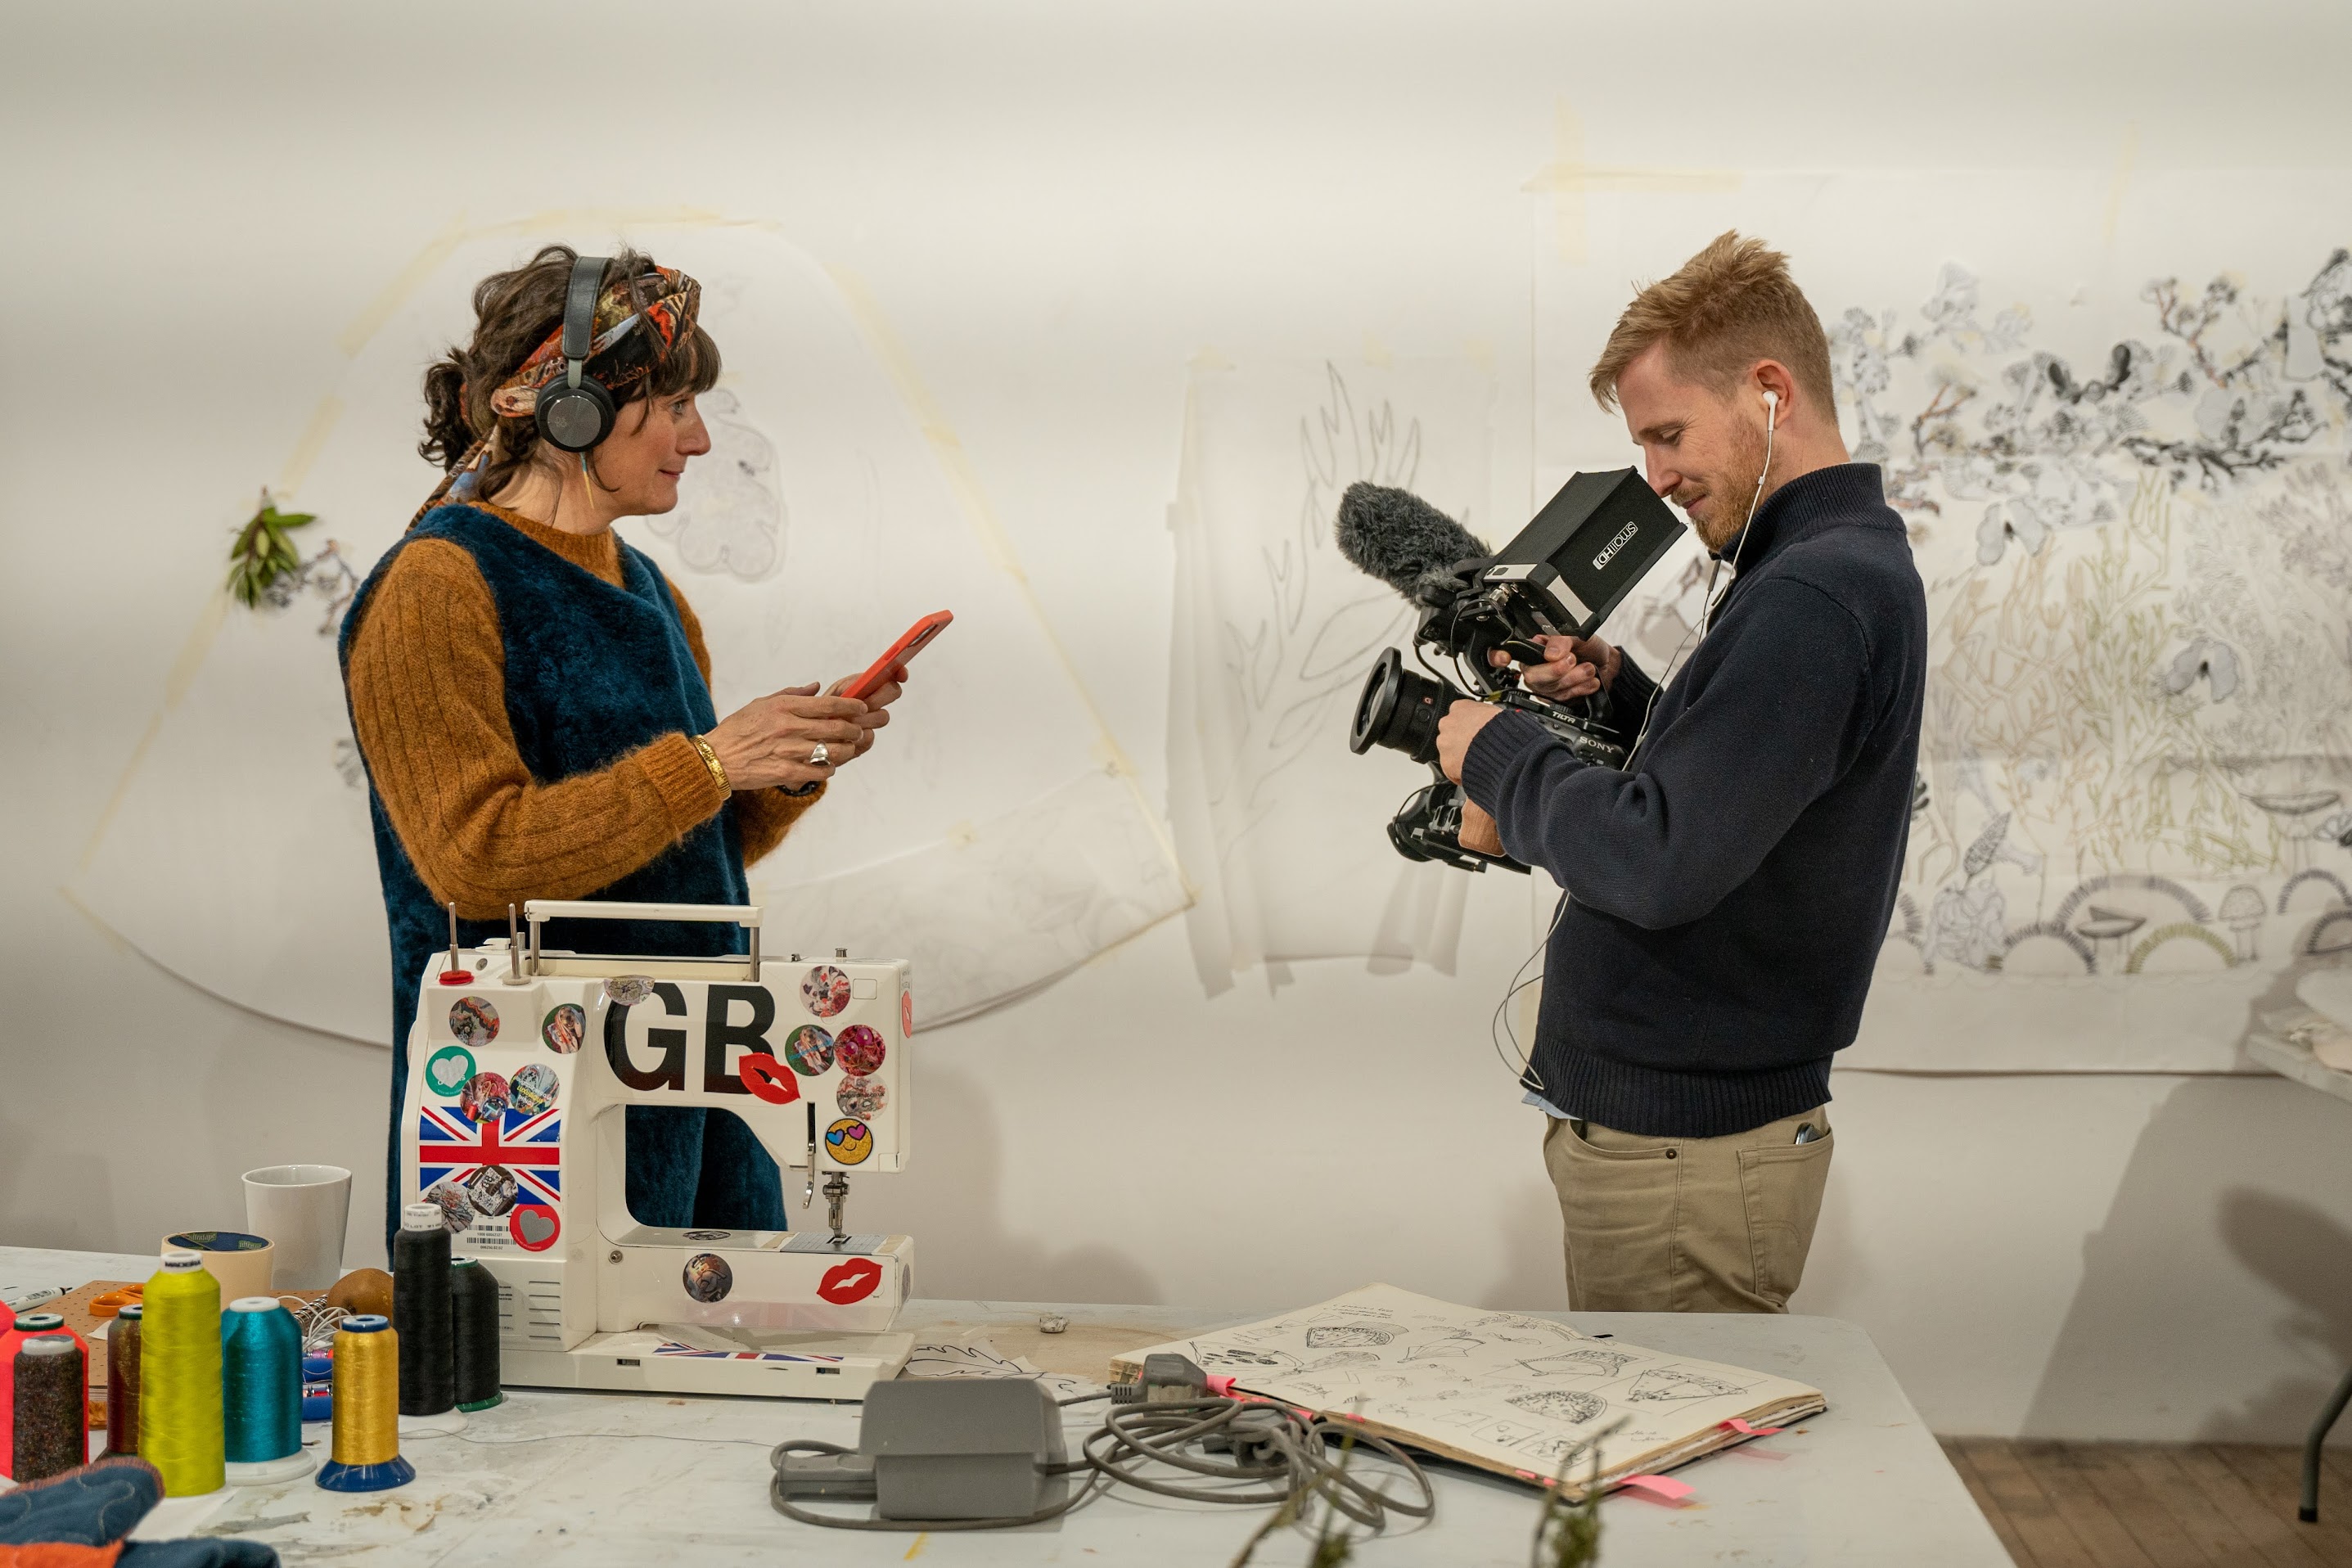
Once you've found your location, it's time to place your subject, camera, and background. A common mistake is to rush this step. Take time to find a composition with depth. Positioning your subject at an angle to a corner, or with space behind them, adds a more cinematic feel than shooting flat against a wall.
I look for textured or meaningful backgrounds, brick walls, windows, plants, or practical items that relate to the subject. Consider how this supports the story. The documentary 13th used tight framing against prison-like backdrops to visually reinforce the theme of incarceration.
Stick with a medium close-up shot, chest to head, and keep the camera at eye level, slightly off-centre. This makes the frame feel natural and relatable. Decide whether you'll shoot with one camera or two. One keeps things simple and intimate. Two gives you editing flexibility, especially for emotional moments where cutting to a close-up can draw the viewer in.
Also think about eyeline. Sit as close to the camera lens as possible so your subject looks near-to-lens during the conversation. This keeps their gaze connected to the viewer without feeling forced. See the documentary camera angles guide for a full breakdown of shot sizes and when to use them.
Step 3: Light the Interview Cinematically
Lighting style affects the feel of your interview as much as the subject's words.
For a natural look, place your subject near a window with soft light. For more control, use one of these lighting techniques:
Three-point lighting is the standard starting point: a key light for your main source, a fill light to reduce harsh shadows, and a backlight to separate your subject from the background. It's versatile and works in almost any setting.
Book lighting bounces a light source onto a reflector, then through diffusion. It's soft, flattering, and cinematic. I use it often.
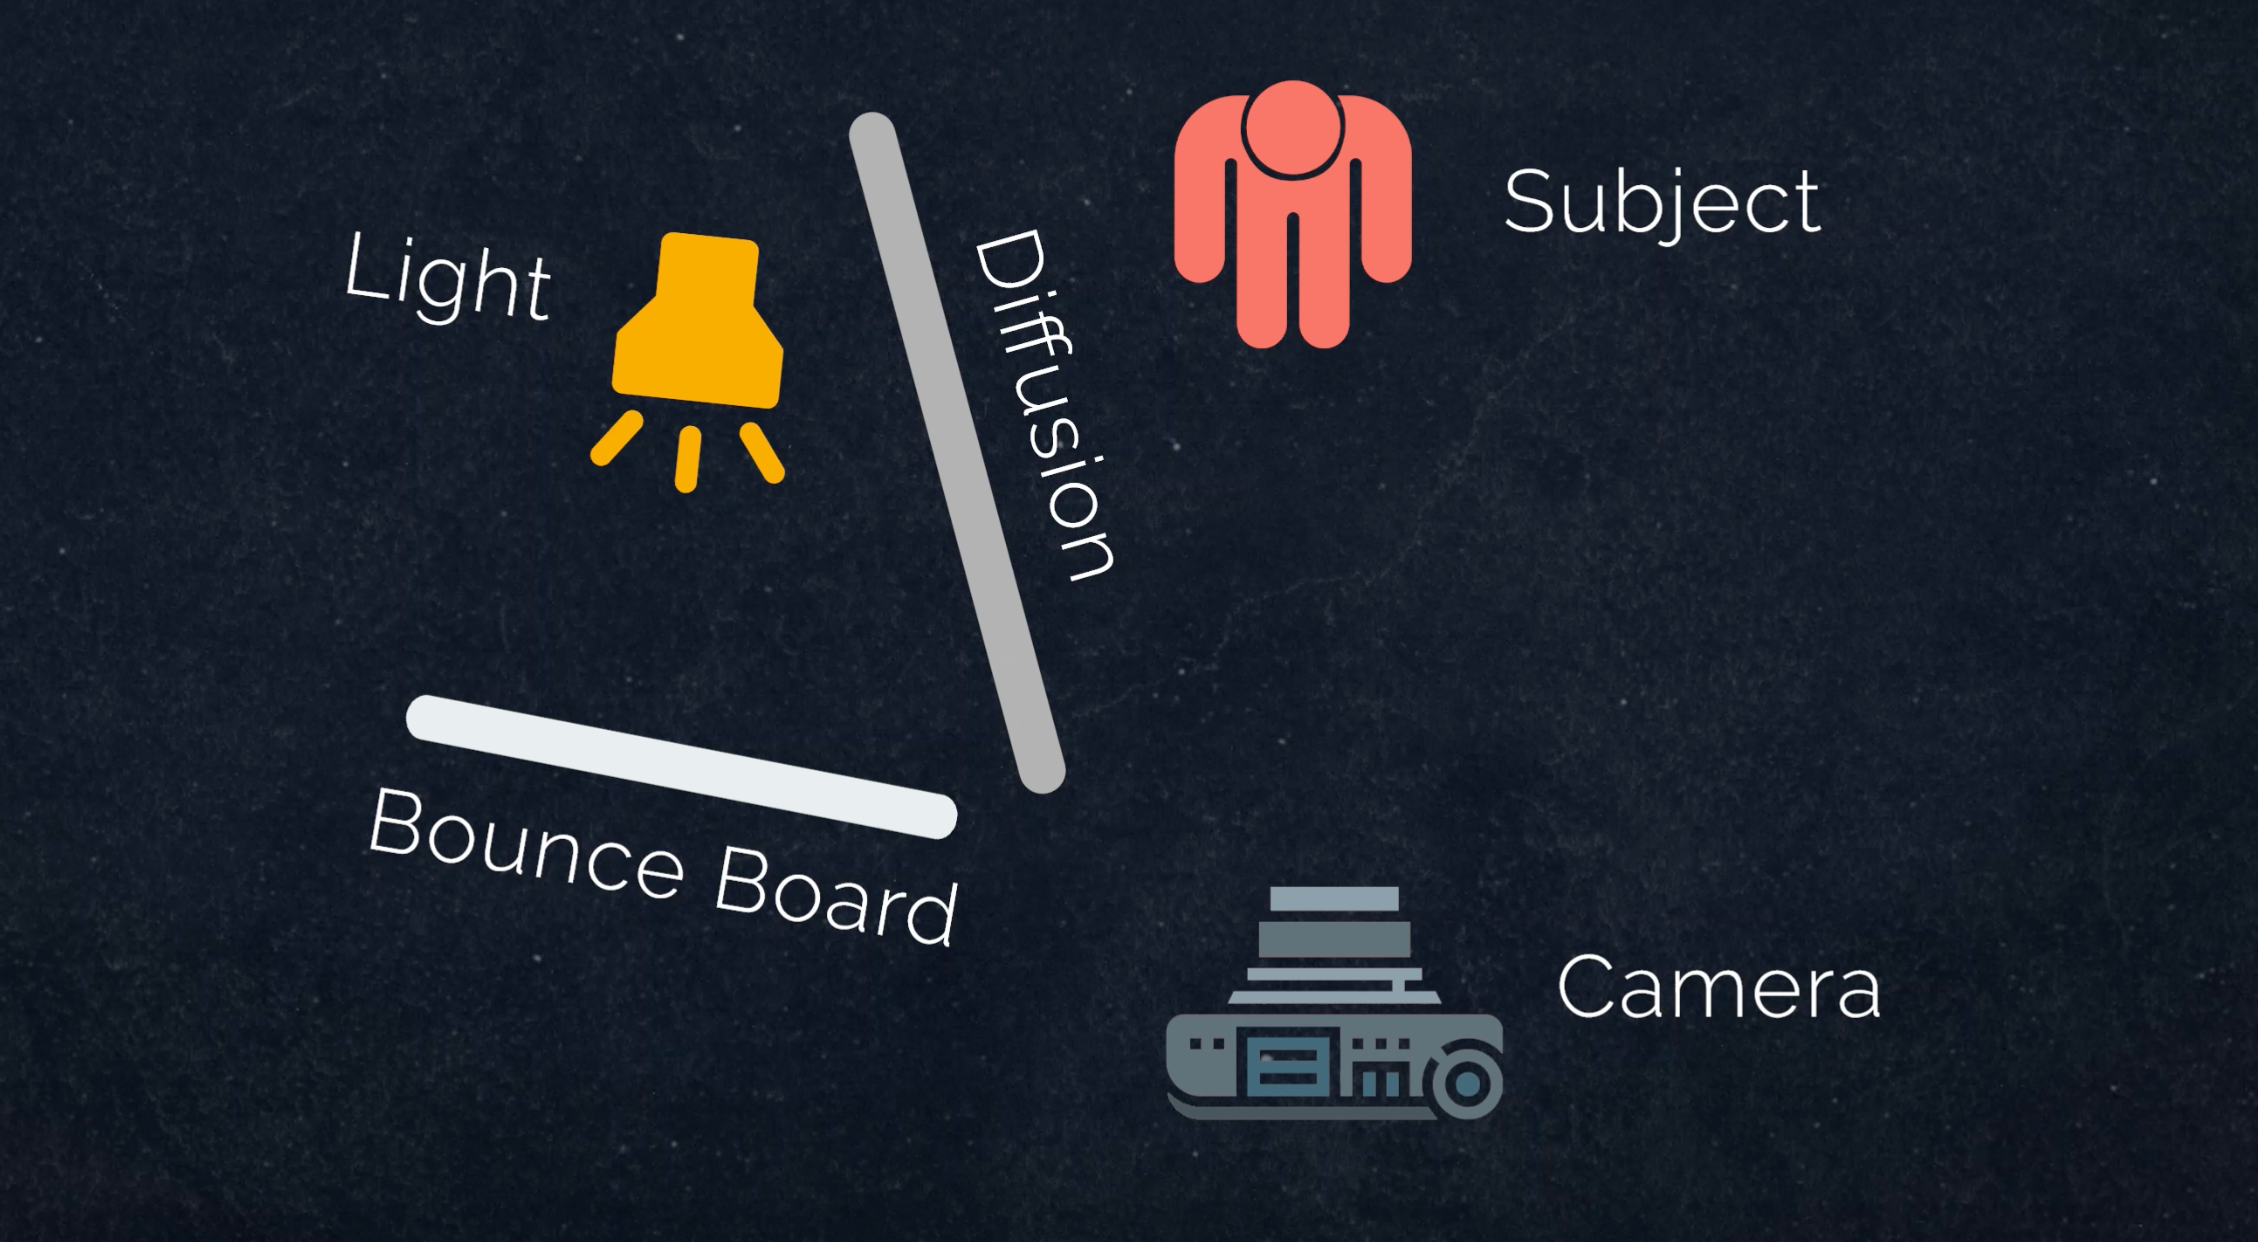
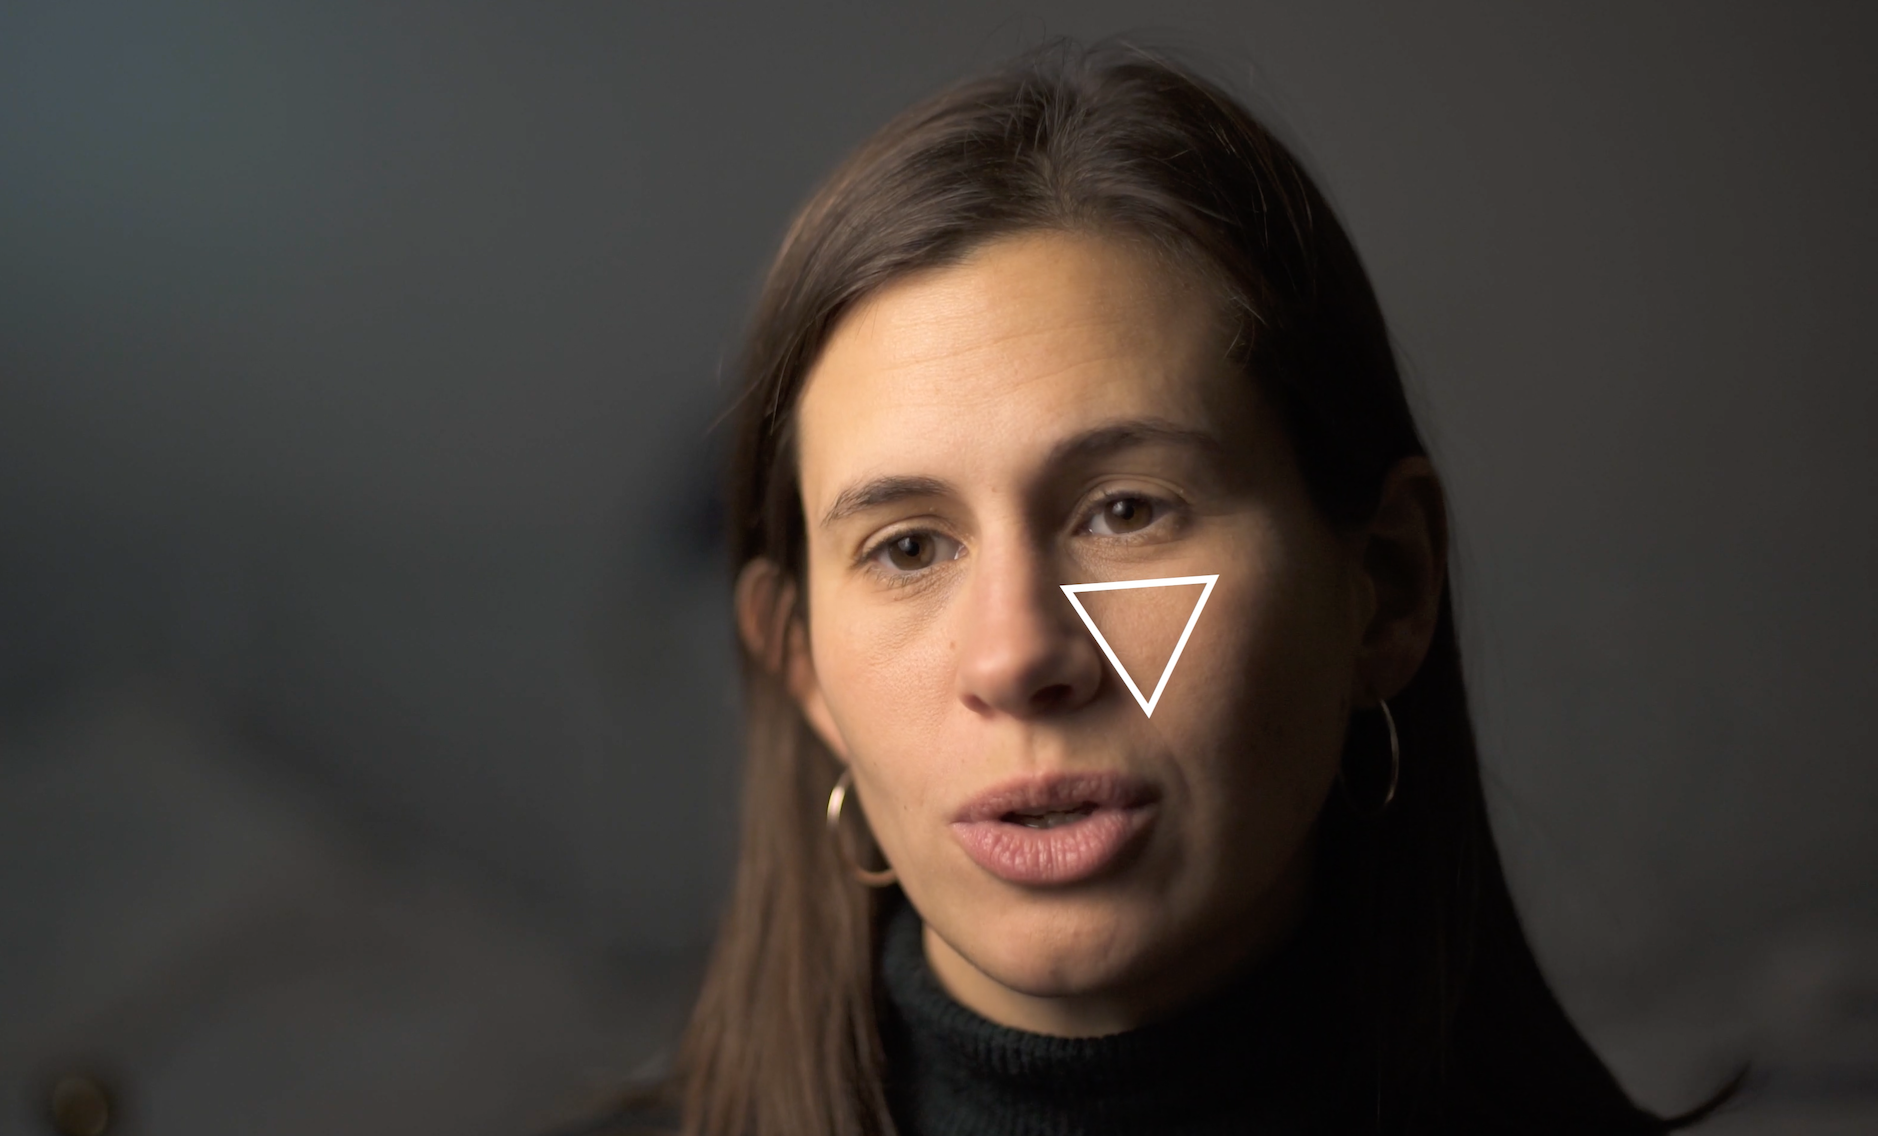
Rembrandt lighting gives a dramatic triangle of light under one eye. Place your key light at a 45-60 degree angle and slightly above your subject. This works well if you're going for a more serious or gritty tone.
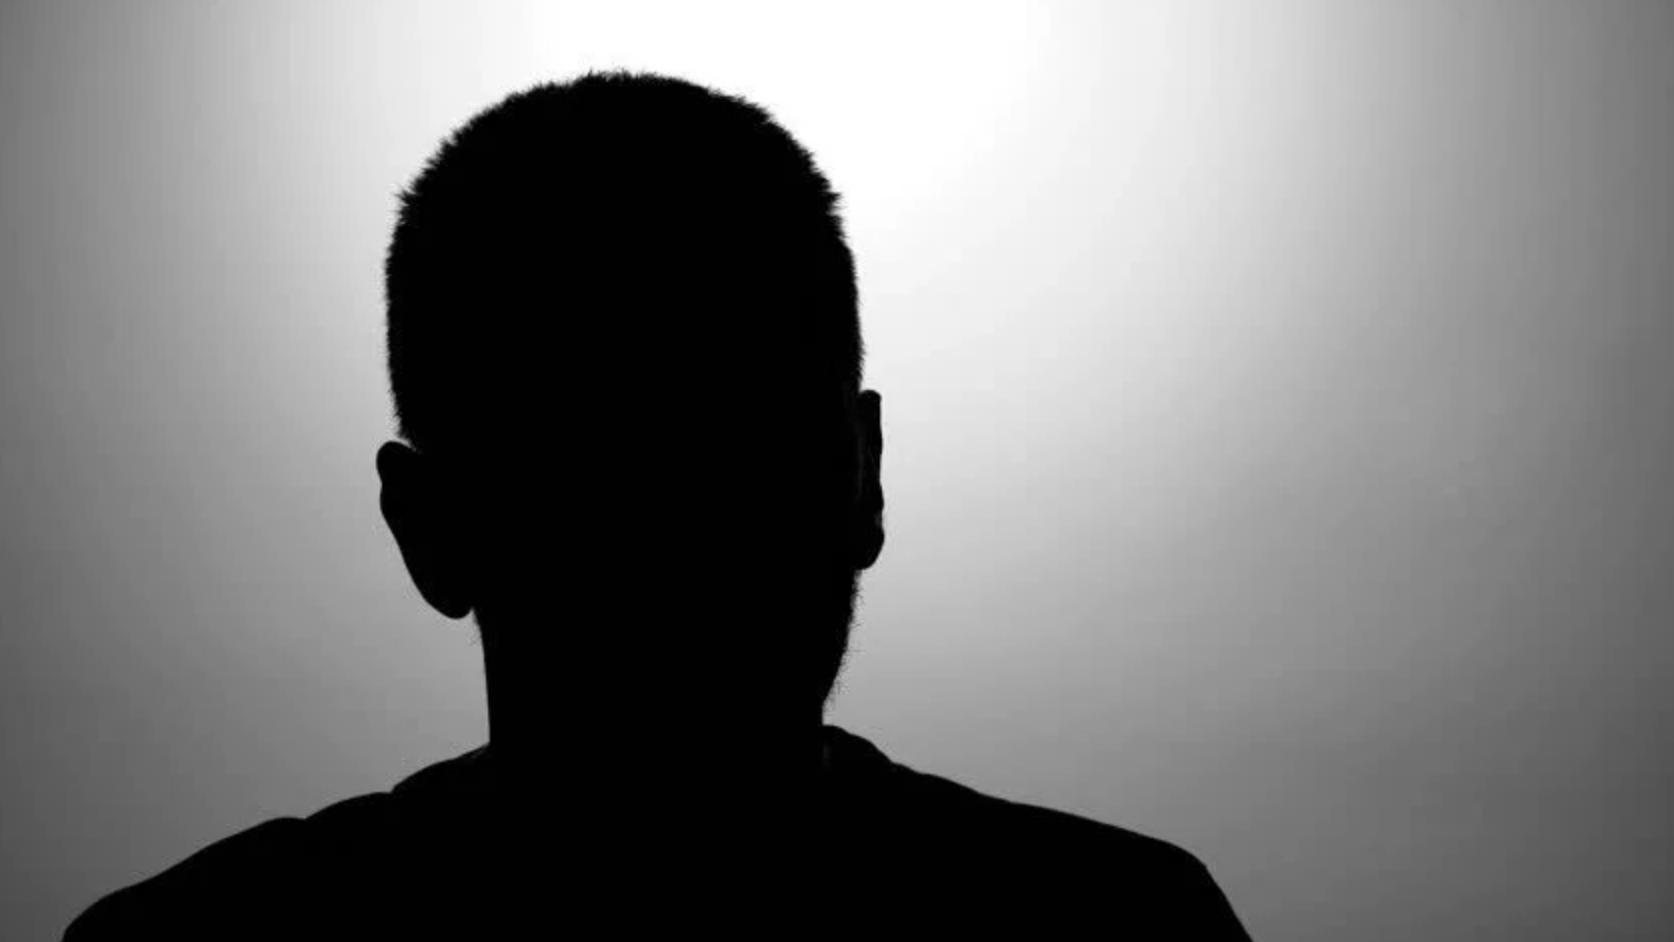
Silhouette lighting can be used to anonymise someone or add mystery. Position your main light behind the subject and push them into near darkness. Add fill if needed to recover some facial detail.
Choose a lighting style that matches the tone of your documentary, not just what looks good.
👉 Read: Documentary Camera Angles and Shot Types
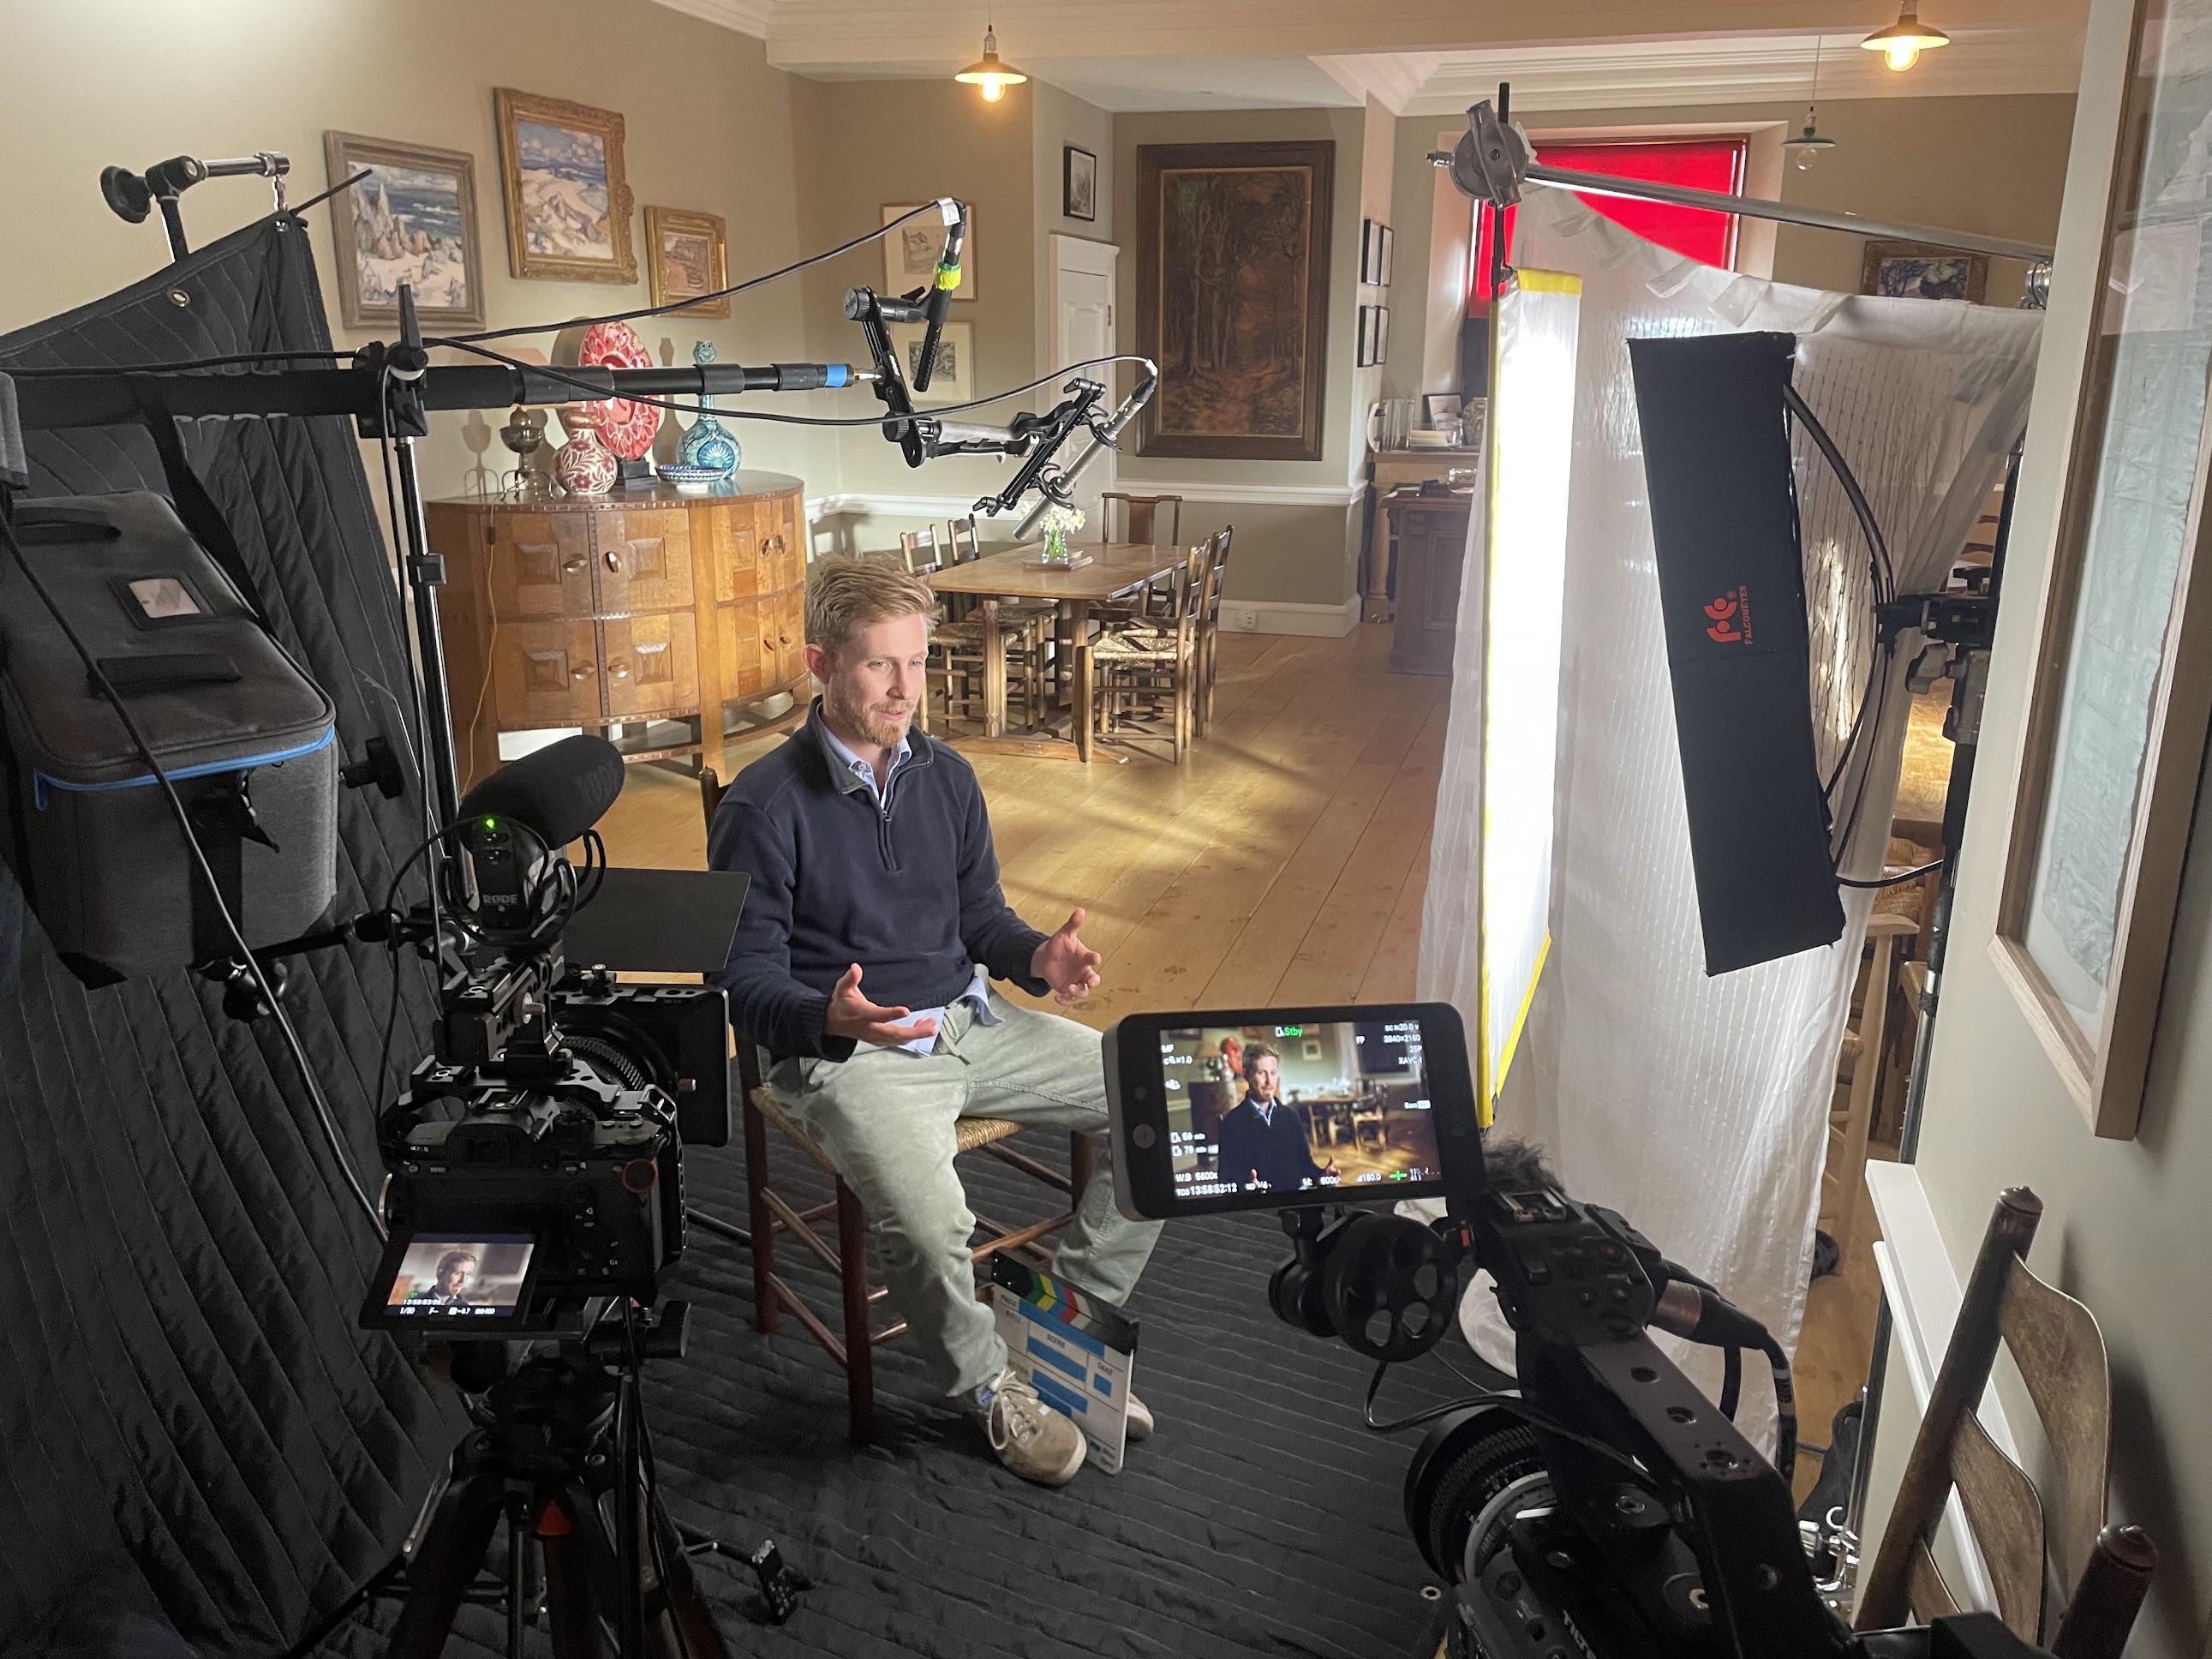
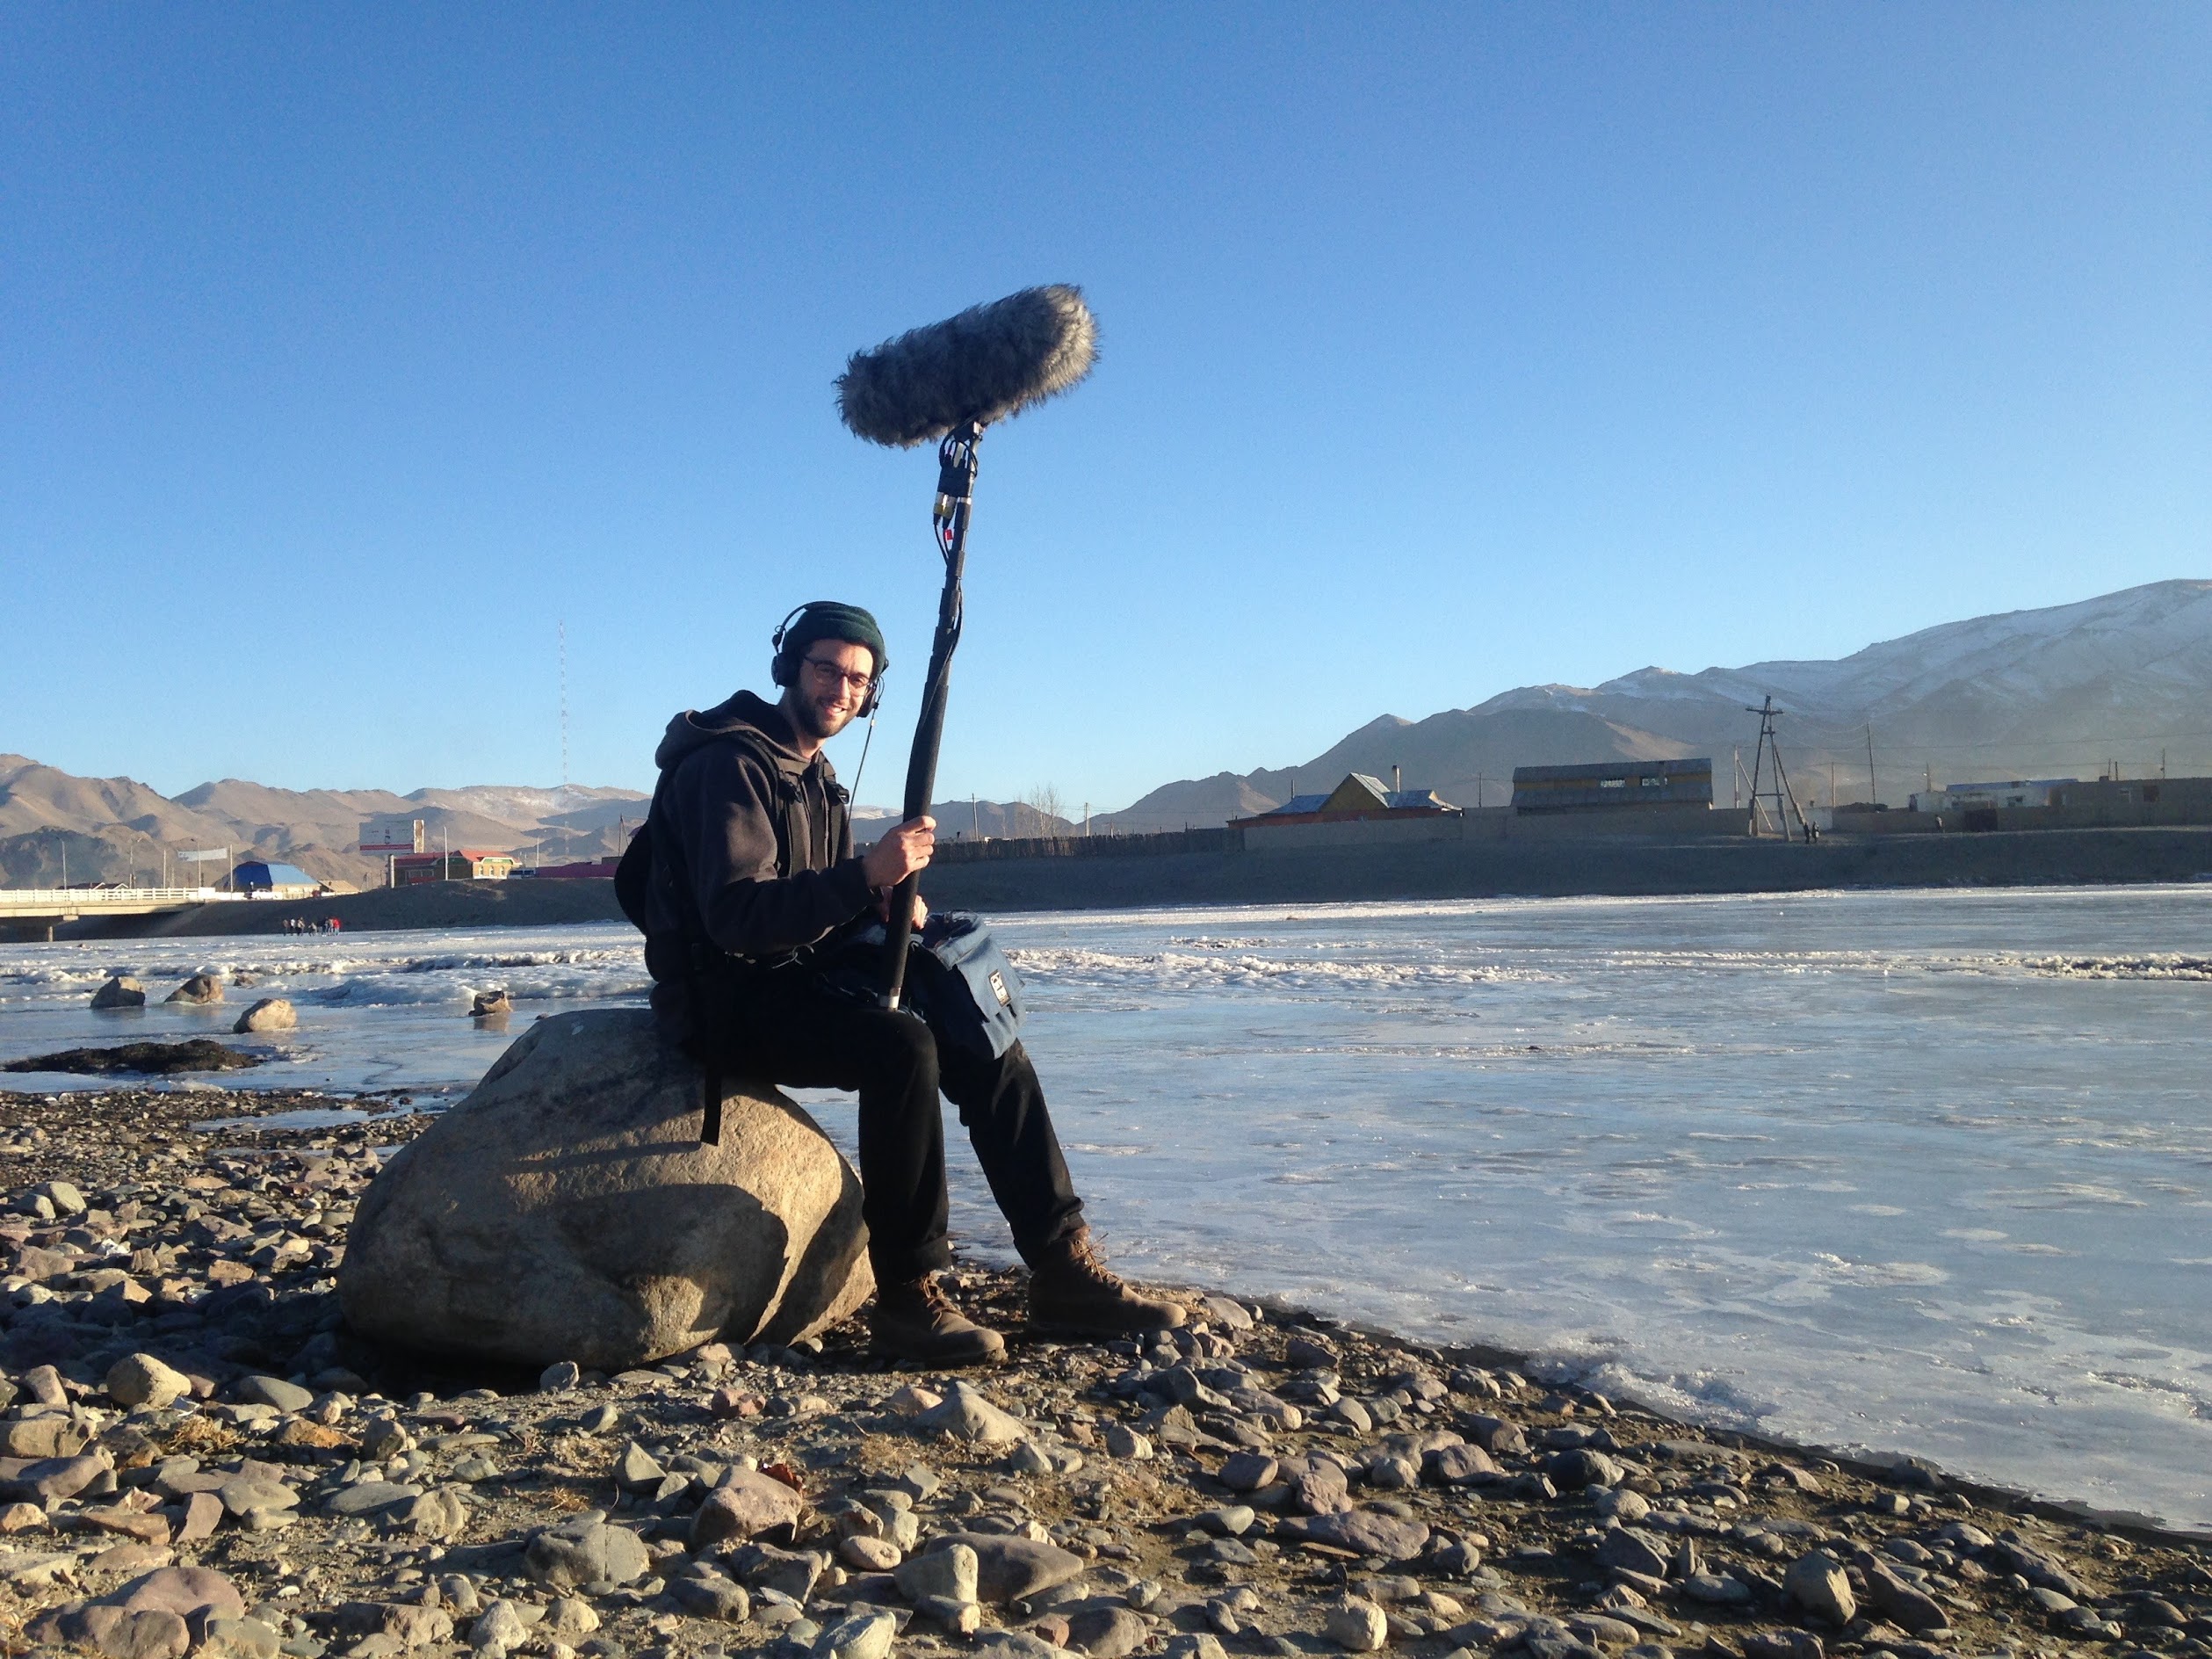
Step 4: Capture Clean, High-Quality Audio
What your subject says is what carries the story. In most documentary interviews, the visuals will be covered with b-roll, but the audio needs to be perfect.
Use a lapel mic clipped close to the subject's mouth, or a shotgun mic placed just outside the frame. Eliminate background hums, buzzing, and mechanical noise. Turn off aircon and fridges. Close doors and windows. Don't be afraid to pause recording if a loud plane or truck interrupts, then politely ask the subject to repeat their answer.
Audio quality will make or break the scene, even if your lighting and framing are perfect.
👉 Learn More: How to Record Great Audio as a Solo Filmmaker
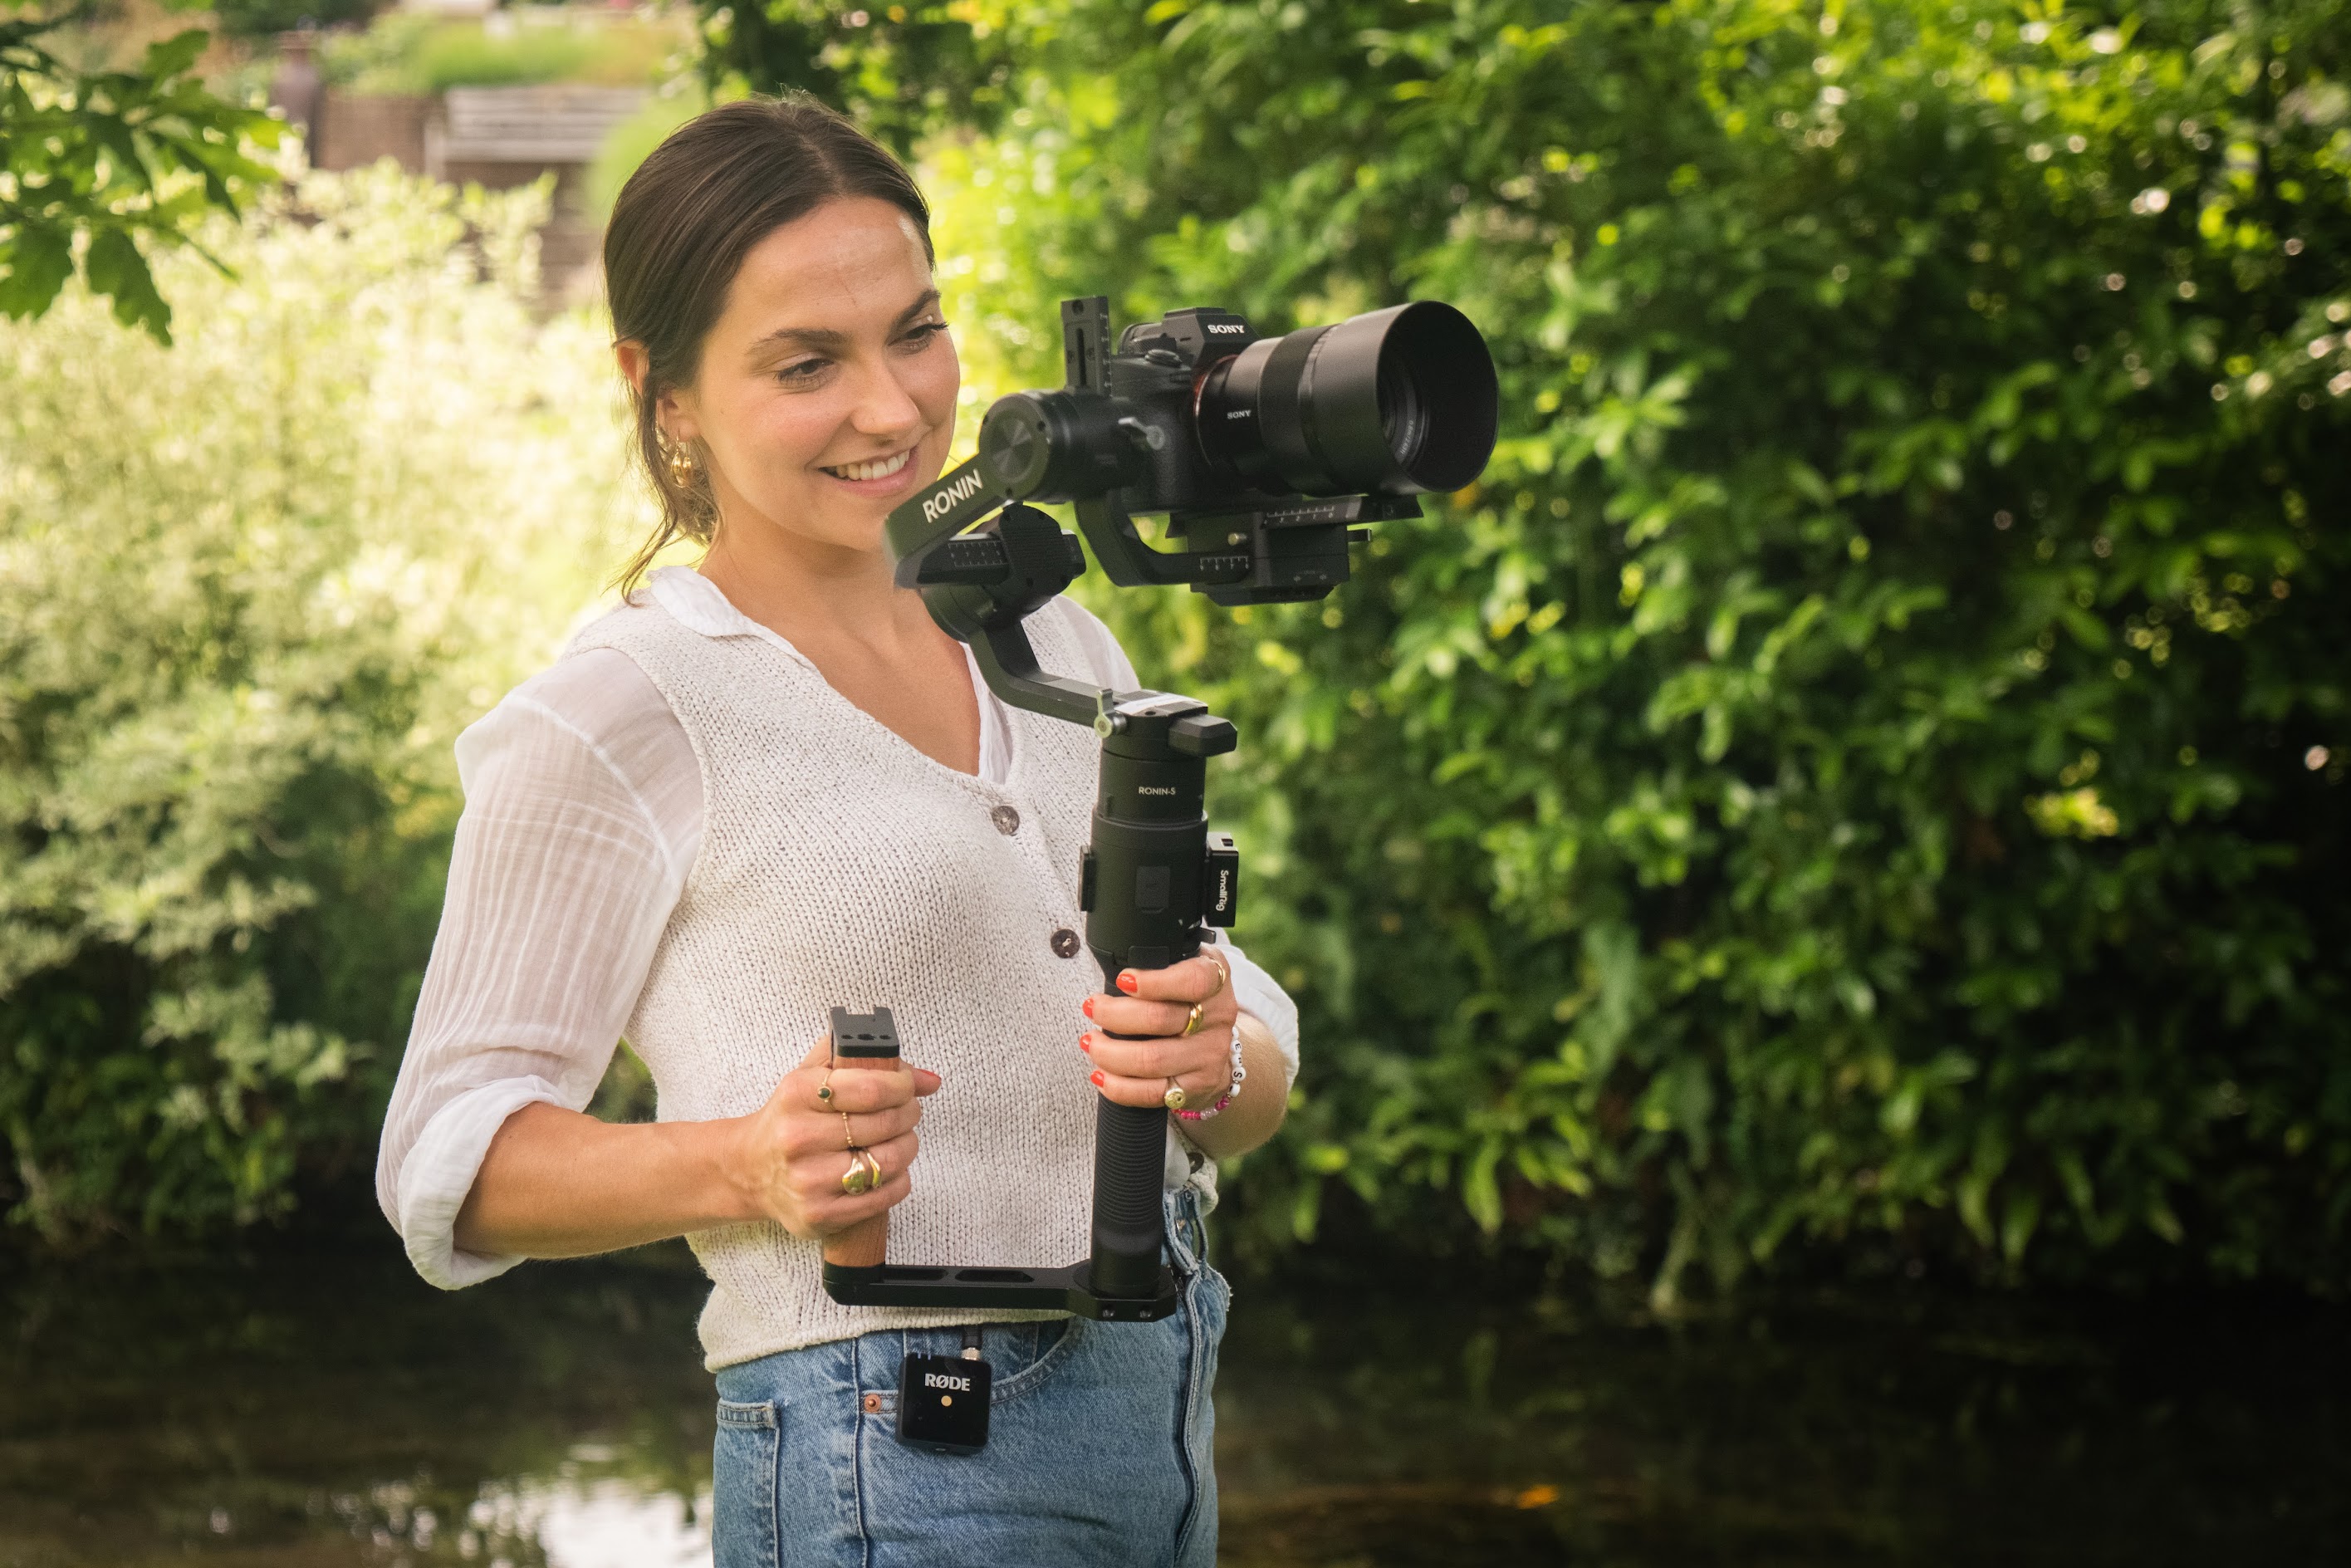
Step 5: Decide on Camera Movement (Or Keep It Still)
For most interviews, I prefer a locked-off tripod shot. It keeps the focus on the person and their story. If you want to add movement, use a gimbal or slider, but be intentional. A moving camera can feel distracting if it doesn't match the emotional tone.
There are exceptions. If you're filming someone while they work, a chef, carpenter, or athlete, then handheld or gimbal movement can help bring energy to the scene. Just keep audio clean and framing steady.
Step 6: Dial In Your Camera Settings
Don't leave your look to chance. Here is my go-to setup for a cinematic sit-down interview:
-
Frame Rate: 25fps (or 24fps for a more filmic look).
-
Shutter Speed: 1/50 to maintain natural motion blur.
-
Aperture (F-stop): Between f/1.8 and f/4.0. Avoid going too shallow (like f/1.2) or your subject may drift out of focus if they lean forward.
-
ISO: Keep it as low as possible (Native ISO) to avoid digital grain.
Don't go too shallow on your aperture. If your subject shifts forward, you might lose focus. A slightly higher f-stop will give you some breathing room.
If you're working in natural light and don't have full control, adjust ISO and white balance to keep the image clean and consistent.
👉 Download My Free Documentary Camera Guide

Step 7: Film the Interview and Put Your Subject at Ease
Start filming before your subject realises it. Sit them down, have a relaxed conversation, and hit record subtly while you're still chatting. Then gently guide the conversation toward your first interview question. This helps them stay relaxed and avoids the sudden pressure of "performing."
Encourage full-sentence answers, especially if you plan to remove your voice in the edit. Keep eye contact. Don't rush to your next question. Silence is one of your most powerful tools. After you ask something, wait. If you fill the pause, you give them time to retreat to a safer answer. Let them fill the space instead.
Listen deeply. Follow up when something emotional or revealing comes up. That's often where the gold is.
And always end on a positive note. If the interview touched on tough topics, leave space for the subject to ground themselves. A good experience makes future filming easier and more honest.
Are Interviews Essential for Documentaries?
Not always. A documentary interview gives voice and emotional insight to your subject, but some stories are better told visually or observationally. Nature films, process-driven stories, or experimental pieces often skip interviews entirely.
Use interviews when you want the viewer to connect emotionally, hear first-hand accounts, or understand complex ideas through a human lens. Skip them when they would get in the way of a visual story unfolding naturally.
For more on this, see the four documentary narration styles and how each one handles on-camera subjects differently.
Final Thoughts on Interview Technique
The key to filming a great documentary interview isn't gear or lighting, it's your ability to create a space where the subject feels safe enough to speak honestly.
That means:
-
Listening deeply
-
Adapting your tone to each person
-
Staying curious
-
Staying present
A well-crafted interview can carry an entire film. Take the time to get it right.
If you want to go deeper on documentary storytelling structure, the full 12-step guide to making a documentary covers how interview footage fits into your overall film.
Frequently Asked Questions: Documentary Interviews
What is the best camera angle for a documentary interview?
Most documentary interviews work best with a medium close-up, framed from the chest up and shot slightly off-centre at eye level. Keeping the camera at eye level makes the frame feel natural and relatable to the audience, while positioning the subject at an angle, rather than flat against a wall, adds a sense of cinematic depth to your background.
How do you make an interview subject feel comfortable?
The best technique is to start filming before your subject even realises the "official" interview has begun. Sit them down and maintain a relaxed, genuine conversation while subtly hitting record. Keep consistent eye contact, listen deeply, and never rush into your next question. By giving them space to breathe and avoiding the sudden pressure of "performing," you'll capture much more honest and emotional responses.
Should I use one camera or two for the interview?
It depends on the tone you want to set. Using a single camera keeps the environment simple and intimate, which can help a nervous subject relax. However, using two cameras provides much more flexibility in the edit. Having a second, tighter angle allows you to cut to a close-up during emotional or revealing moments, drawing the viewer deeper into the story.
How do I handle loud background noise during filming?
Always prioritise audio quality over visuals. Before you hit record, do a clap test to check for room reverb and turn off noisy appliances like fridges or air conditioning. If a loud truck or plane interrupts a great answer, don't be afraid to pause and politely ask your subject to repeat their last sentence so you have a clean take for the edit.
What are the 5 C's of interviewing in documentary filmmaking?
The 5 C's of interviewing are a useful framework: Camera (framing and placement), Continuity (maintaining consistent eyeline and shot direction), Cutting (planning your angles for the edit), Close-up (using tighter shots for emotional moments), and Composition (building depth and meaning into the background). Together they ensure your interviews hold up both technically and emotionally in the final cut.
How do you shoot a great documentary interview?
Choose a quiet location, set up three-point lighting, frame your subject at eye level in a medium close-up, record with a lapel or shotgun microphone, and lock off your camera on a tripod. Then, before you ask a single formal question, start recording and have a genuine conversation. The best documentary interviews happen when the subject forgets the camera is there.