How to Edit a Documentary: 6-Step Workflow
Most first-time documentary editors stare at hundreds of clips and have no idea where to start. Here is a simple 6-step process for how to edit a documentary from raw footage to finished film.
I have edited documentaries for over 15 years, all the way from passion projects to films for fortunate 500 companies. Every single time, the hardest moment is the same: opening the project for the first time and facing a mountain of unorganised footage. The workflow I am sharing below is the exact process I follow on every project. It breaks documentary editing into six clear stages so you always know what to do next.
In this post:
- Watch: How to Edit a Documentary
- Free Documentary Editing Guide
- How to Edit a Documentary in 6 Steps
- What Is Documentary Editing?
- Frequently Asked Questions

Watch: How to Edit a Documentary
If you would rather watch the full process in action, here is a video I made that walks you through it step by step:
Free Documentary Editing Guide
If you would like to go deeper into my editing process, I have put together a free guide that takes you from organising footage and creating a paper edit, to assembling your timeline and locking the final cut.
Inside, you will find:
- A breakdown of every major editing stage
- Tools and software recommendations
- Practical tips from my own editing projects
Whether you are stuck in the rough cut or do not know where to start, this guide will help. Get Documentary Editing Guide

How to Edit a Documentary in 6 Steps
Step 1: Ingest and Organise Your Footage
The first step in documentary editing is backing up and organising everything you have shot. This sounds boring, but skipping it will cost you hours later.
- Use software like Hedge or Carbon Copy to safely offload your footage to at least two separate drives. This is sometimes called the 3-2-1 backup rule: three copies of your data, on two different types of storage, with one copy off-site.
- Create a clear folder structure: separate bins for interviews, b-roll, archive clips, music, and sound effects.
- Label everything with dates and descriptions so you can find it later without scrubbing through hours of video.
If you do this well, your entire edit will flow more smoothly. I have worked on projects where footage was dumped into one folder with camera-generated file names. Finding a single shot took five times longer than it should have.
Goal: Everything is safely backed up, renamed, and sorted so you can edit without tech stress.

Step 2: Watch and Transcribe Interviews
Watch every interview and clip. Make notes on the strongest emotional or story-driven moments.
- Use transcription software like Trint or Rev to create text versions of your interviews.
- Highlight themes, story arcs, and character development in the transcripts.
- Add timecodes to favourite quotes or important visuals.
This step saves a huge amount of time. You will be able to search dialogue, build your story structure, and avoid endless scrubbing through footage. On a recent project, transcribing 12 hours of interviews into searchable text cut my edit time by weeks.
Goal: You know what you have, and you know where to find it.
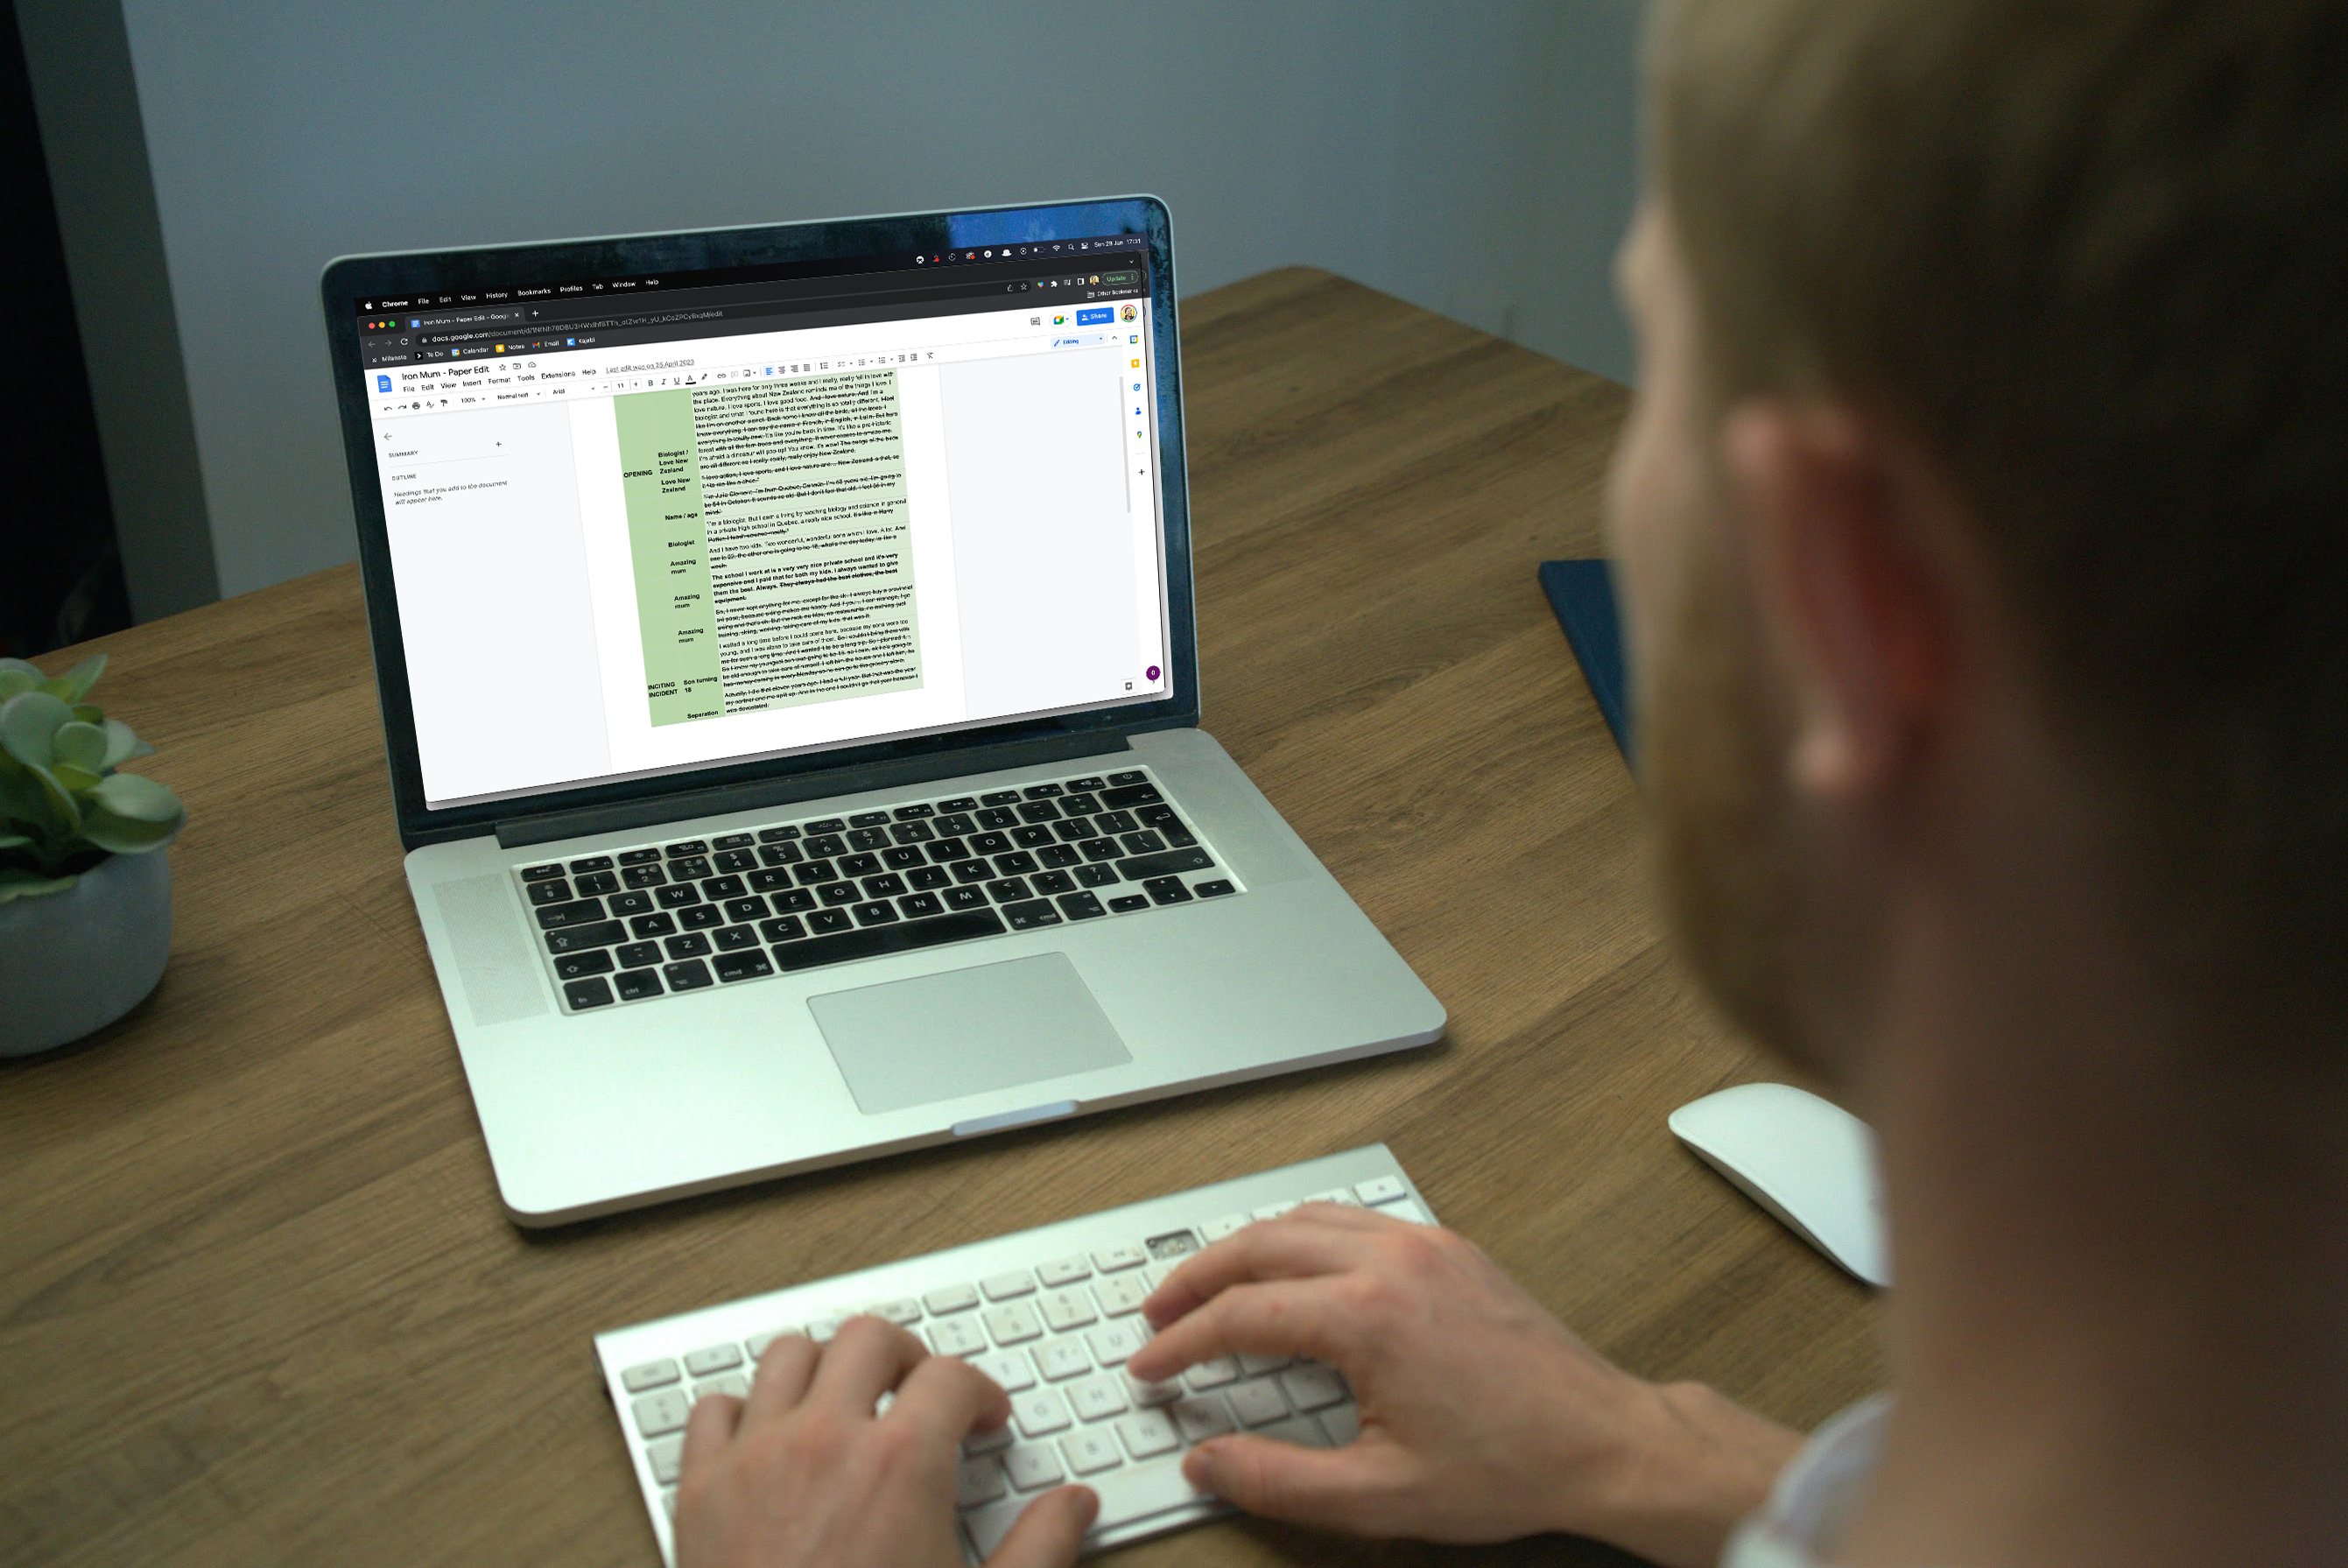
Step 3: Create a Paper Edit
Now that you have your transcripts, create a rough written structure for your film. A paper edit is the blueprint you follow before you touch the timeline.
- Use your notes and highlighted quotes to map out a beginning, middle, and end.
- Group quotes and scenes by theme or character.
- You can do this in a Word doc, index cards, or inside Trint if you are using digital tools.
This is not your final edit. It is your plan. It helps you stay focused and objective before you move into your timeline. If you need help structuring your story, my post on documentary three-act structure walks through that process.
Goal: You have a rough script or roadmap of what your documentary could look like.
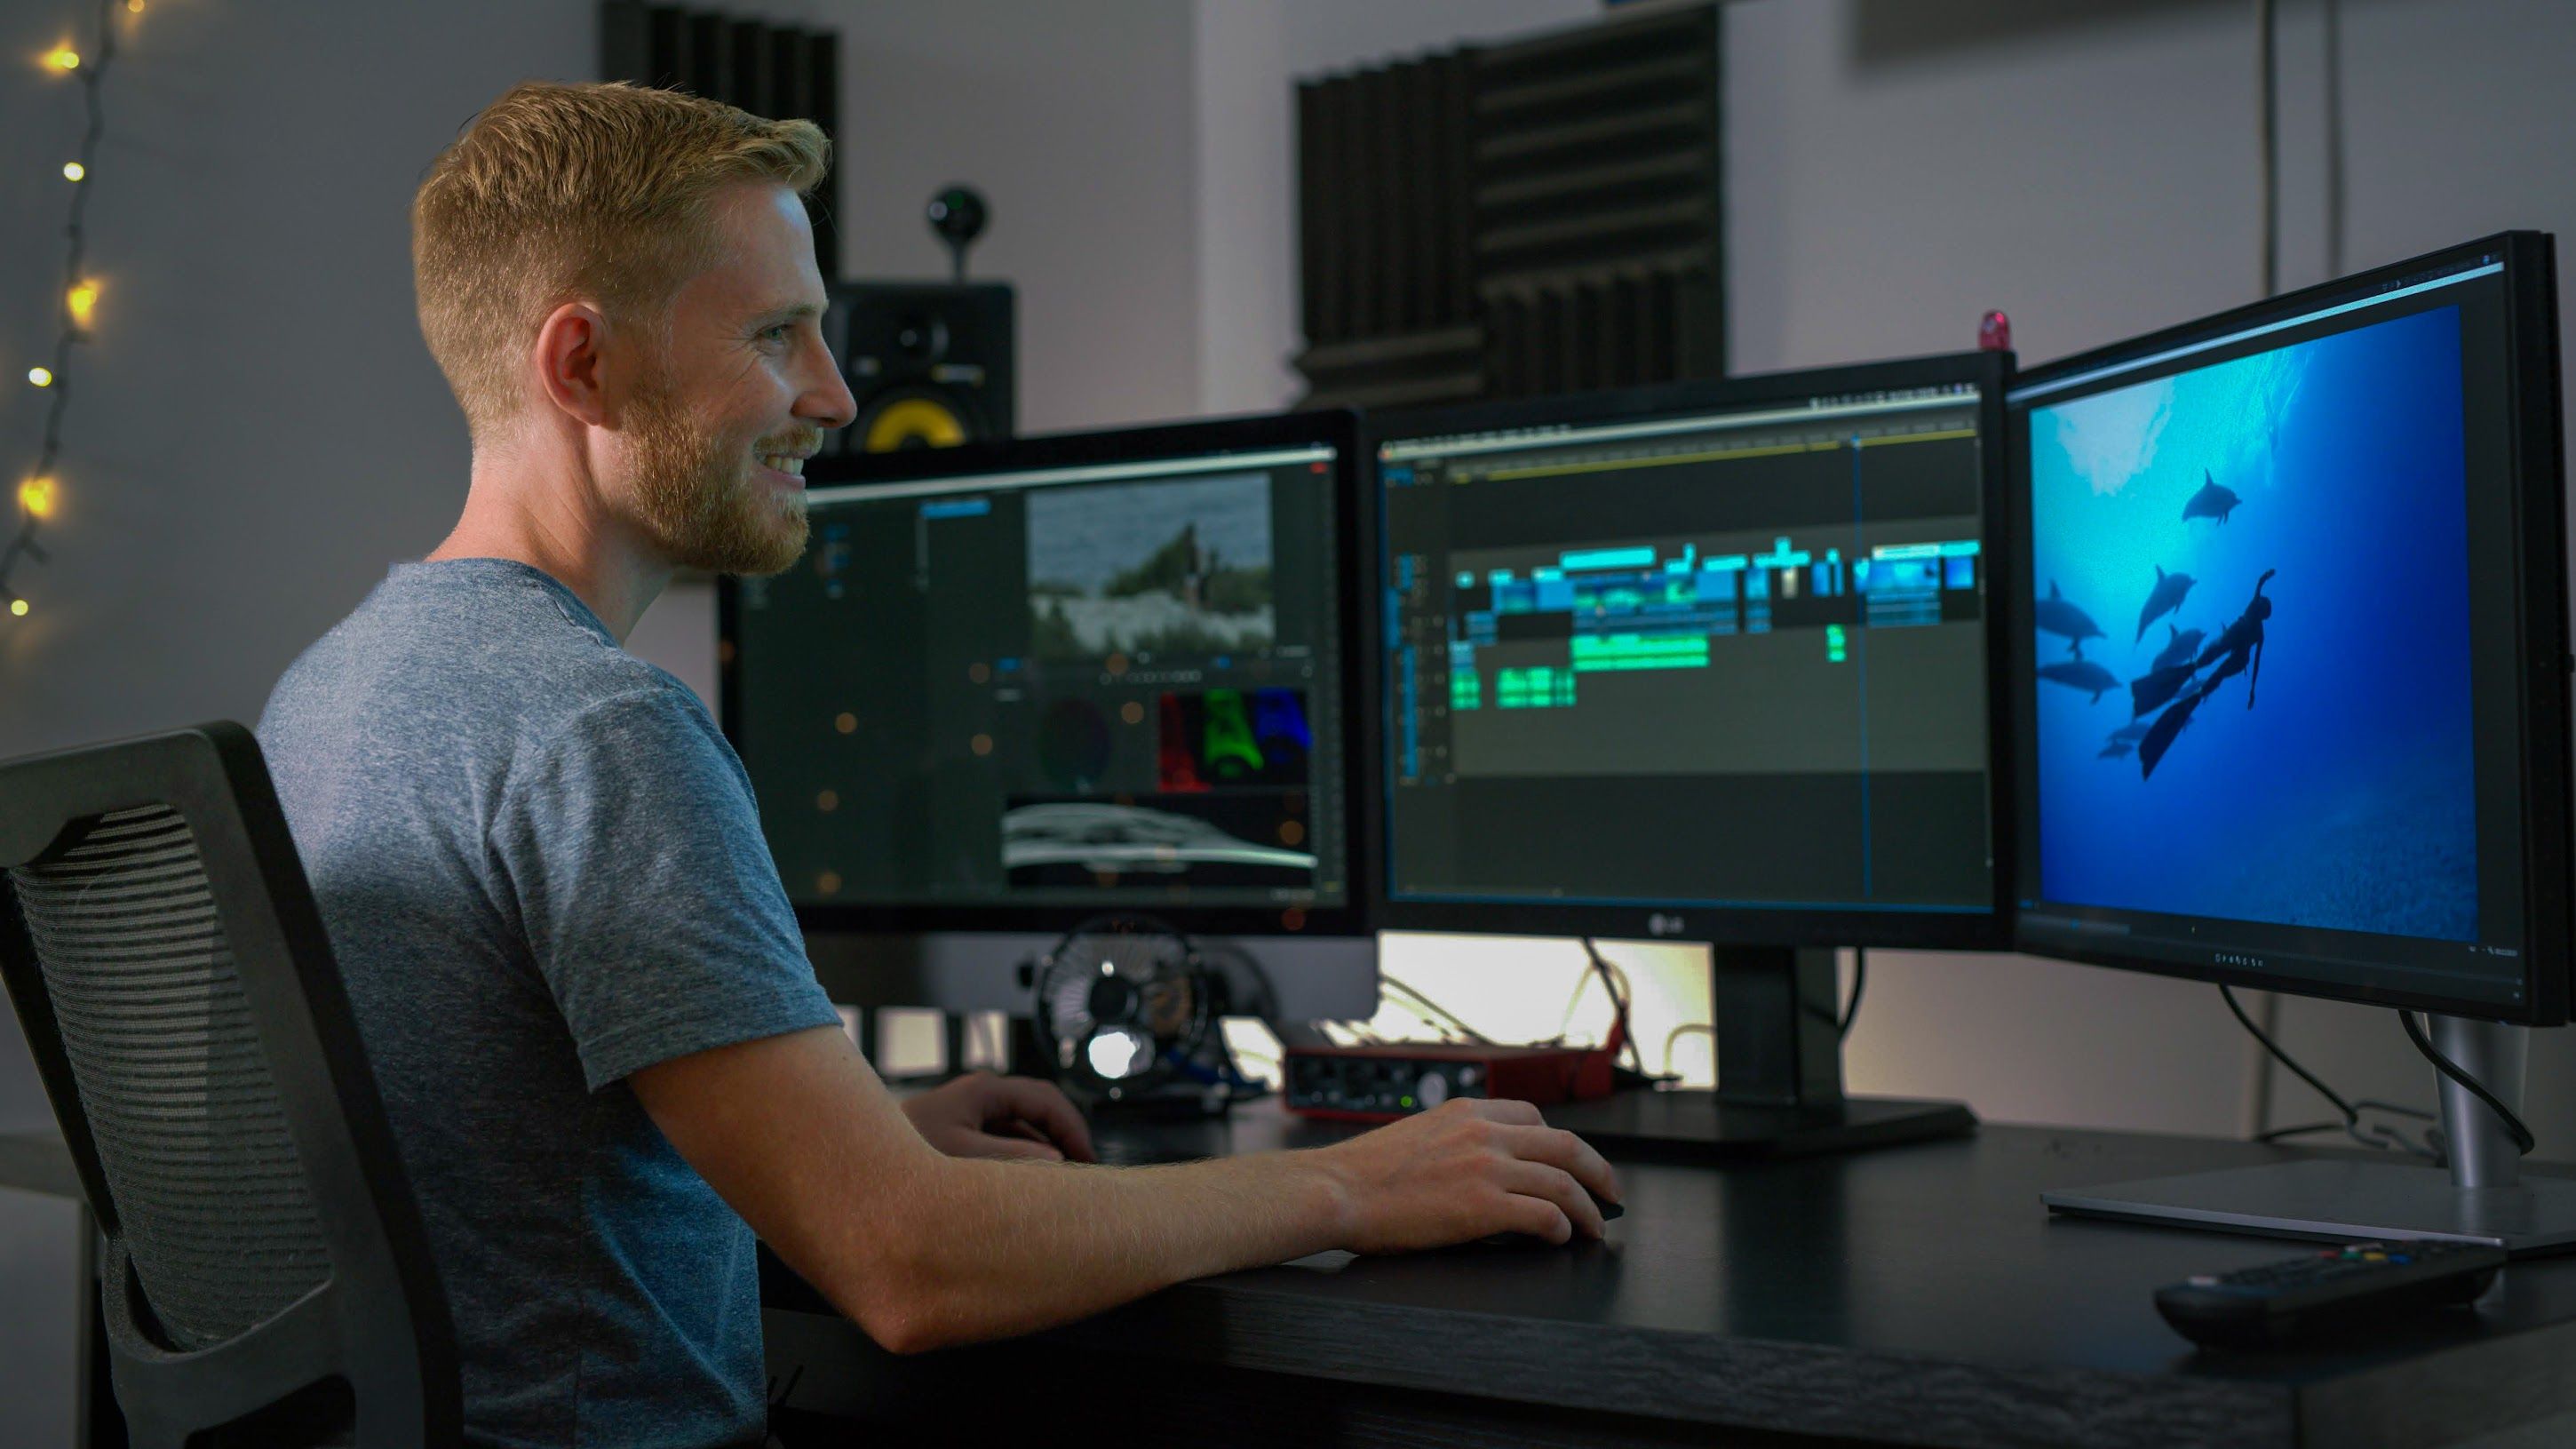
Step 4: Build the Assembly Edit
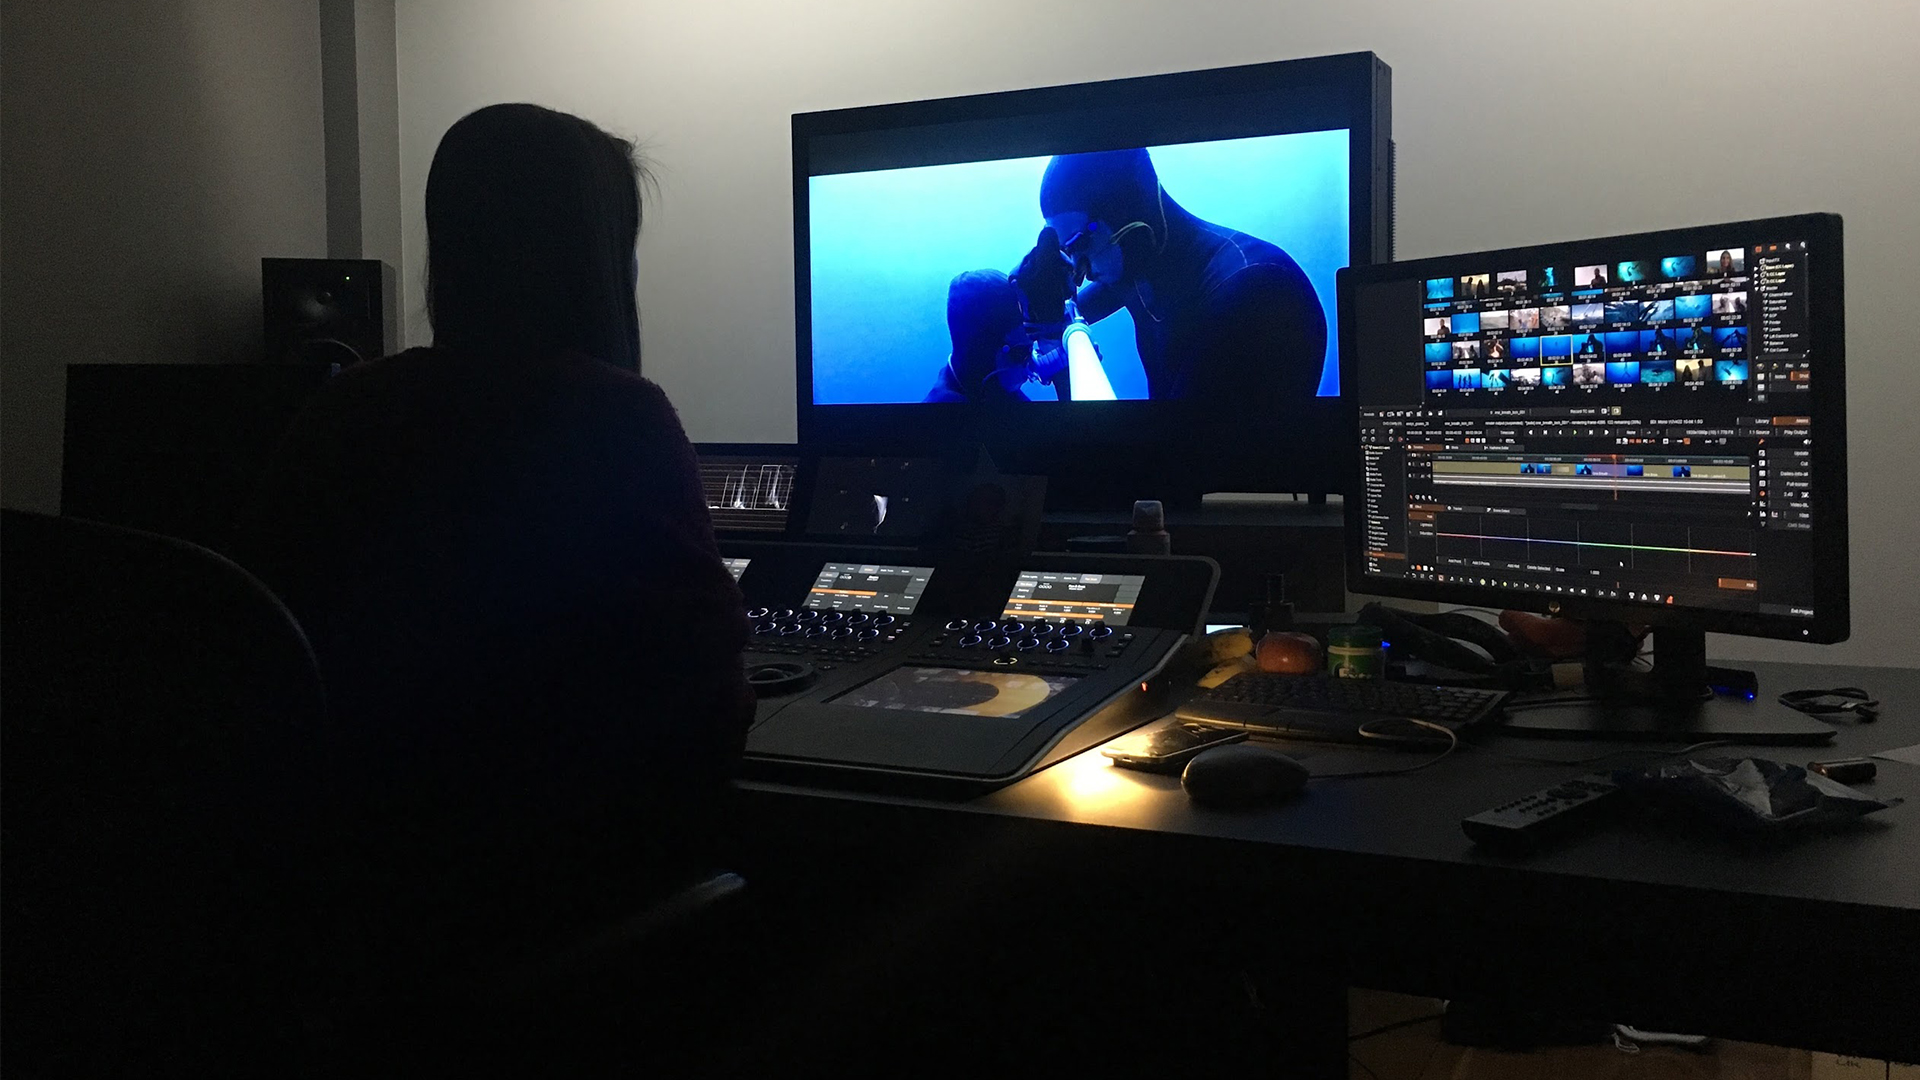
Import your footage, interviews, audio, and archive into your editing software (Premiere Pro, Final Cut Pro, DaVinci Resolve, or Avid Media Composer). Start by building an assembly edit.
- Add the best interview clips to the timeline.
- Layer relevant b-roll and archive footage over the top.
- Do not worry about perfection. This is about getting everything into place.
Avoid spending time polishing shots or transitions at this stage. Focus on the story. Your assembly will probably feel too long and messy. That is completely normal.
Goal: A rough working version of the whole film is on the timeline.
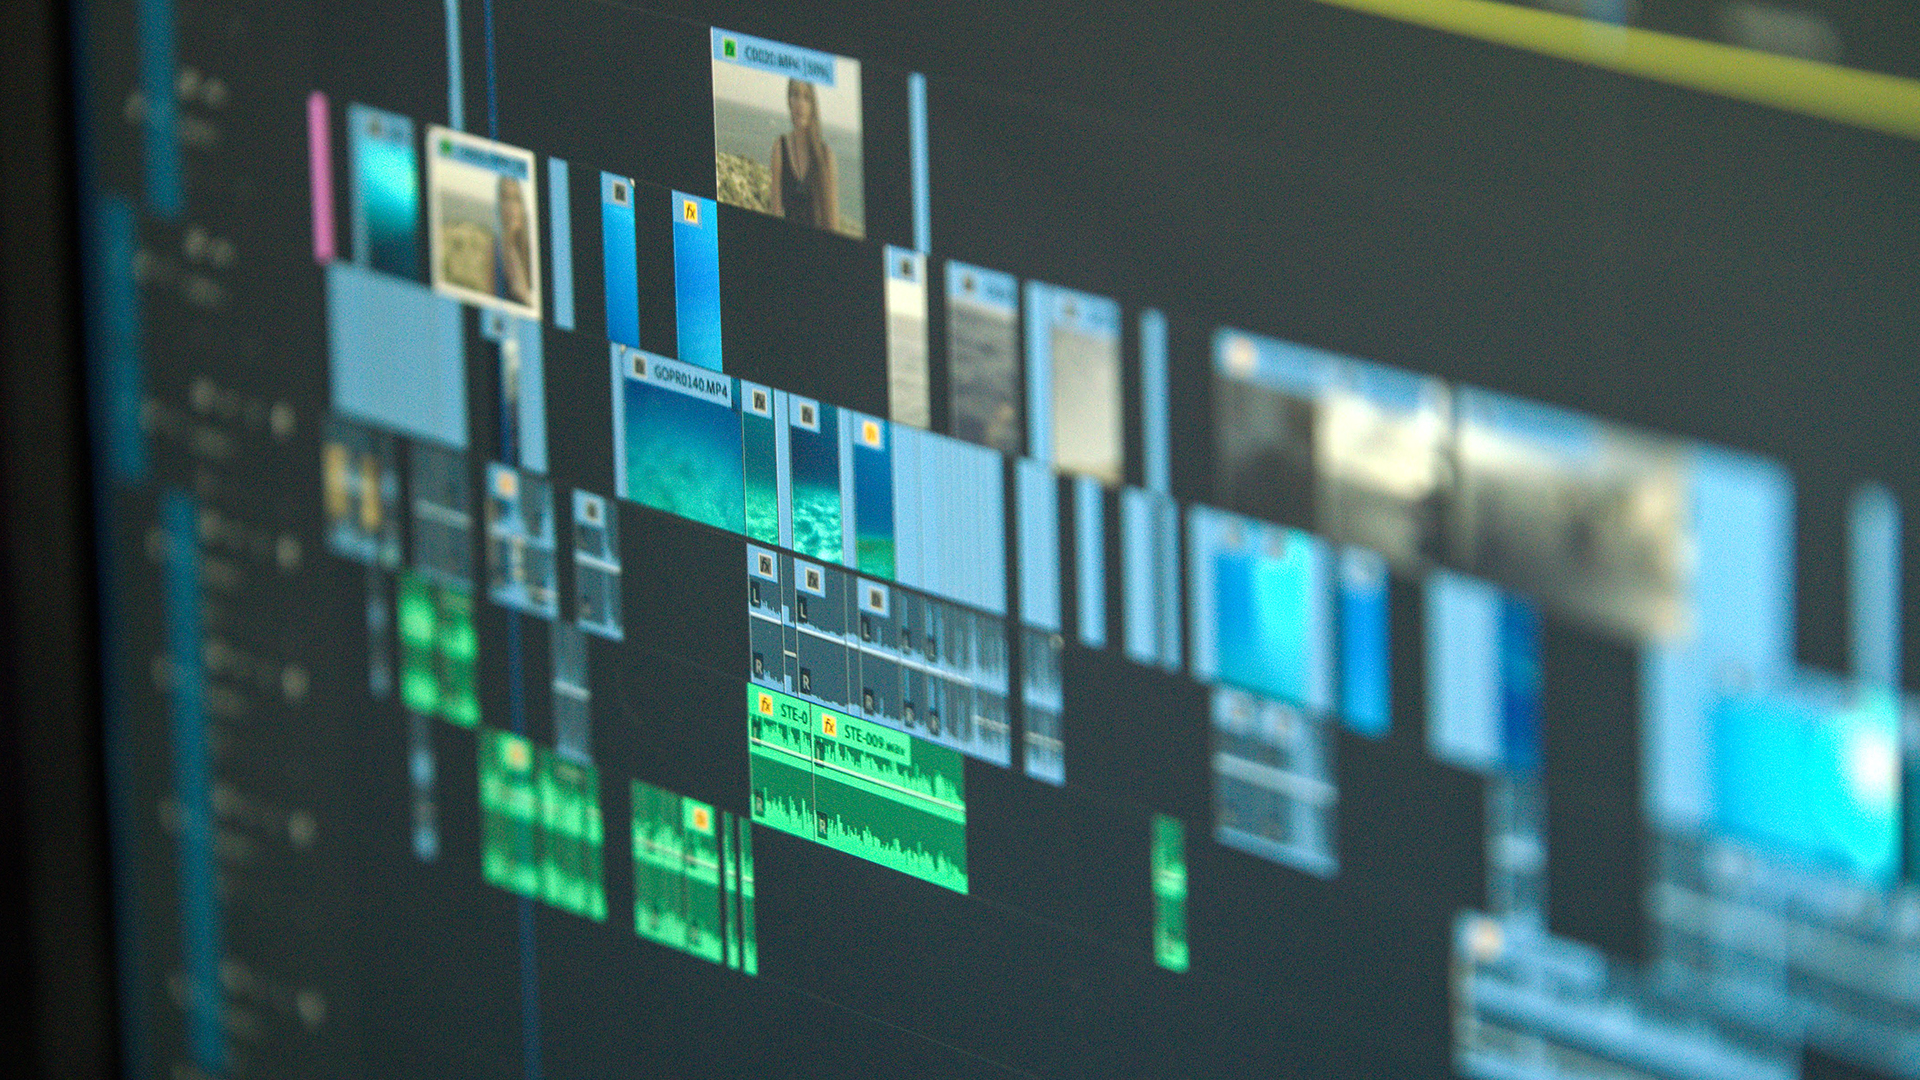
Step 5: Shape the Rough Cut
Now it is time to tighten the story. This is where most of the storytelling happens.
- Rearrange scenes to improve pacing and structure.
- Add temp music and light sound design to support the tone.
- Try different openings and endings to see what hits hardest.
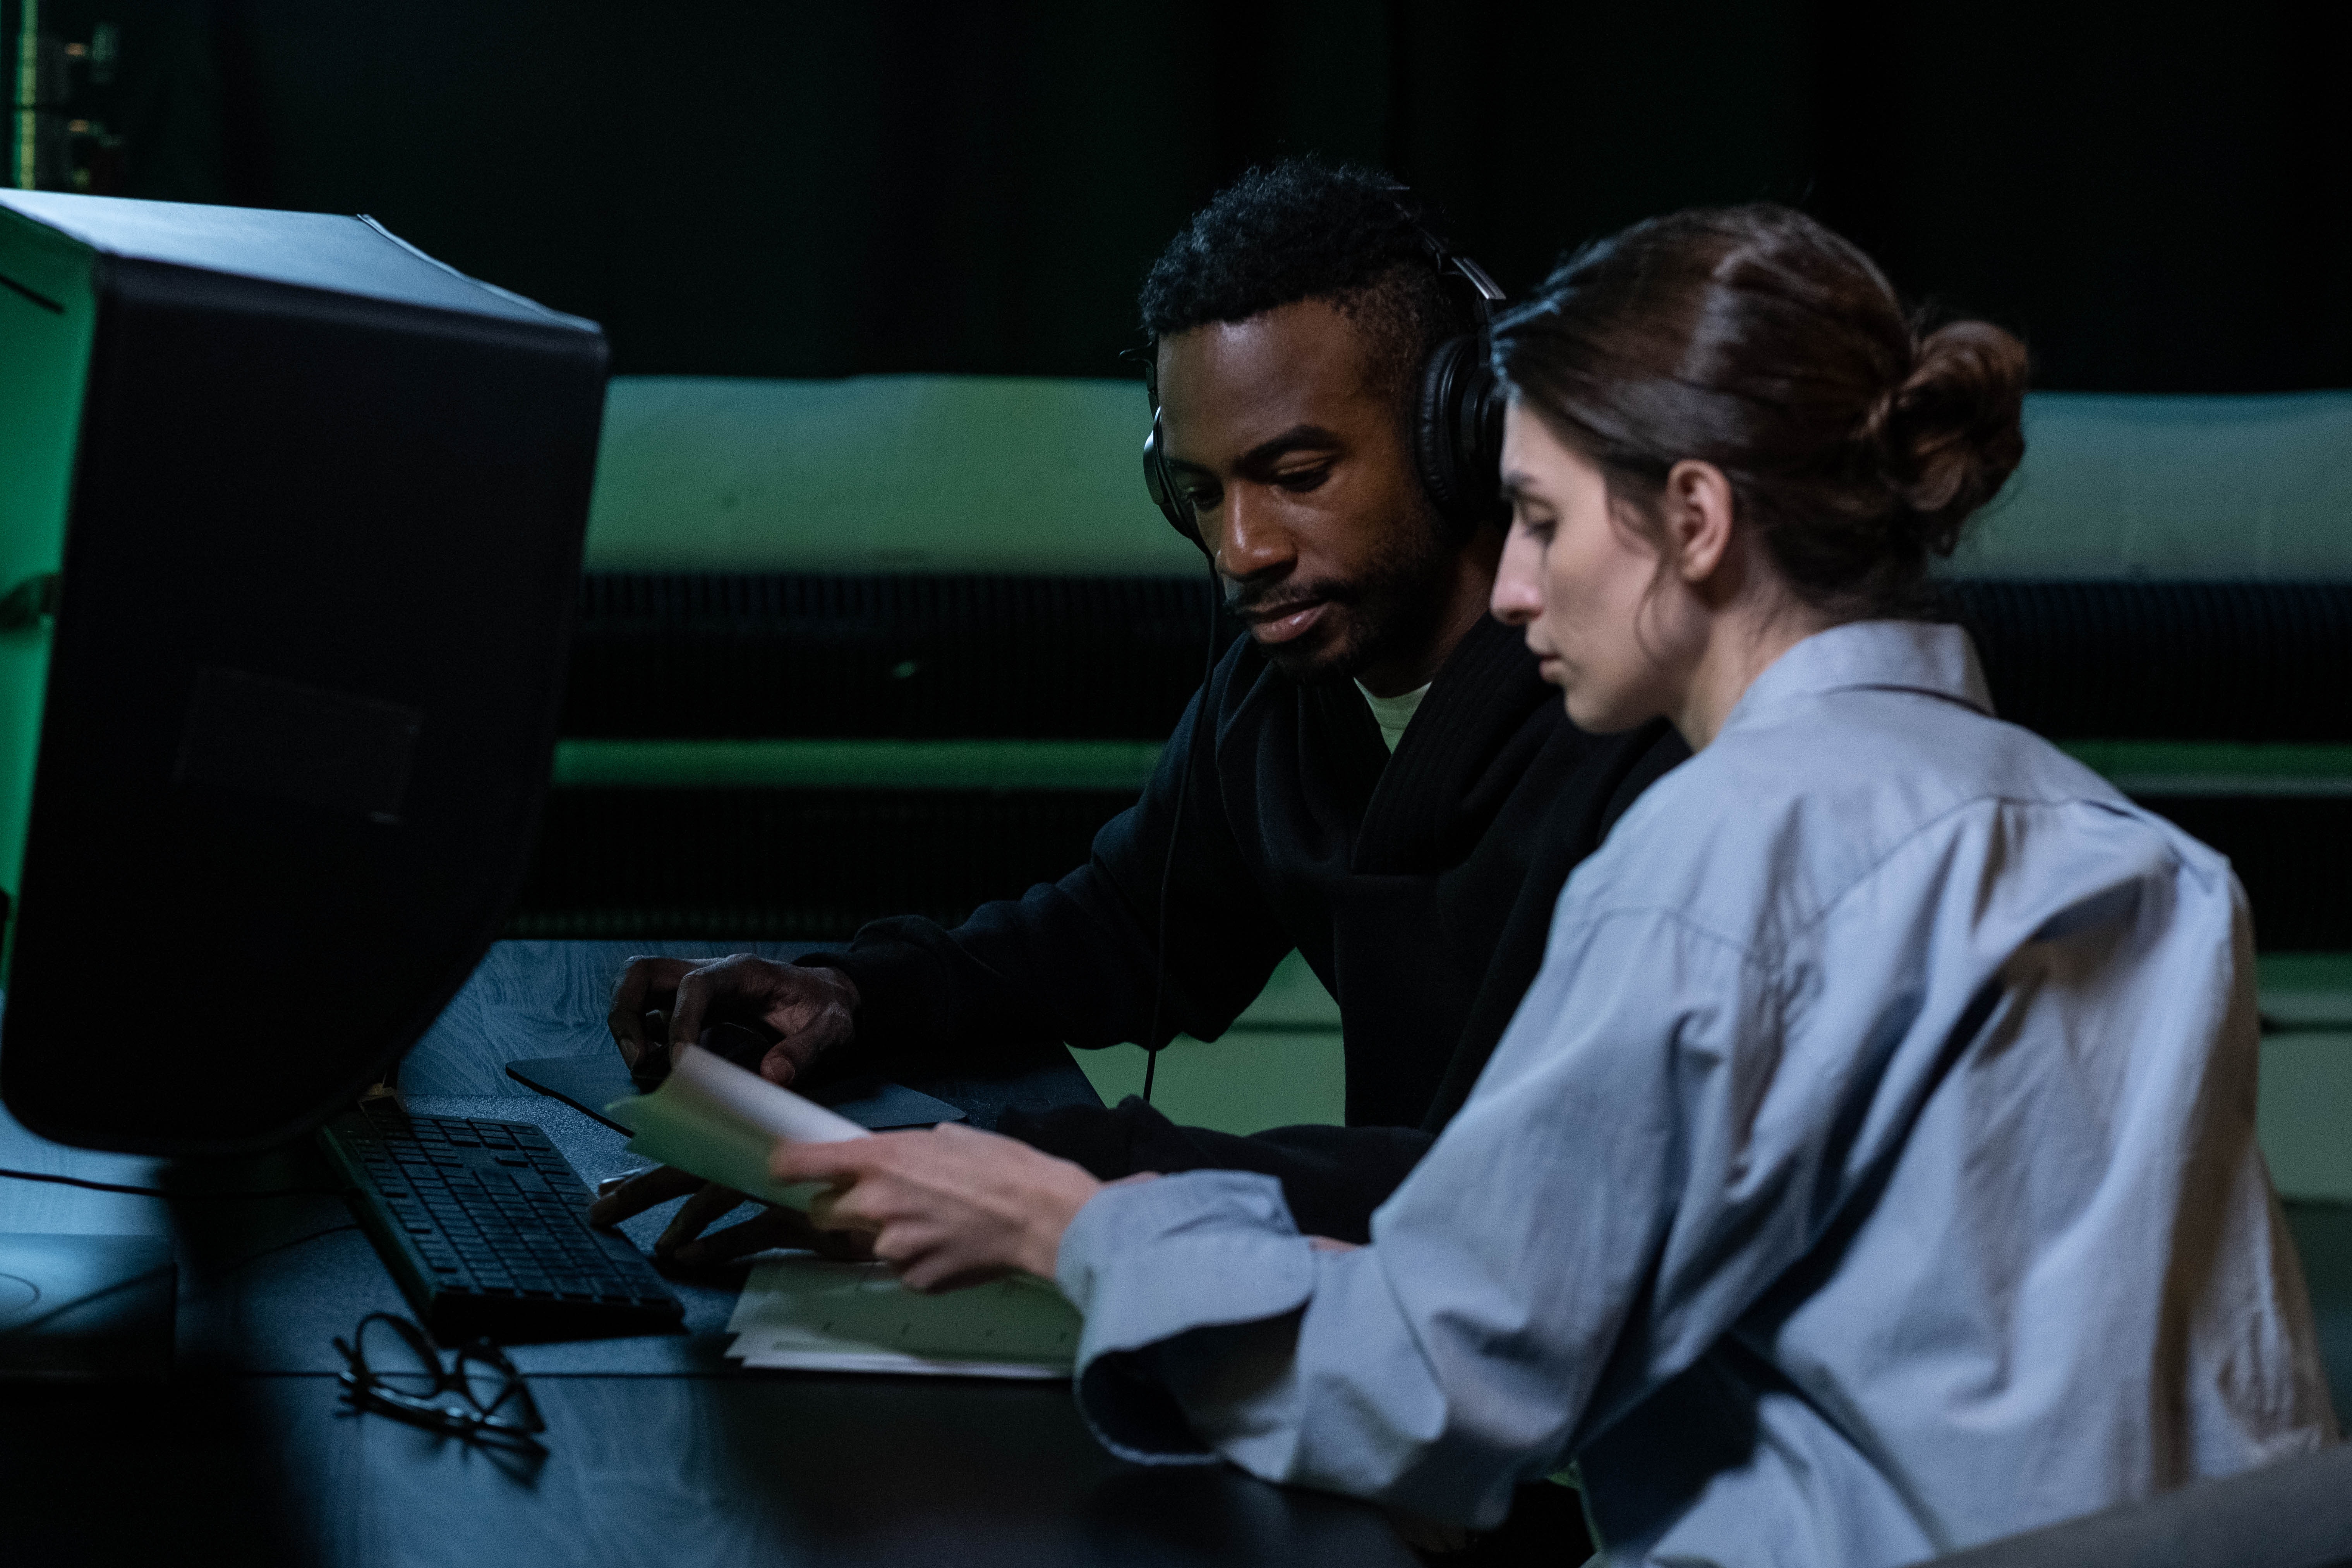
Be ruthless with what stays and what goes. Get feedback from someone you trust who is not attached to the project. Fresh eyes catch problems you have gone blind to. If you want to learn more about how to keep viewers engaged during this phase, see my post on how to build suspense in a documentary.
Goal: The film is starting to feel like a real documentary.
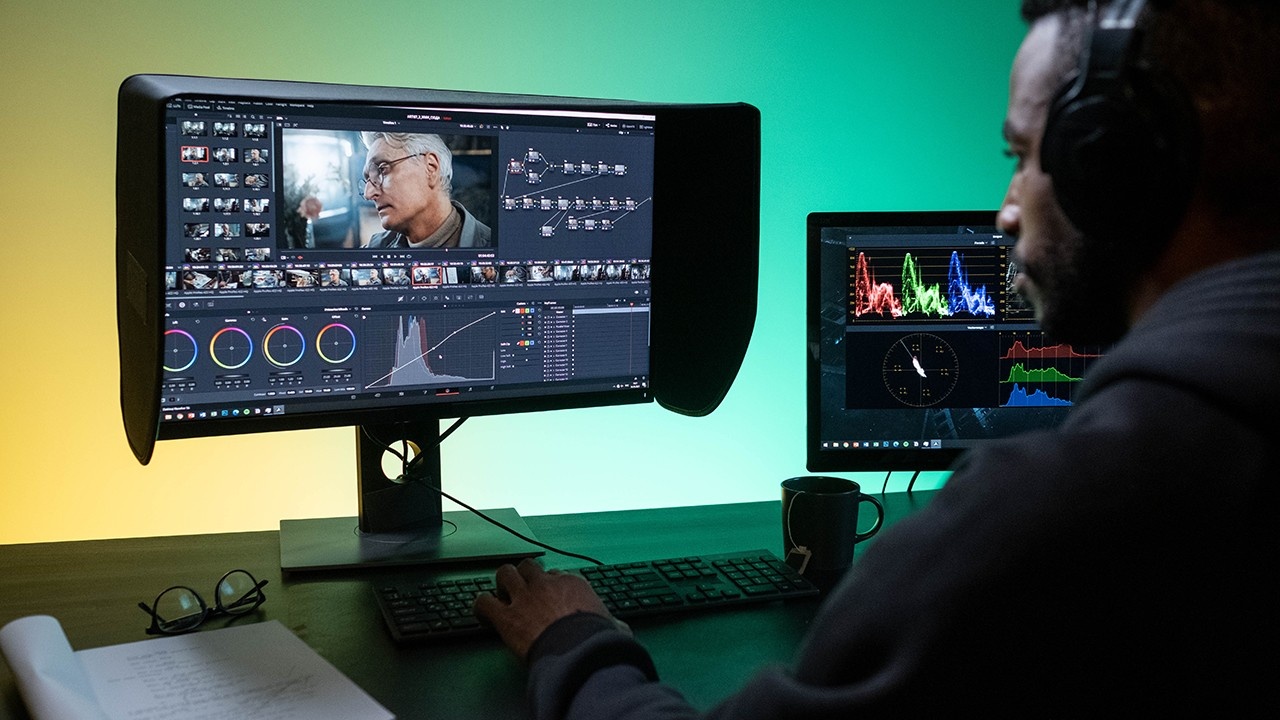
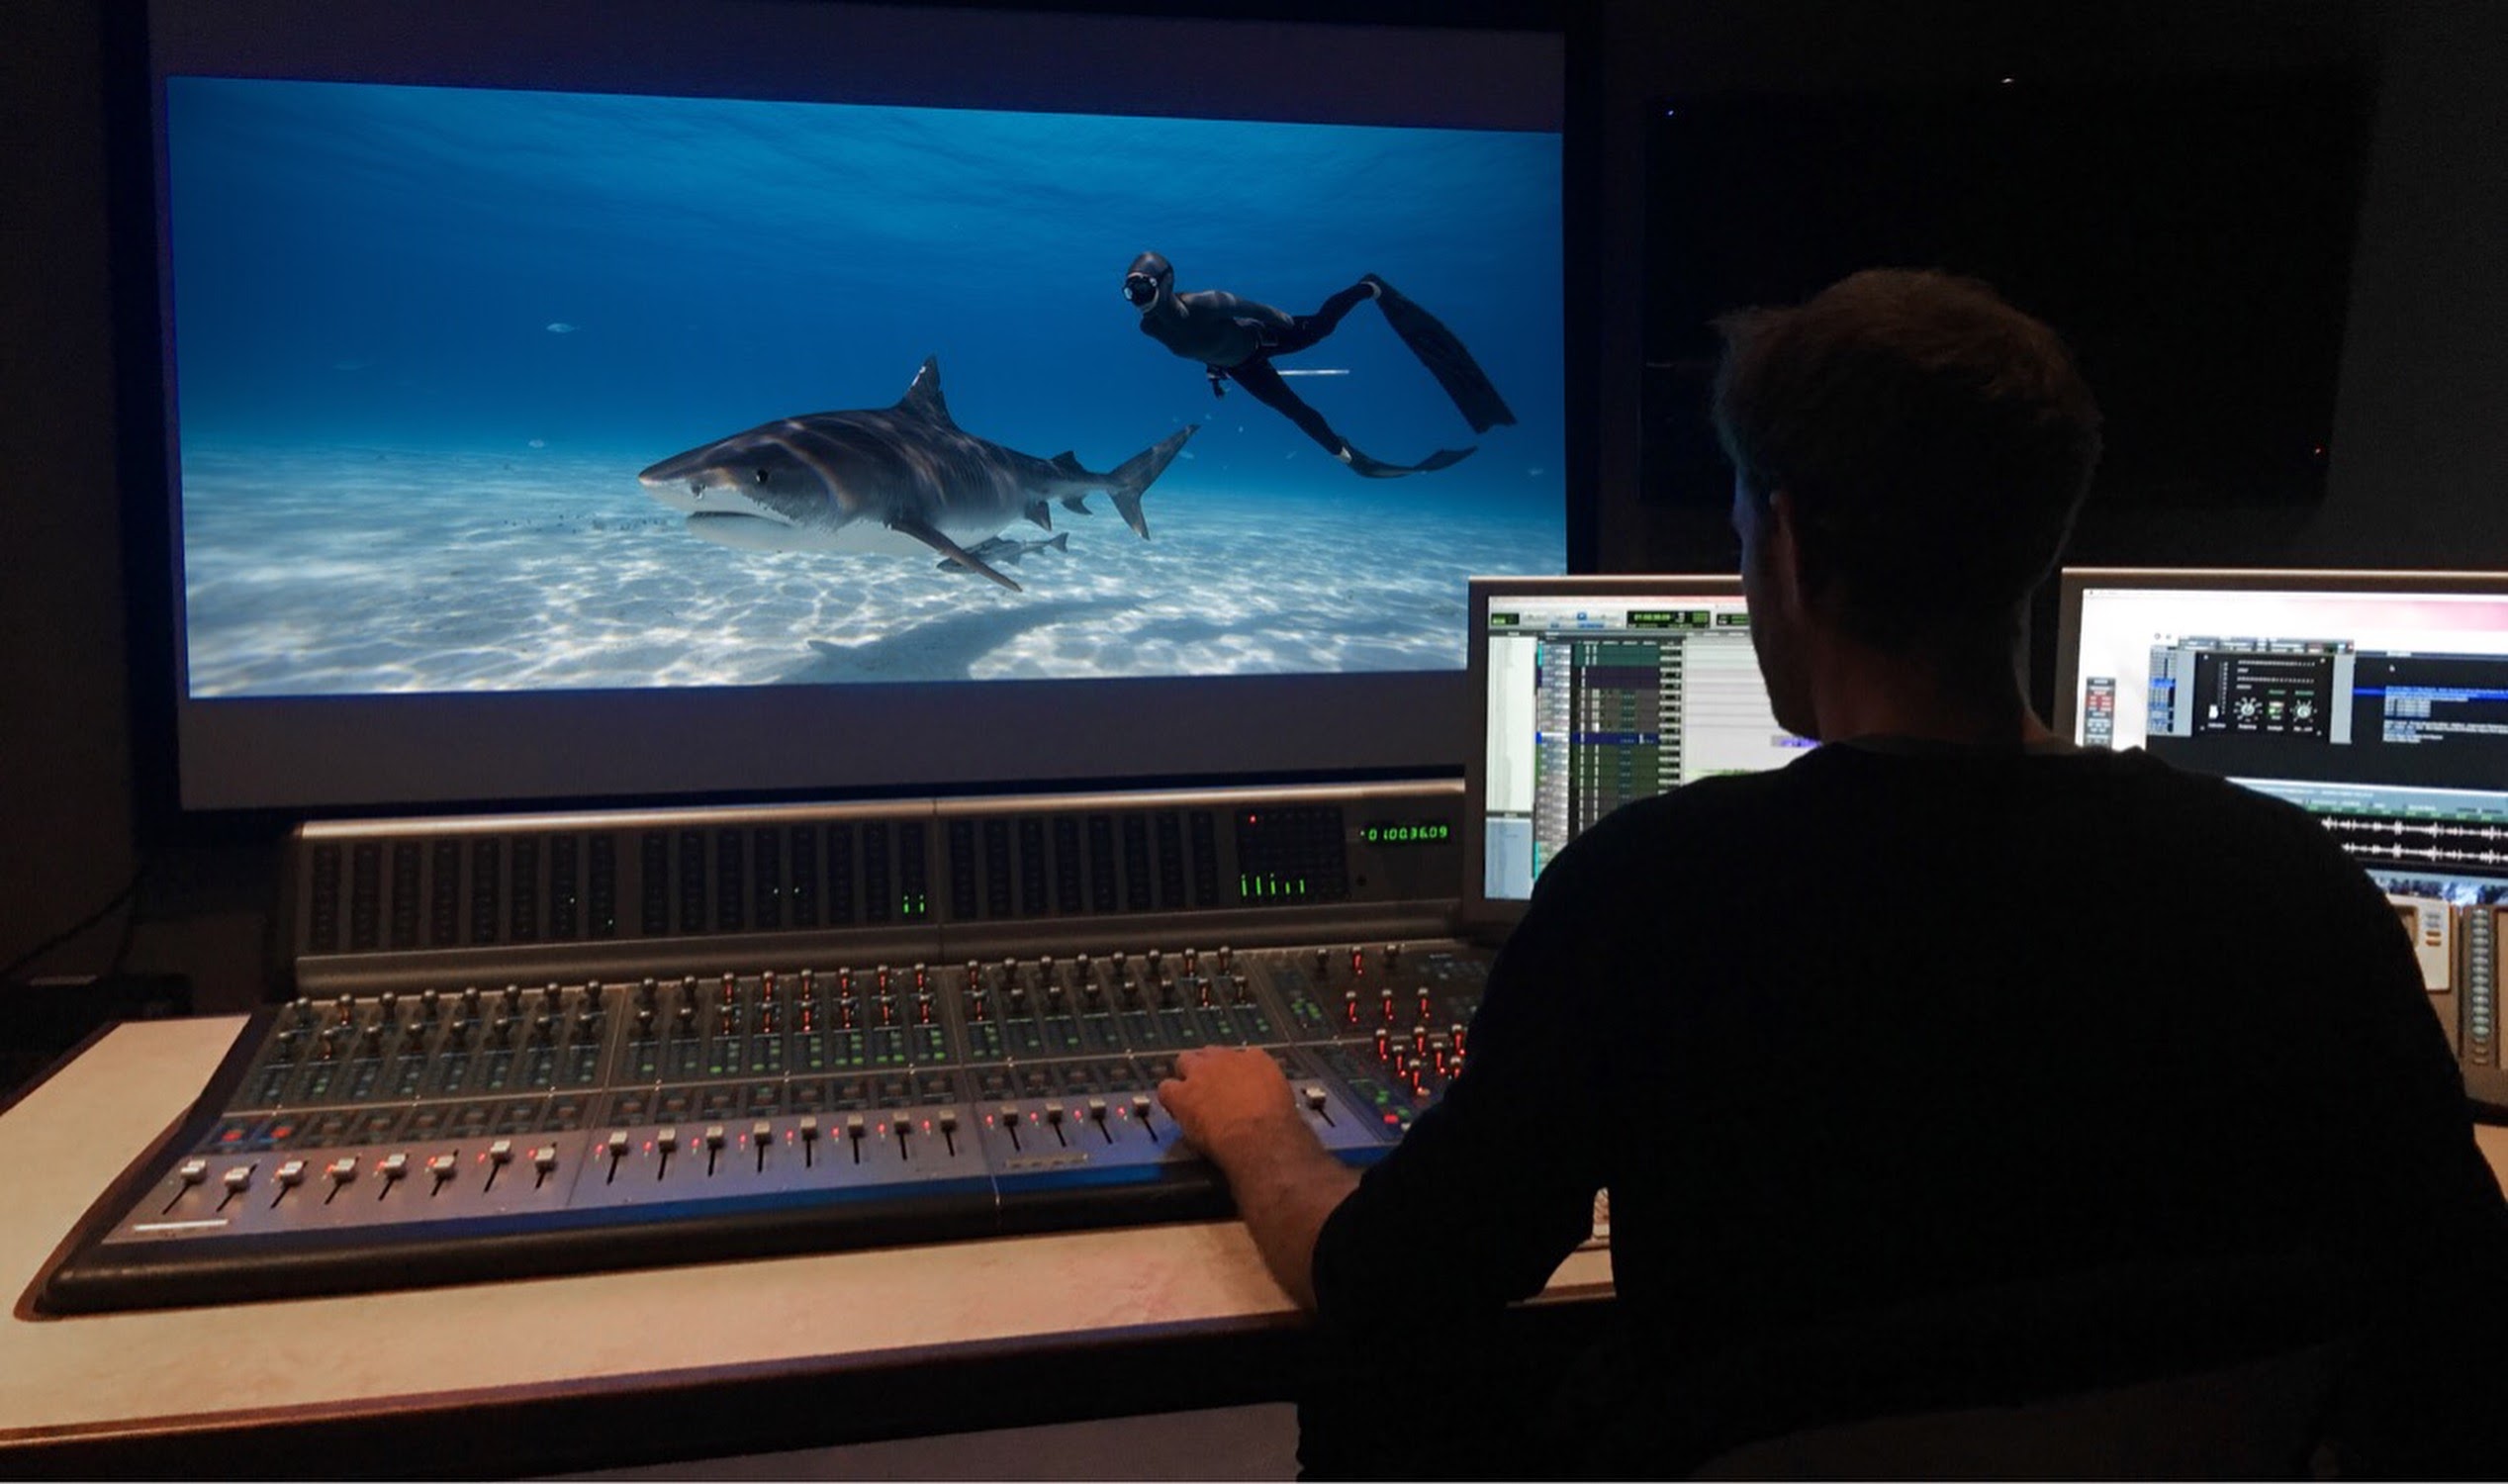
Step 6: Fine Cut, Sound Design, and Colour Grade
In this final stage, you polish everything.
- Trim scenes, tighten edits, and lock picture.
- Add full sound design: background sounds, foley, ambient audio. Strong sound design is what separates amateur documentaries from professional ones.
- Mix audio levels and add subtitles if needed.
- Apply colour grading to match shots and create a cohesive visual tone. Tools like DaVinci Resolve are excellent for this step, even on the free version.
Export a test version and screen it with fresh eyes, and ideally, fresh viewers. For tips on capturing better audio before you reach the edit, see my guide on recording great audio as a solo filmmaker.
Goal: A final, broadcast-ready version of your documentary.
What Is Documentary Editing?
Documentary editing is the craft of shaping real-life footage into a compelling story. Unlike scripted films, documentaries often start with hours of unscripted footage. The editor's job is to find structure, emotion, and meaning from that raw material. It is part technical skill, part storytelling instinct.
A good documentary editor is always asking: what does the audience need to know next? What emotion should they feel right now? Where is the tension, and where is the release? Those questions guide every cut you make.
Frequently Asked Questions
How do I start editing a documentary?
Start by backing up and organising your footage. Watch everything. Take notes. Transcribe your interviews and build a paper edit before jumping into the timeline. Having a clear structure on paper first will save you from getting lost in your footage.
What software is best for documentary editing?
For professional work: Adobe Premiere Pro, Final Cut Pro, DaVinci Resolve, or Avid Media Composer. For beginners: iMovie or Premiere Rush. Avid is the industry standard for broadcast documentaries. DaVinci Resolve has a powerful free version that handles editing and colour grading. Use what fits your budget and skill level.
How long does it take to edit a documentary?
It depends on length and complexity. A short documentary (under 30 minutes) might take a few weeks. A feature-length documentary can take months of full-time editing. Do not rush the story. The edit is where your documentary is truly made.
What are the 5 C's of editing?
The 5 C's are continuity, cutting, close-ups, composition, and camera angles. These are foundational principles from cinematography and editing that help create smooth, watchable sequences. In documentary editing, continuity and cutting are especially important because you are often stitching together footage from different times and locations.
What is the 3-2-1 backup rule in video editing?
The 3-2-1 rule means keeping three copies of your footage, on two different types of storage media (for example, an external hard drive and a cloud service), with one copy stored off-site. This protects your documentary footage from drive failures, theft, or damage. I follow this rule on every project because losing footage means losing shots you can never recreate.
Learn More About Documentary Filmmaking
If you are in the middle of editing and feeling stuck, the Documentary Fundamentals course walks you through the entire filmmaking process, including a full editing module. For a broader overview of the filmmaking journey, my complete guide on how to make a documentary covers every stage from idea to finished film.

Final Thoughts
Break your documentary editing project down into chunks. Follow the 6 steps above. If you are feeling overwhelmed, that is completely normal. Every documentary editor feels that way at the start of a new project, including me after 15 years of doing this.
The edit is where your documentary is made. Give it the time it deserves, trust your process, and keep cutting.