How to Film a Cinematic Documentary Using Natural Light

Learning how to use natural light for documentary filmmaking is one of the most practical and powerful skills you can develop. Most of the time, you won’t have lighting gear or the time to use it. And in many documentary settings, artificial lighting isn’t appropriate anyway.
The good news: you don’t need fancy equipment to shoot beautiful, cinematic footage. In fact, some of the most emotionally powerful and visually compelling documentaries are shot entirely with available light. You just need to understand how to use it.
In this guide, I’ll show you how to work with natural light, whether you’re filming in harsh sun, soft shade, or unpredictable weather. You’ll learn how to shape light using angle, weather, reflection, diffusion, and camera positioning so your scenes feel cinematic and real.
Why Natural Light Works in Documentary Filmmaking
Natural light brings authenticity. Unlike artificial setups that can feel staged, available light allows your story to unfold naturally. It’s responsive, reactive, and often more emotionally resonant.
Great documentaries feel honest, and natural light supports that. It captures environments as they are—no faking, no over-polishing. But to make it work on camera, you need to be intentional.
Watch: Cinematic Outdoor Lighting: 3 Simple Steps
Prefer to see it in action?
In the video below, I break down how to use natural light to create beautiful cinematic scenes outdoors, without expensive lighting gear.
How to Film in Harsh Sunlight (Without Extra Gear)
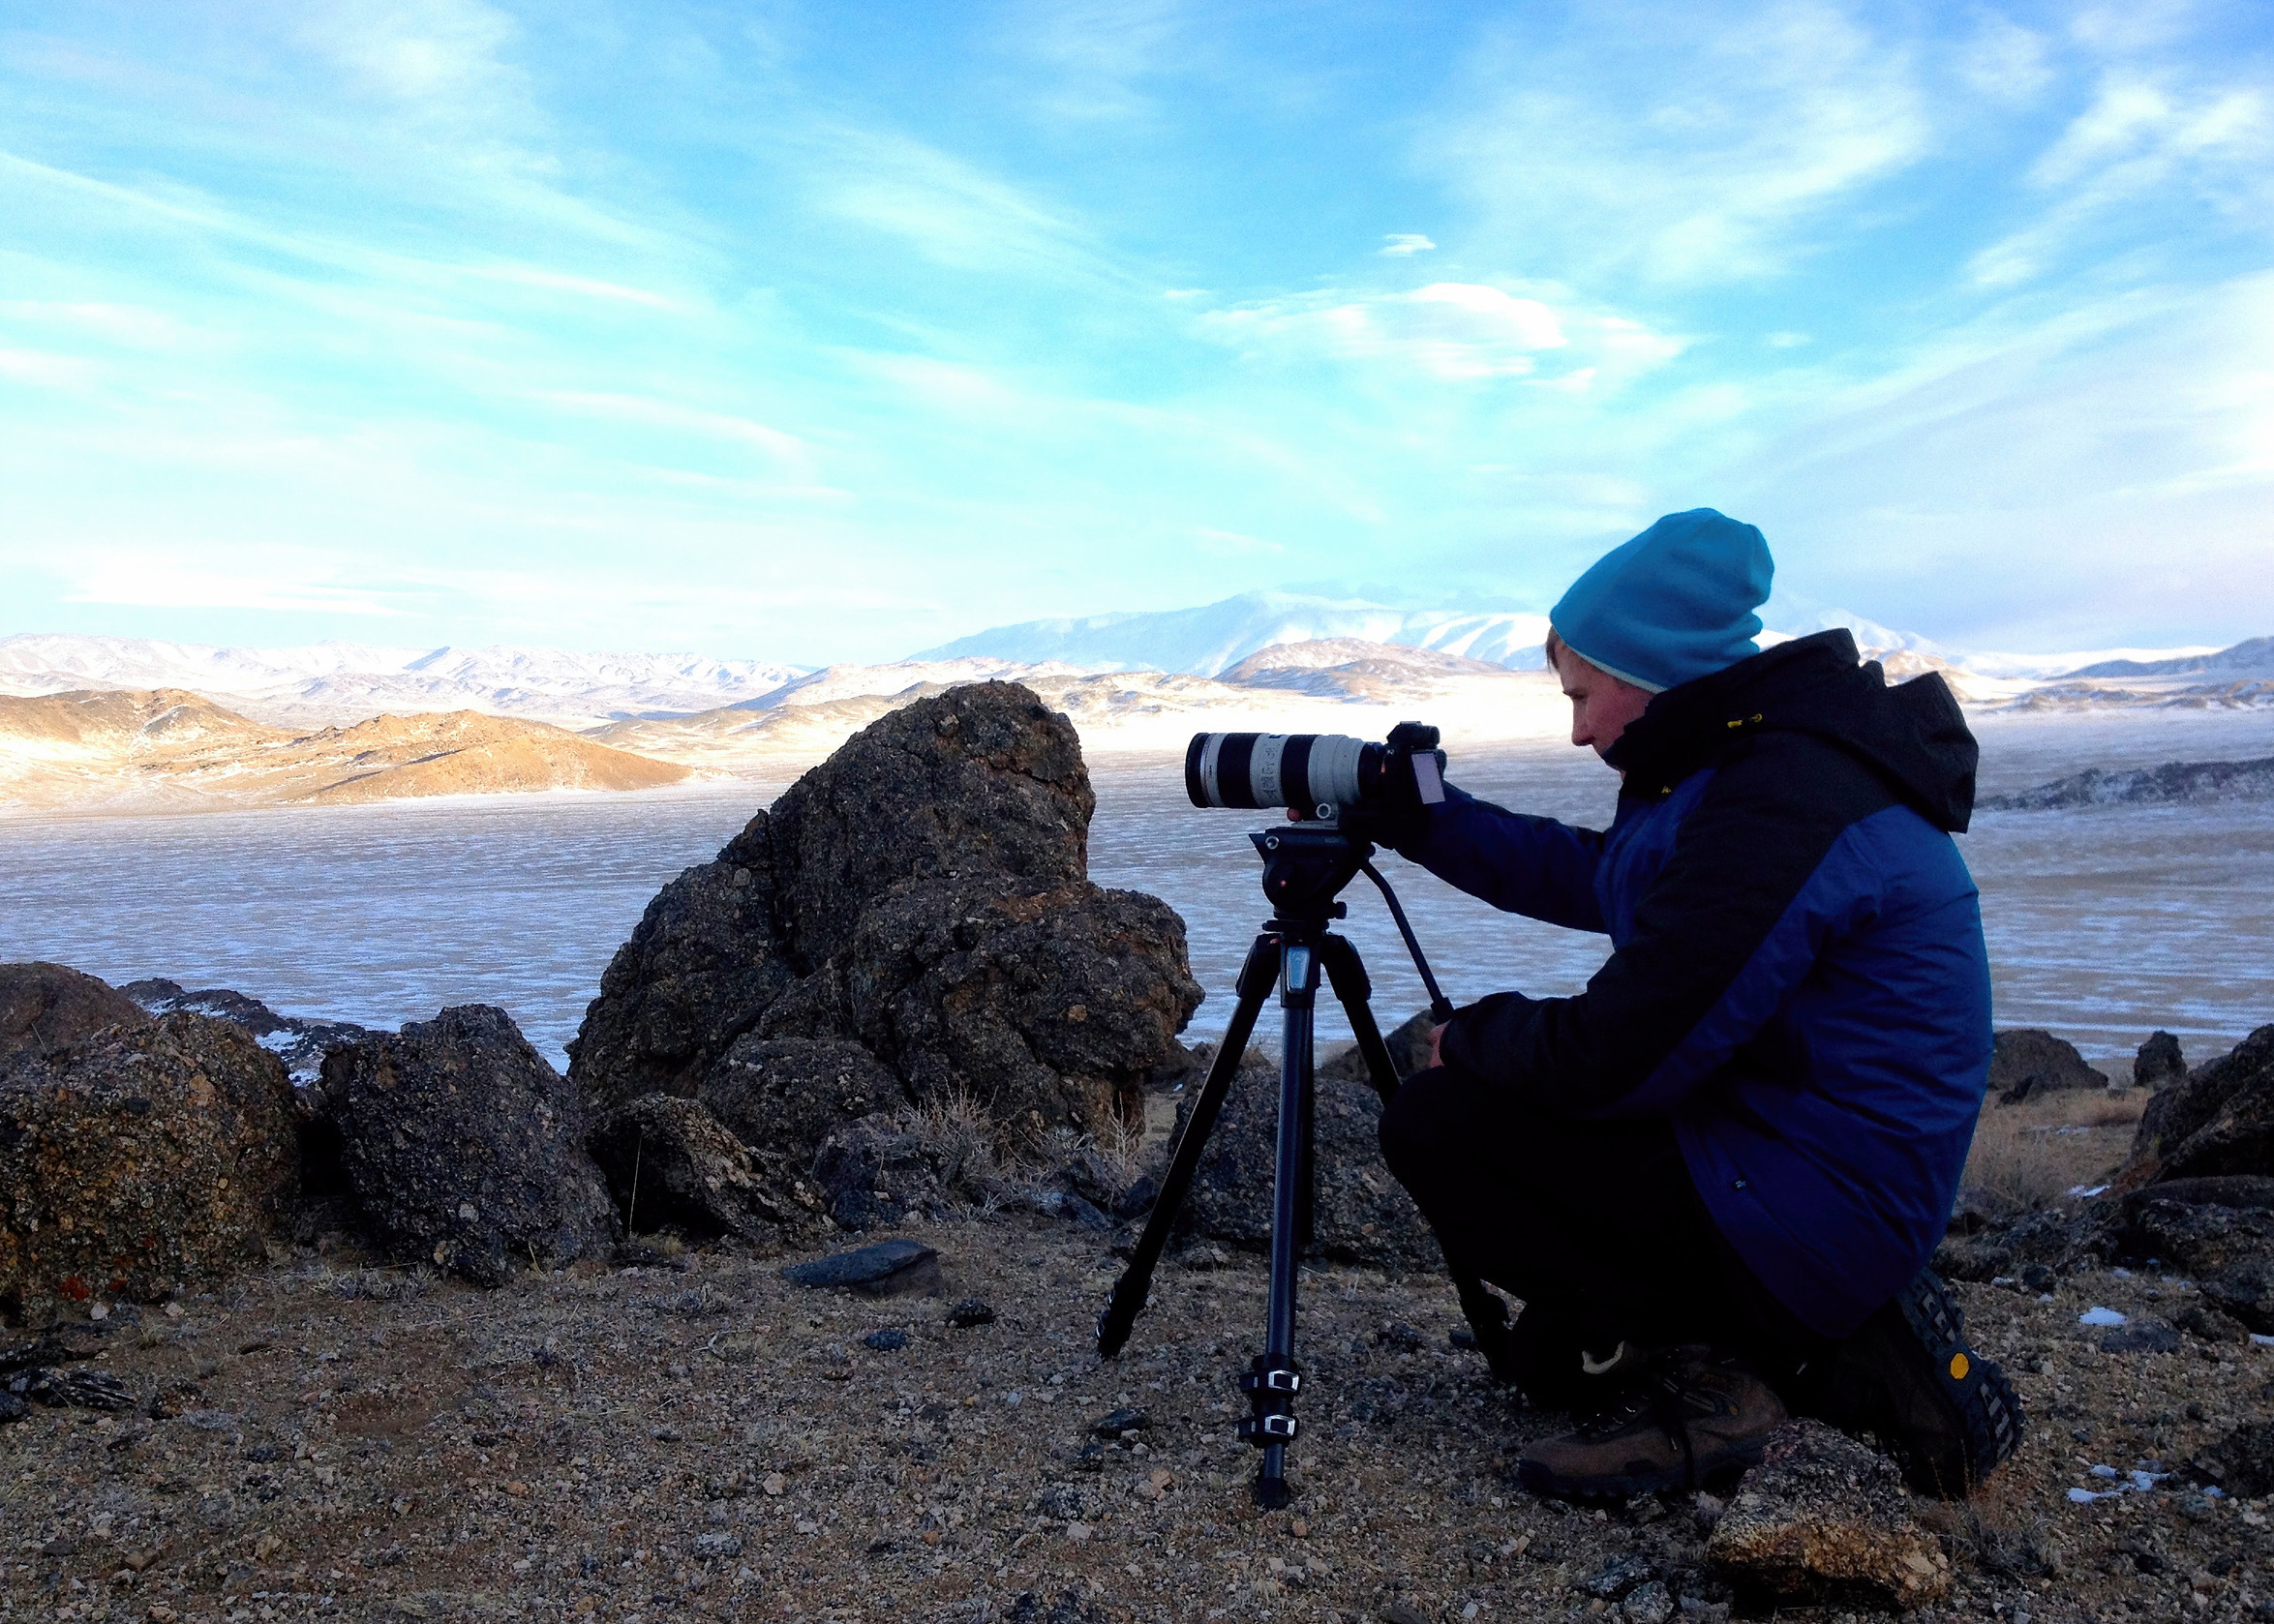
Harsh sunlight is one of the biggest challenges when filming with natural light. But with the right approach, it can still look cinematic. These five elements will help you control the sun and use it to your advantage.
1. Angle of the sun
The time of day dramatically affects how your footage looks. Midday light is harsh, overhead, and creates strong shadows. Early morning or late afternoon, the golden hour, offers soft, flattering light that adds warmth and depth.
Use an app like Sun Scout to track the sun’s position at your filming location. This lets you plan your shoot based on light quality and angle.

2. Weather Conditions
Weather is unpredictable, but it’s also a tool. Overcast skies create soft, even lighting with minimal shadows. Harsh sunlight brings contrast. Fog, rain, and even sandstorms can be visually dramatic if used well.
Always check the weather forecast before filming and scout the location under similar conditions if possible.
3.Diffusion: Soften Harsh Light
Diffused light is softer and more flattering. You can create it by:
-
Filming in open shade (under trees, buildings, or porches)
-
Using sheer fabric or a large diffuser
-
Shooting indoors near a window with thin curtains
Diffusion wraps light around your subject, reducing sharp shadows and creating a more even exposure.

4. Reflection: Fill in Shadows
If your subject is backlit or in shade, bounce light onto their face using a reflector. You don’t need pro gear—a white wall, sheet, or piece of foam board works too. Reflectors let you fill shadows naturally, without changing the ambient light too much.
In a pinch, use:
-
Mirrors
-
Windows
-
Sand
-
Water
-
Snow
These all act as natural bounce sources.

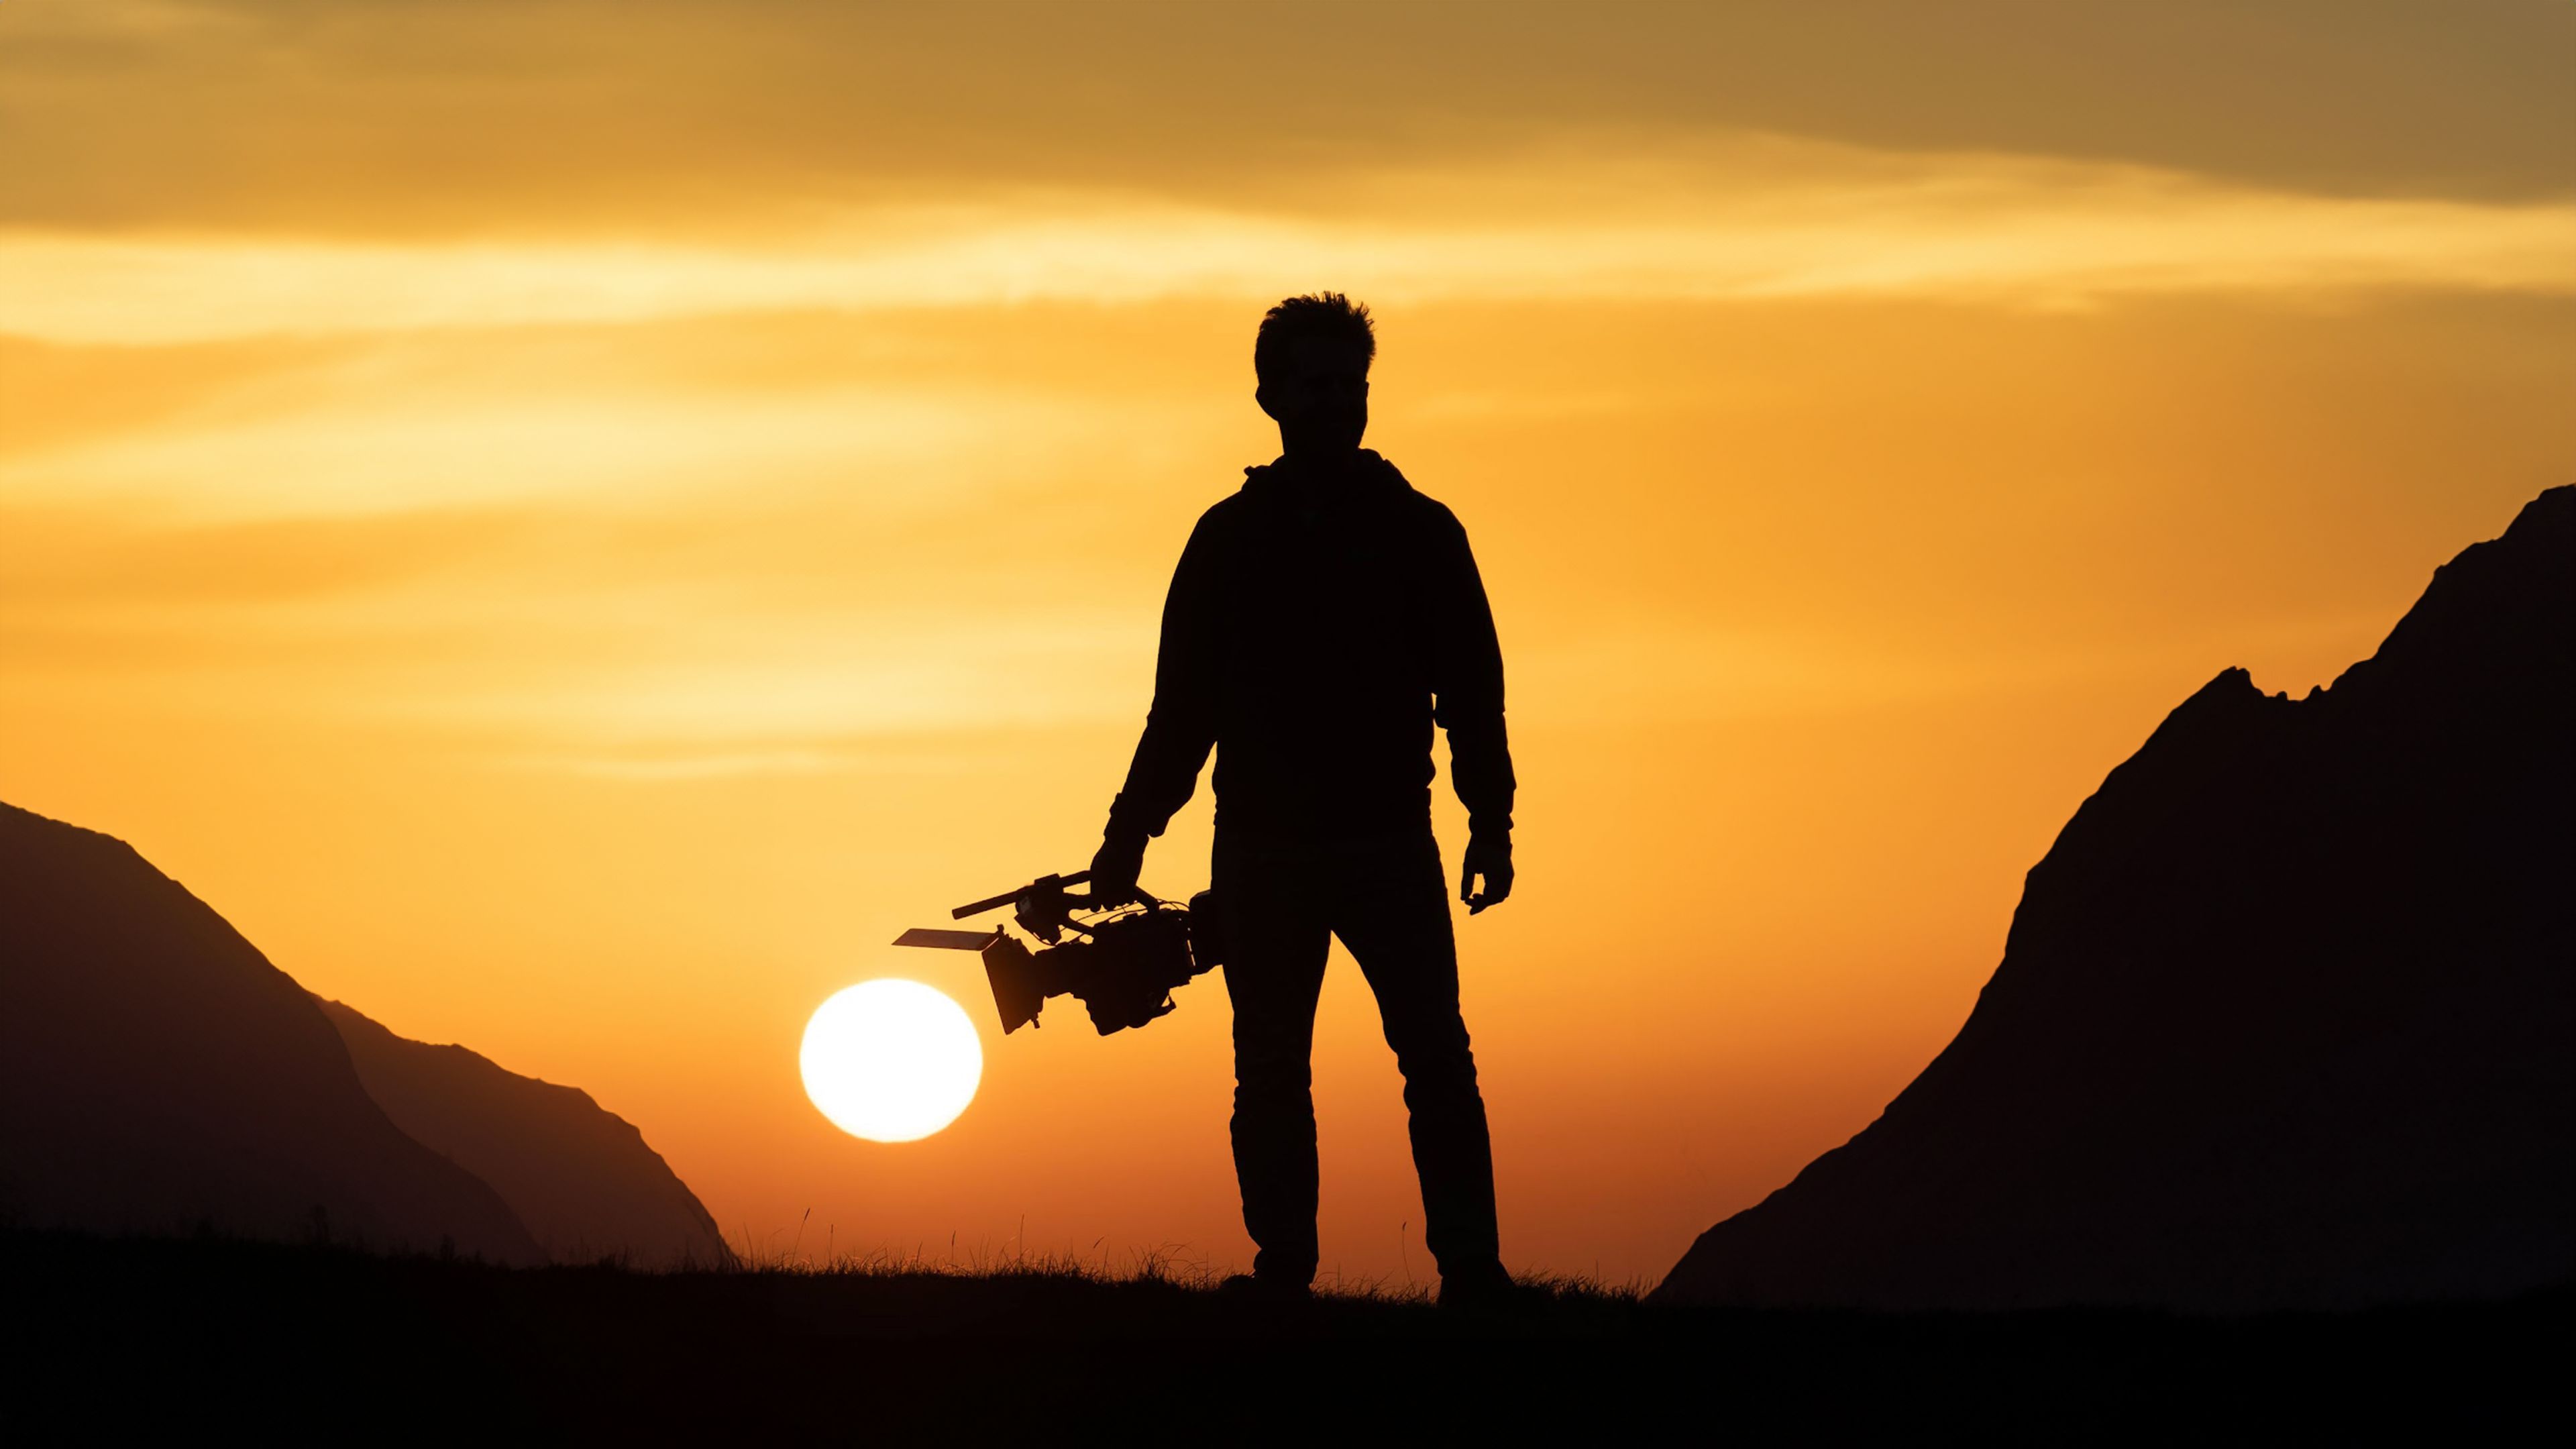
5. Camera Position: Backlighting for a Cinematic Look
Instead of placing the sun behind the camera (which can flatten the image and cause squinting), try filming into the sun. This creates backlighting, which:
-
Adds depth and separation with a halo around your subject
-
Produces natural lens flares
-
Is easier on your subject’s eyes
-
Creates softer, more flattering light on the face
This technique works particularly well for portraits, interviews, and emotional moments
Tips for Golden Hour Shooting
Golden hour, just after sunrise or before sunset, offers soft, warm, cinematic light. Here’s how to get the most from it:
-
Schedule tightly. You’ll only have 30–60 minutes of optimal light.
-
Position your subject so the sun is behind or at an angle, not directly overhead.
-
Use a reflector or bounce to lift the shadows slightly.
-
Don’t overexpose. Keep detail in the highlights and allow shadows to fall off naturally.
Overcast days also provide soft light, perfect for even exposure, especially for close-up documentary scenes or portraits.
Lighting Interviews With Natural Light
For interviews, natural light can be ideal if used well. Here’s how:
-
Position your subject near a large window with soft, indirect light
-
Avoid direct sunlight on the face, it creates unflattering contrast
-
Use curtains or diffusion if needed to soften the window light
-
If the background is too bright, expose for the face and let the background go light
-
Use reflectors if needed to lift shadows, especially under the eyes
If you're outdoors, film in open shade, use backlight, and keep the subject comfortable. Natural light interviews can look just as cinematic as studio-lit ones—with far less fuss.
Camera Settings for Natural Light Video
To get the most out of natural light, adjust your camera settings to match the conditions.
-
ISO: Use the lowest setting that gives you clean exposure. Start at 100. Raise only if needed.
-
Aperture: Wider apertures (like f/2.8) let in more light and create shallow depth of field—great for cinematic focus.
-
Shutter Speed: Follow the 180° rule. If shooting at 25fps, set shutter to 1/50.
-
ND Filter: In bright light, use a neutral density (ND) filter to darken the image without adjusting shutter or aperture.
Keep checking your exposure as the light changes, natural light shifts quickly.
Why Natural Light Feels Authentic
Natural light connects your subject to their environment. It’s imperfect, dynamic, and alive. That’s why it works so well for documentaries, it matches the realness of the story you’re telling.
It also forces you to stay present. You can’t control everything, but you can respond creatively to what the light gives you. That responsiveness leads to better shots and stronger moments.
Final Thoughts: Mastering Natural Light for Documentary Filmmaking
Mastering natural light for documentary filmmaking isn’t about luck, it’s about awareness, preparation, and practice. Whether you're using the golden hour, bouncing light off a white wall, or filming in the shadow of a tree, you’re still shaping light. You're still making creative choices.
And those choices are what turn reality into story, without needing a single piece of lighting gear.
Free Training: 10 Secrets to Creating Cinematic Documentaries
Want to improve your documentary cinematography even more? Check out my free video training:
👉 10 Secrets to Creating Cinematic Documentaries