How to Film a Documentary on Your Phone: A Beginner’s Guide

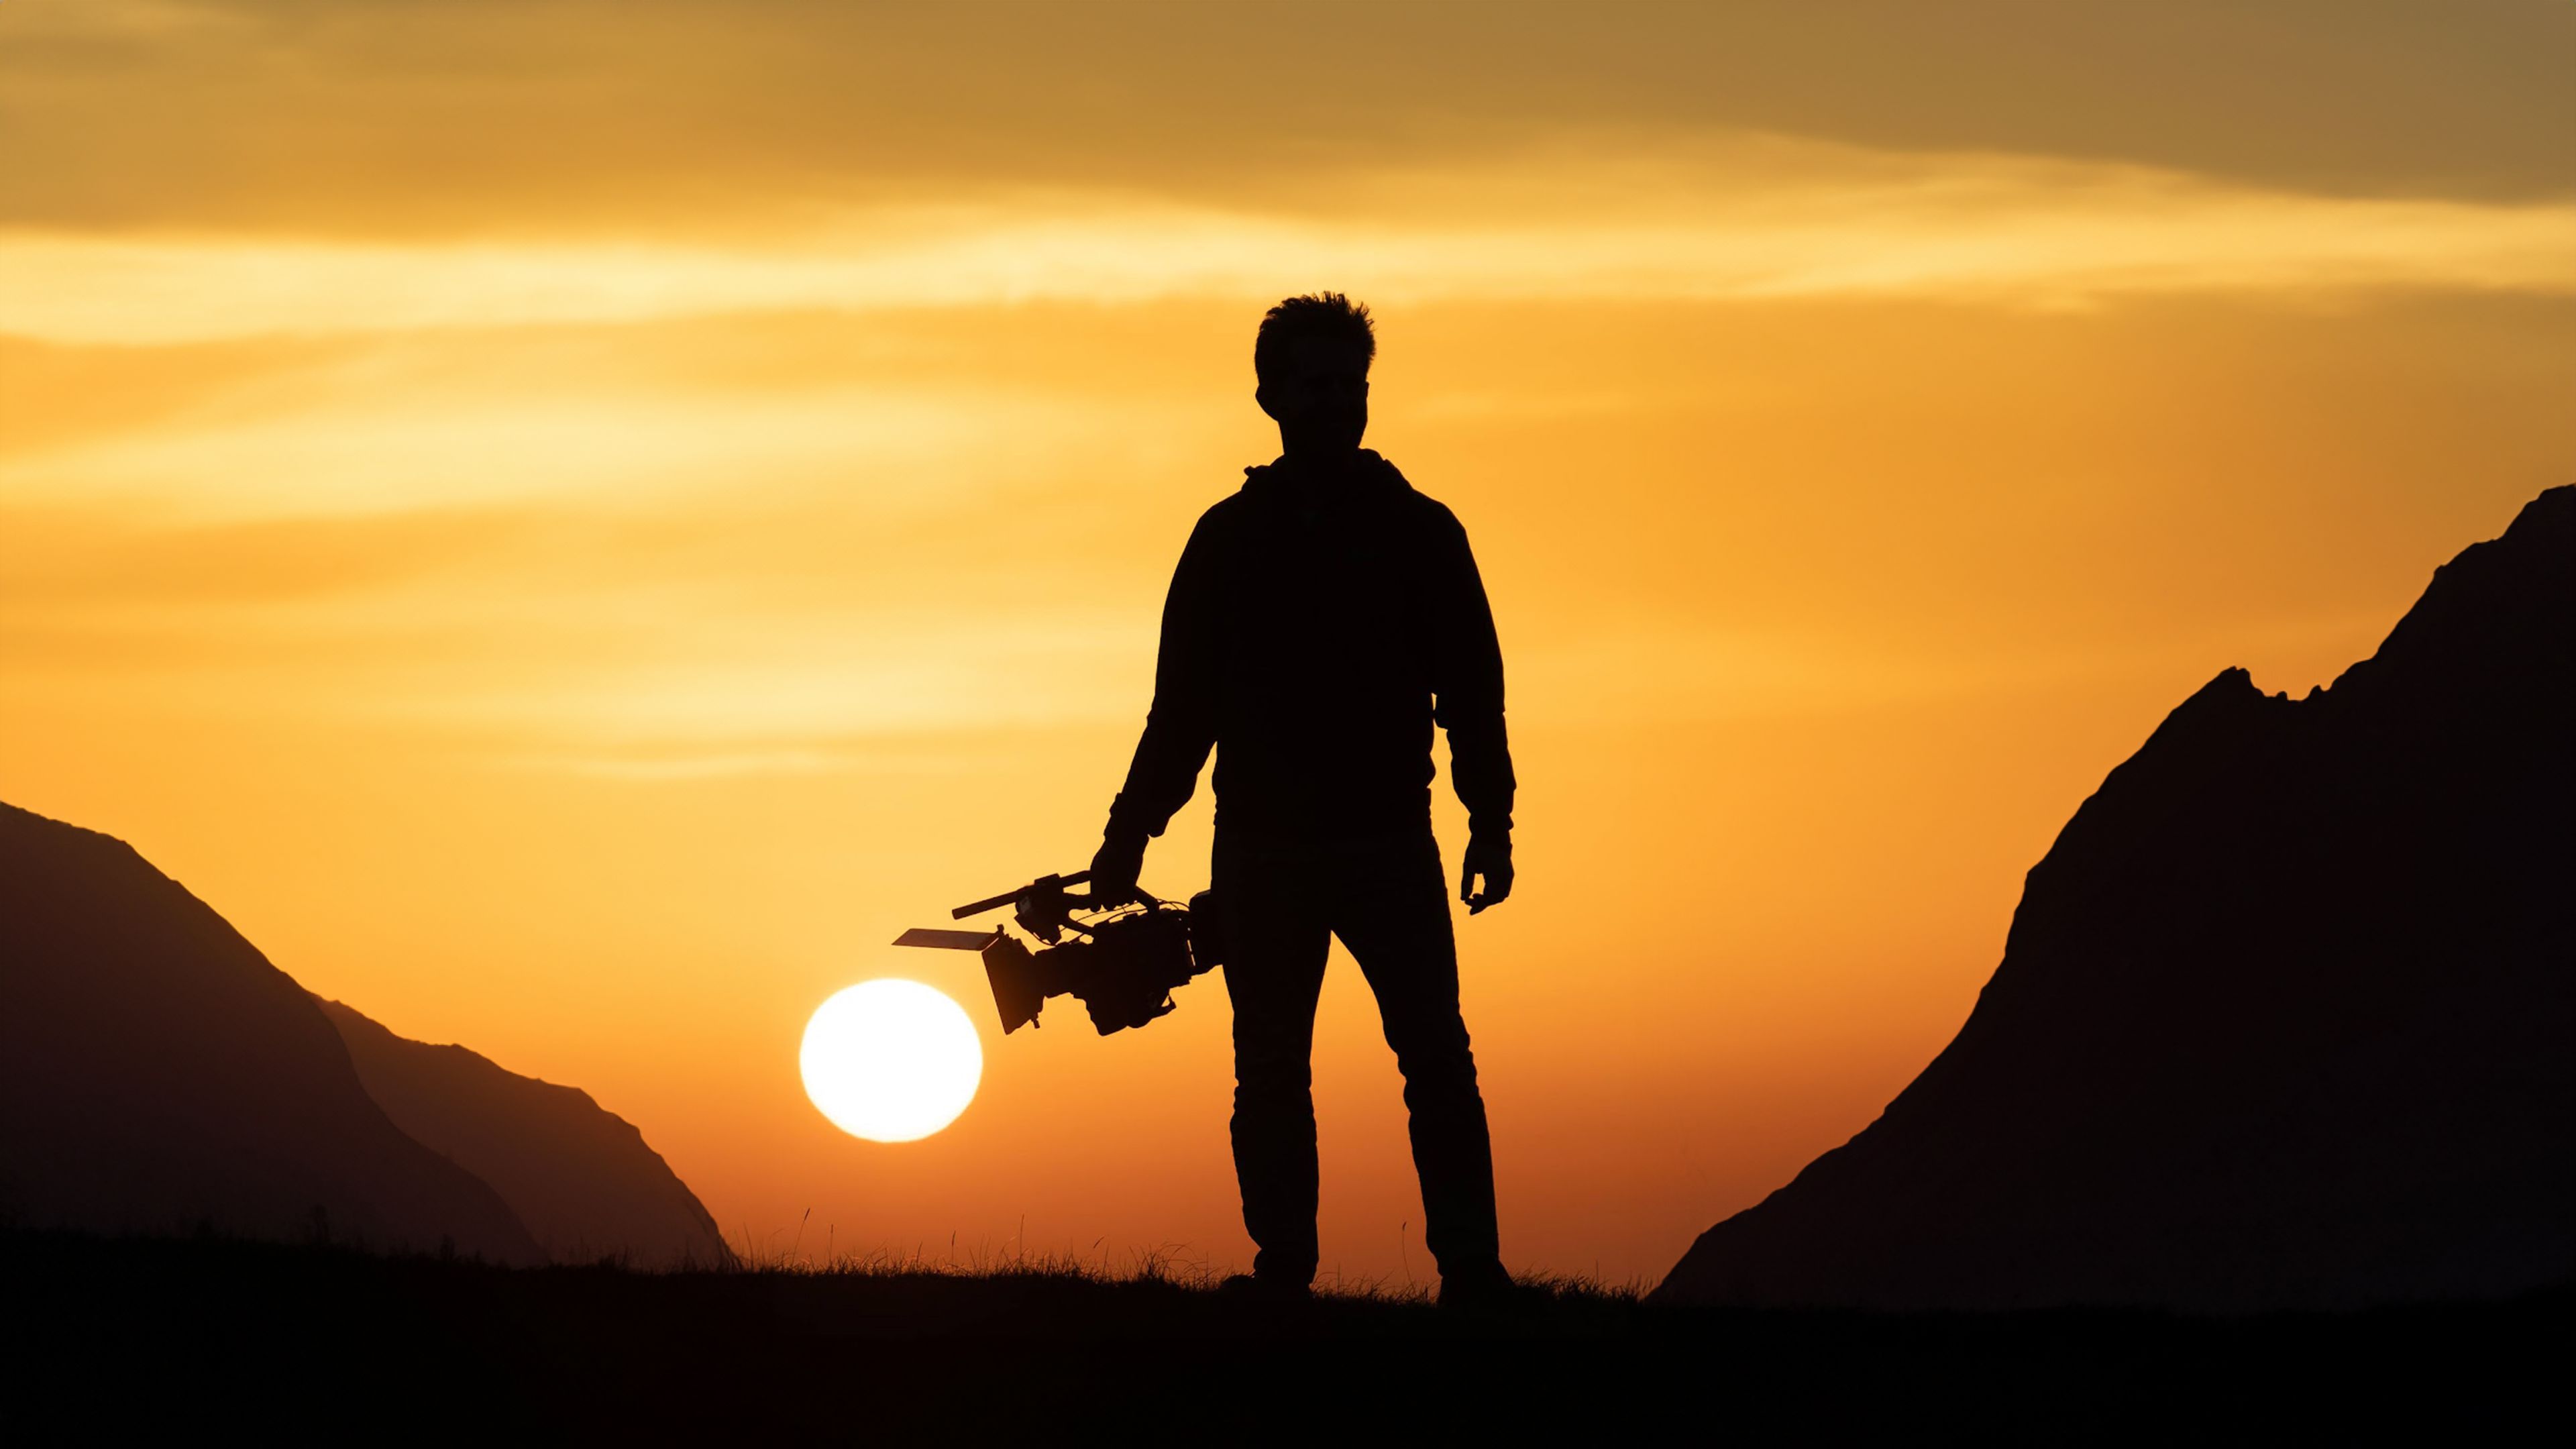
You don't need an expensive camera to film a documentary on your phone. I've shot entire projects on a smartphone, and the footage held up alongside clips from cameras costing ten times more.
The phone in your pocket can record 4K video, lock focus manually, and shoot slow motion. With the right settings and a few cheap accessories, you can create cinematic documentary footage that looks and sounds professional. Here's exactly how to do it.
What's in this post:
Why Shoot Documentaries on Your Phone?
Modern smartphones can:
-
Record in 4K
-
Shoot in slow motion and time-lapse
-
Give you manual control over exposure, focus, and frame rate
They're small, discreet, and always with you, perfect for documentary work. Add a few accessories and you've got a powerful filmmaking rig in your pocket.
If you're new to documentary filmmaking, start with my full 12-step guide to making a documentary to understand the bigger picture before you focus on gear and technique.
Before You Film: Pre-Production Basics
Before you hit record, sort out a few things first:
-
Plan your story. Know your subject, your angle, and the shots you need. Even a rough shot list saves time on the day.
-
Free up storage. 4K video eats space fast. Clear old files or use an external drive. One hour of 4K footage can use 40GB or more.
-
Charge up. Filming drains battery. Bring a portable power bank.
-
Switch to airplane mode. Nothing ruins a good take like a phone call or notification buzzing in the middle of an interview.
6 Tips to Film Cinematic Footage With Your Smartphone
1. Use a Manual Camera App
Auto mode is fine for casual videos, but not for cinematic control. Download an app like Blackmagic Camera (free) or Filmic Pro to take full control of:
-
Frame rate
-
Shutter speed
-
ISO
-
Focus and exposure
-
White balance
For a full breakdown of these settings, check my cinematic camera settings checklist.

2. Set the Right Frame Rate
-
24fps or 25fps: Classic cinematic look
-
30fps: Smoother playback, often used online
-
60fps or 120fps: For slow motion shots
Set this before filming. Don't mix frame rates unless you know what you're doing. For a deeper look at how frame rates affect your footage, read my beginner's guide to frame rates.

3. Lock Focus and Exposure
Tap and hold your screen to lock focus and exposure. This prevents your phone from adjusting mid-shot, which can instantly ruin an otherwise usable take.

4. Stabilise Your Shots
Shaky footage looks amateur. Use a gimbal like the DJI Osmo Mobile, or rest your phone on a stable surface. If you're using a gimbal, turn off in-app stabilisation to avoid distortion.

5. Use Multiple Focal Lengths
Many phones now have:
-
Ultra-wide lens (14mm)
-
Standard lens (26mm)
-
Telephoto lens (52mm)
Switch between these to add variety and depth. If your phone only has one lens, consider add-on lenses like Moment Lenses.

6. Use Gridlines and the Rule of Thirds
Turn on gridlines in your camera app. Then frame your subject along the lines or intersections. This helps make your shots feel balanced and professional. For more on framing, see my guide to the 5 rules of composition for filmmakers.

How to Get Good Audio on a Smartphone
Bad audio kills a documentary faster than bad video. Your phone's built-in microphone picks up everything: wind, room echo, handling noise. For interviews and narration, always use an external microphone.
Good options for smartphone filmmakers:
-
Lavalier (clip-on) mic: Great for sit-down interviews. The Rode SmartLav+ plugs directly into your phone.
-
Shotgun mic: Better for picking up directional sound on location. The Rode VideoMicro works well with a phone adapter.
-
Wireless mic system: More flexibility for moving subjects. The Rode Wireless GO is popular with mobile filmmakers.
If you're filming a solo documentary, a lavalier mic clipped to your subject (or yourself) is the simplest setup that still sounds professional.
Lighting Tips for Phone Filmmaking
Phone cameras have small sensors, which means they struggle in low light. Grainy, noisy footage is the most common sign of a smartphone shoot. Here's how to avoid it:
-
Shoot in natural light whenever possible. Position your subject facing a window for soft, even light.
-
Avoid harsh overhead lighting. It creates unflattering shadows under the eyes and chin.
-
Bring a small LED panel for indoor shoots. A portable light like the Aputure MC or Lume Cube gives you control when natural light isn't available.
-
Keep your ISO low. Higher ISO means more grain. If the image is too dark, add light rather than cranking up ISO.
Common Mistakes in Smartphone Filmmaking
Here's what to avoid:
-
Relying on auto settings
-
Only using in-camera stabilisation
-
Recording with the built-in mic for important audio
-
Shooting in bad lighting without adding a light source
-
Over-editing in post-production
-
Forgetting to switch to airplane mode
-
Running out of storage or battery mid-shoot
Instead, take manual control, prioritise clean sound, use natural or soft light, and keep your edits simple.
Best Video Editing Apps for Mobile Filmmakers
Pro apps:
-
LumaFusion (iOS) Powerful mobile editor
-
Adobe Premiere Simple and easy to use
Free options:
-
CapCut User-friendly with strong features. Also has Pro paid version.
-
iMovie (iOS) Simple and clean for beginners
Want more editing help? Read: How to Edit a Documentary

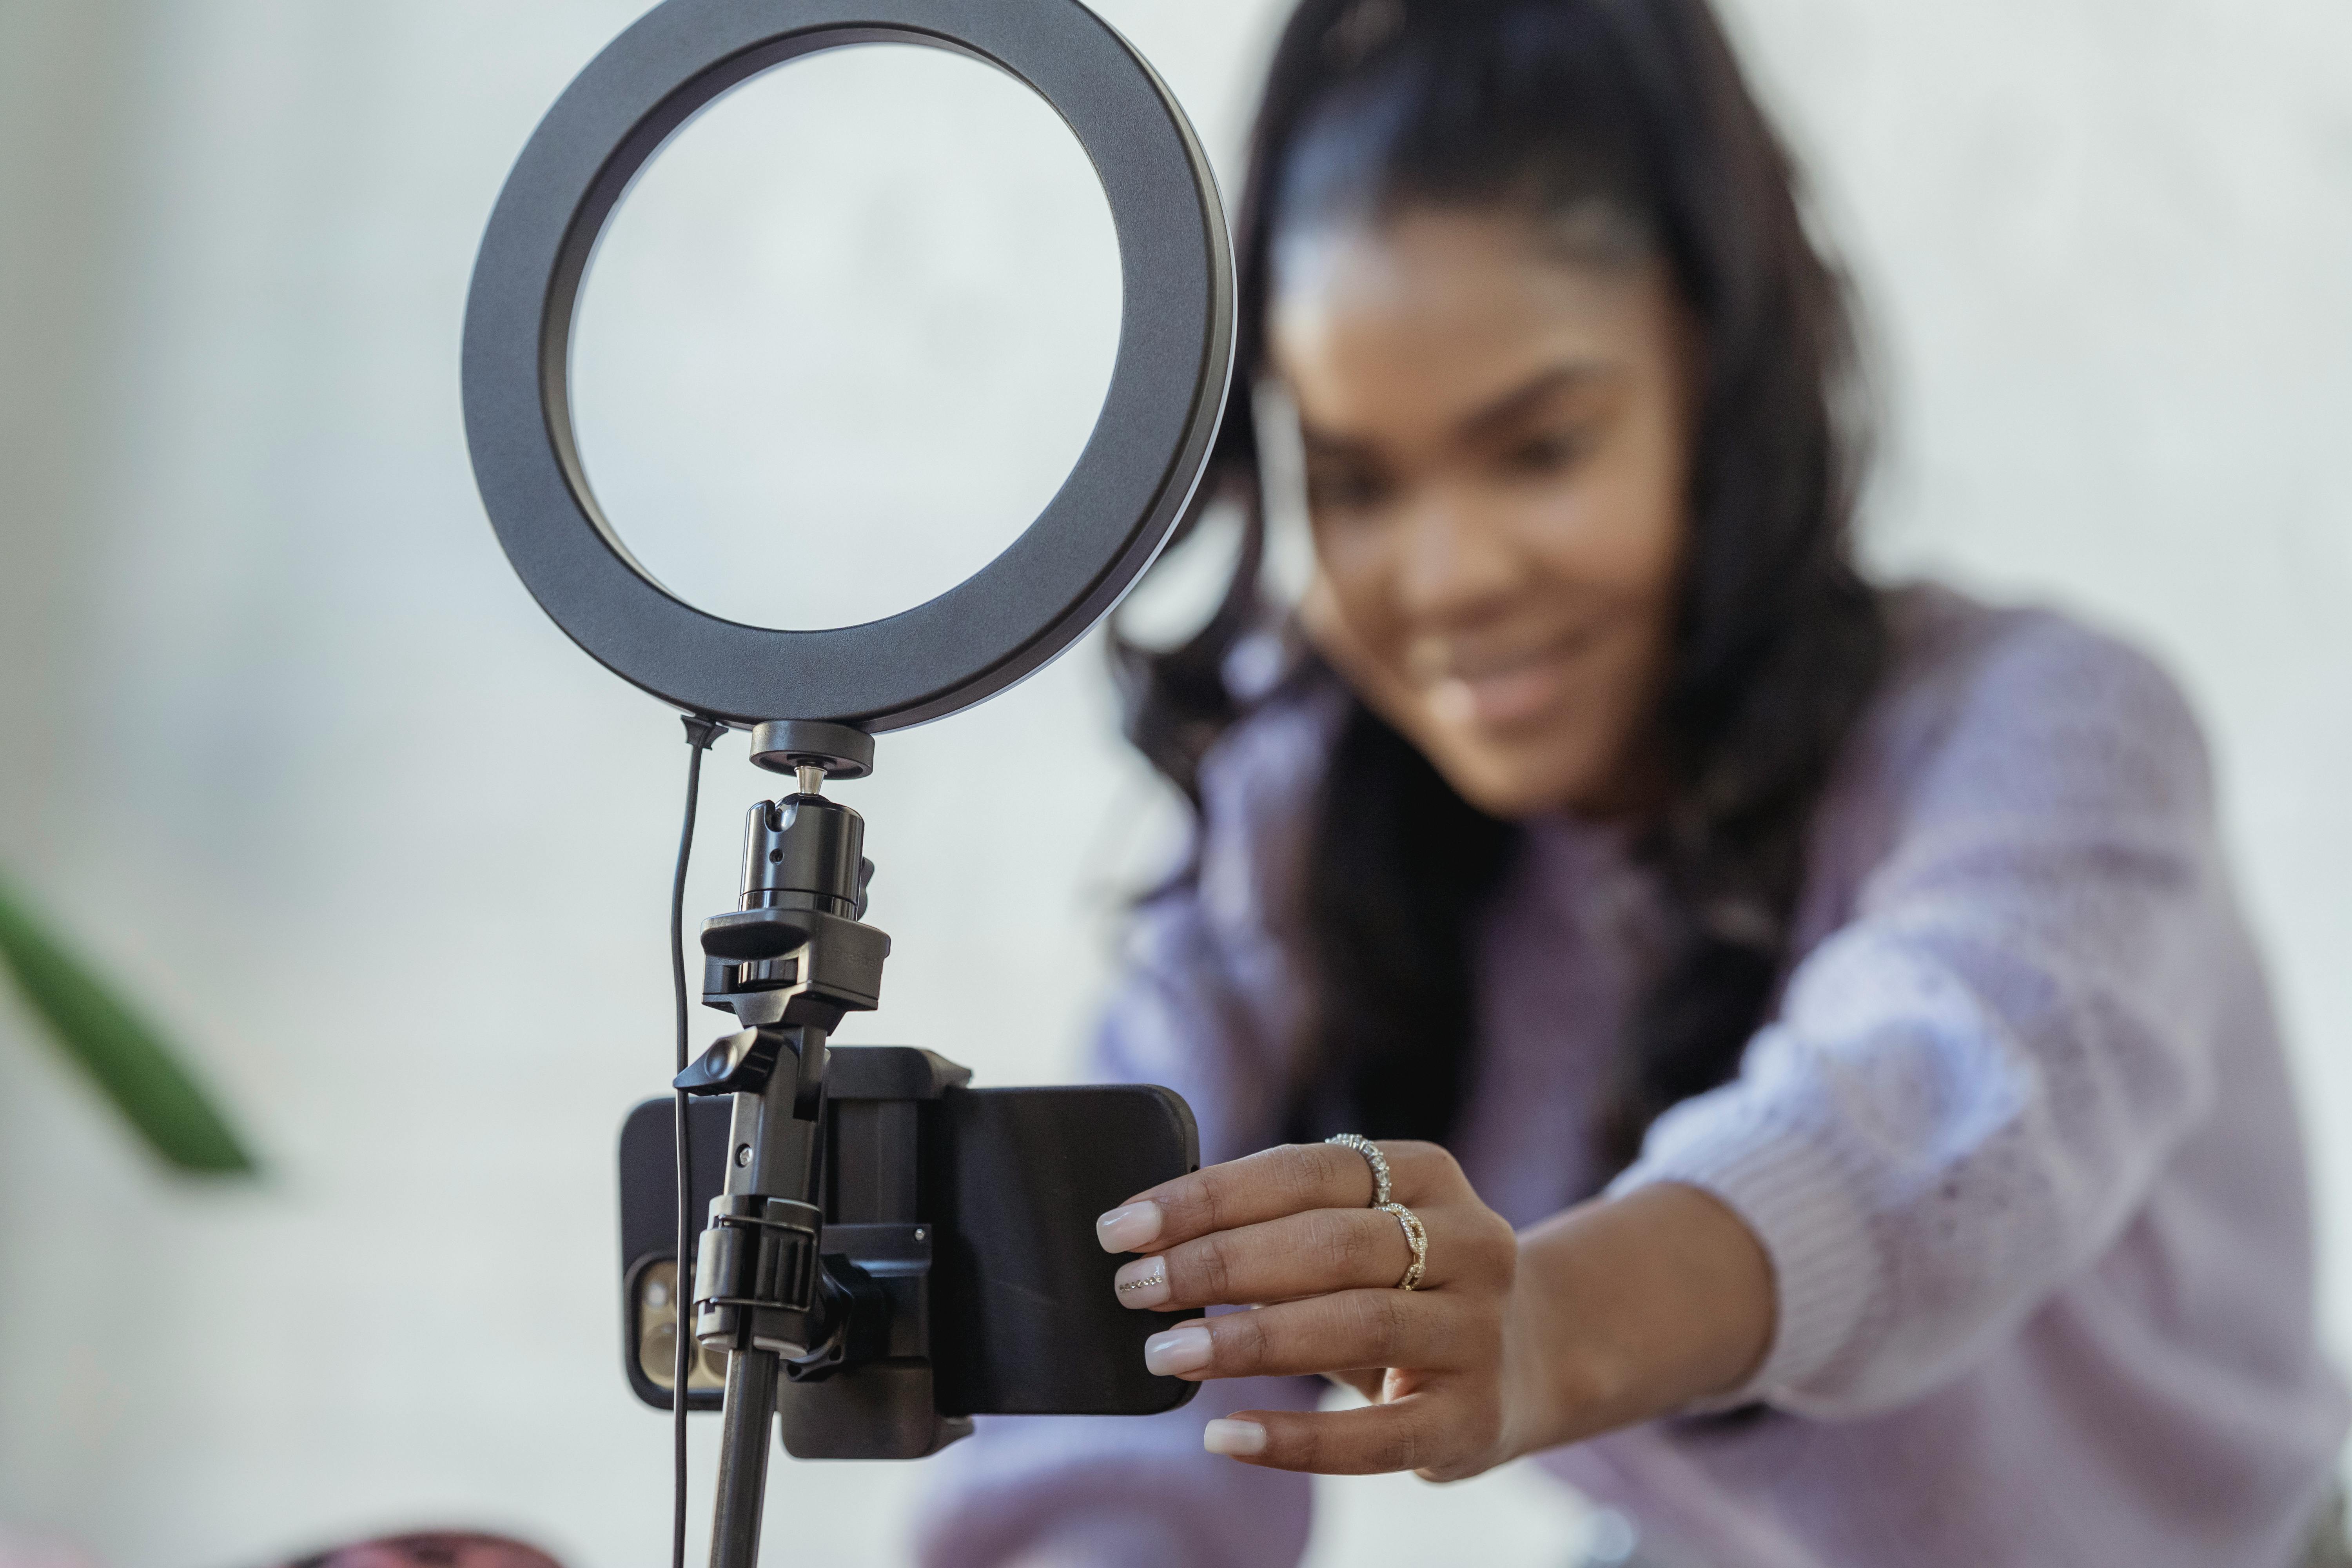
How to Film Yourself With a Phone
Filming yourself? Here's how to do it well:
-
Use a tripod or stable surface
-
Face natural light (like a window)
-
Frame yourself using the front-facing camera
-
Use an external mic for better sound
-
Keep the background clean and distraction-free
Horizontal or Vertical? Choose Based on Platform
-
Landscape (horizontal): Best for YouTube, films, and most long-form content
-
Portrait (vertical): Best for TikTok, Instagram Stories, and YouTube Shorts
Decide based on where your audience will watch.

Why Phones Are Now Serious Filmmaking Tools
Smartphones are no longer just for behind-the-scenes content. They're now being used as the main camera for:
-
Short films
-
Documentaries
-
Social content
They're discreet, always with you, and great for capturing spontaneous, authentic moments.

Free Training: 10 Secrets to Creating Cinematic Documentaries
Want to go deeper? Watch my free training video where I walk through the most important elements of making strong, cinematic documentaries.
👉 Watch the free training here

Frequently Asked Questions
Can I shoot a full documentary on my phone?
Yes. With the right apps and a few simple tools, it's completely possible. Several documentaries and short films have been shot entirely on iPhones and screened at film festivals.
Do I need a gimbal?
It helps, but a tripod or even a stable surface can work too. If most of your shots are static (interviews, b-roll from a fixed position), a tripod is enough.
What's the best frame rate for cinematic video?
Use 24fps or 25fps for a film-like motion blur. This is the standard for cinema and most documentaries.
What's the one accessory I should buy first?
An external microphone. Clean sound makes a huge difference. Audiences will forgive slightly soft video, but they won't sit through bad audio.
What's the best way to edit smartphone footage?
Use mobile apps like LumaFusion, Adobe Rush, or CapCut. For more control, transfer your files to a computer and edit in DaVinci Resolve (free) or Adobe Premiere Pro.
Which app is best for making a documentary on a phone?
For filming, Blackmagic Camera (free) or Filmic Pro give you full manual control. For editing on your phone, LumaFusion is the most powerful option on iOS. CapCut works well on both iPhone and Android.